Mold Max™ STROKE
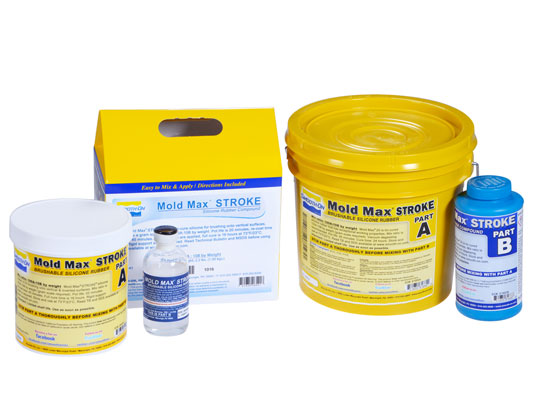
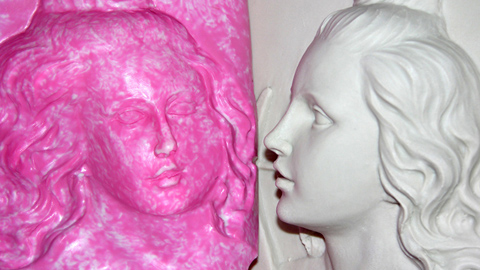
Mold Max™STROKE 硅胶不会粘附到大多数表面,收缩可以忽略不计,固化成坚固、柔韧、邵氏硬度为30A的硅胶。用于浇注蜡、石膏、混凝土或树脂(聚氨酯,聚酯等)制造坚固耐用的生产模具必须涂覆4层薄层。应用场合包括复制雕塑、建筑修复、蜡烛模具等。


说明
Because no two applications are quite the same, a small test application to determine suitability for your project is recommended if performance of this material is in question.
Safety – Use in a properly ventilated area (“room size” ventilation). Wear safety glasses, long sleeves and rubber gloves to minimize contamination risk. Wear vinyl gloves only. Latex gloves will inhibit the cure of the rubber.
Store and use material at room temperature (73°F/23°C). Storing material at warmer temperatures will also reduce the usable shelf life of unused material. These products have a limited shelf life and should be used as soon as possible.
Applying a Sealer / Release Agent - Mold Max™ rubber may be inhibited by sulfur based clays resulting in tackiness at the pattern interface or a total lack of cure throughout the mold. If compatibility between the rubber and the surface is a concern, a small-scale test is recommended. Apply a small amount of rubber onto a non-critical area of the pattern. Inhibition has occurred if the rubber is uncured after the recommended cure time has passed. To prevent inhibition, a “barrier coat” of clear acrylic lacquer sprayed directly onto the pattern is usually effective. Allow to thoroughly dry. Although not usually necessary, a release agent will make demolding easier when brushing into or over most surfaces. Ease Release™ 200 is a proven release agent for making molds with silicone rubber and for releasing new silicone from cured silicone. Mann Ease Release™ products are available from Smooth-On or your Smooth-On distributor.
You will need two containers: The first will be used for measuring out Part A and Part B. The second should be large enough to contain amounts of both components and allow thorough mixing. Part A is Mold Max™ 30 Part A. Before you begin, shake or pre-mix Part B thoroughly. After dispensing required amounts of Parts A and B into mixing container by weight (you must use an accurate gram scale), mix thoroughly for 3 minutes making sure that you scrape the sides and bottom of the mixing container several times.
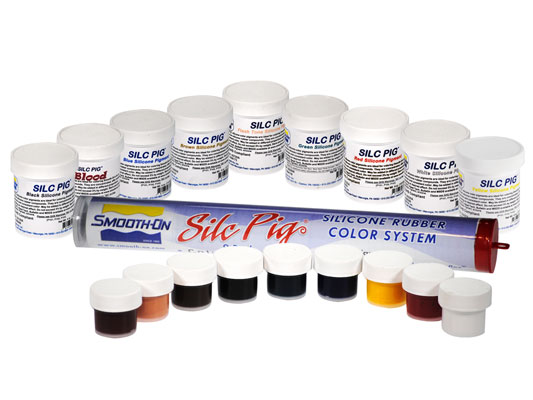
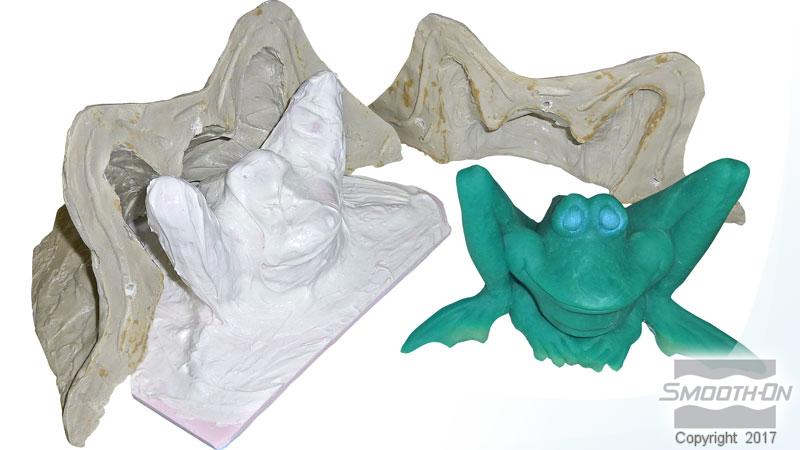
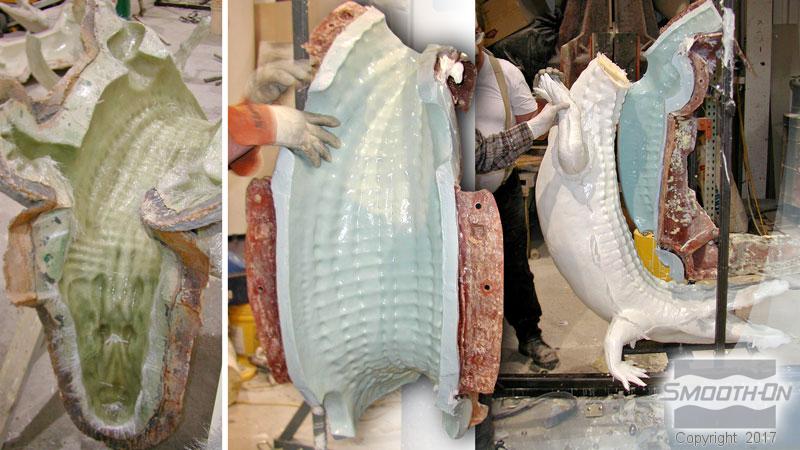
Applying The Rubber – This product must be applied in layers. Mold makers generally find that four thin layers (minimum 3/8” thickness) is suitable for a strong, working mold. Using a stiff brush, the first coat of rubber should be applied in a very thin layer to capture intricate detail. Use dabbing strokes, especially around undercuts, to reduce entrapped air. Subsequent coats will add strength to the mold. Let the first coat dry for 45 minutes at room temperature until it becomes “tacky” before adding the next coat. “Tacky” is defined as sticky to the touch, but does not come off onto your gloved finger. Once “tacky,” you are ready to apply the next layer. Keep applying layers until desired mold thickness is achieved. Note: Although not necessary, adding a small amount of Silc-Pig™ silicone pigment to every other mix of rubber will help you distinguish one layer from the next. It ensures that you apply a thorough coating each time and help build uniform layers.
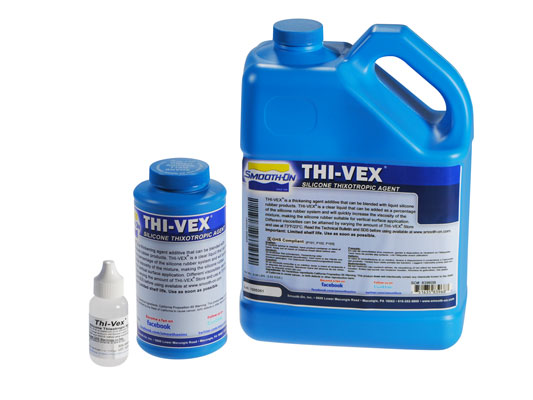
Option: Add Thi-Vex™ thickener for greater thixotropy – adding a small amount of Thi-Vex™ will thicken the rubber for filling deep undercuts and detail. Amount to add? 1% of the total volume of your mix will increase thixotropy substantially.
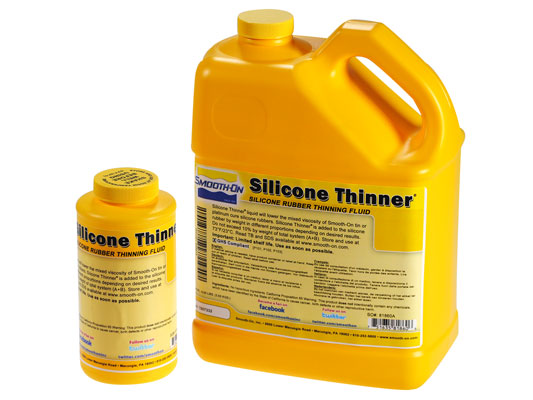
Option: Add Silicone Thinner™ to your initial mix to lower the viscosity of your “print coat”. It is not recommended to exceed 10% by weight of total system (A+B). See the Silicone Thinner™ technical bulletin (available from Smooth-On or your Smooth-On distributor) for full details.
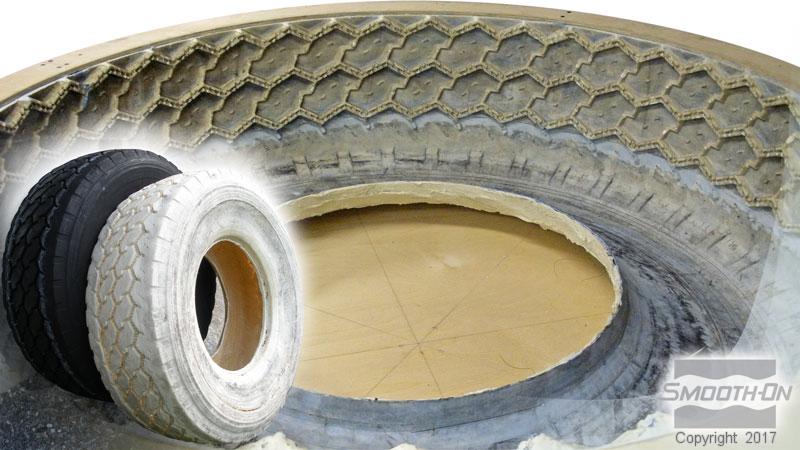
Apply A Support Shell – Once the mold is fully cured, a rigid support shell (mother mold) is necessary to support the rubber mold during casting. Plasti-Paste™ is a trowelable plastic is ideal as a mother mold material.
Curing – Allow the mold to cure at least 16 hours at room temperature (73°F/23°C). Do not cure rubber where temperature is less than 65°F/18°C.
Casting – You can cast low temperature melt metal alloys, gypsum, wax, concrete, Smooth-On liquid plastics, epoxies etc. This product will inhibit the cure of platinum cure silicone rubbers.
Using The Mold – Although not necessary, applying a release agent before casting most materials facilitates demolding and will lengthen the production life of your mold. The type of release agent to use depends on the material being cast. Ease Release™ 200 or 205 is recommended for casting resins. In & Out™ II works well for releasing concrete. Both are available from Smooth-On or your local distributor. Because no two applications are quite the same, a small test application to determine suitability for your project is recommended if performance of this material is in question.
Mold Performance & Storage – Fully cured molds are tough, durable and will perform if properly used and stored. The physical life of the mold depends on how you use it (materials cast, frequency, etc.). Casting abrasive materials such as concrete will erode mold detail, while casting non-abrasive materials (wax) will not affect mold detail. Using the right release agent is essential in all cases. Contact Smooth-On to discuss your particular application. Before storing, the mold should be cleaned with a soap solution and wiped fully dry. Two part (or more) molds should be assembled. Storing the mold with a casting in it will maintain dimensional stability. Molds should be stored on a level surface in a cool, dry environment.