如何使用硅胶制作断头道具
概述
Overview
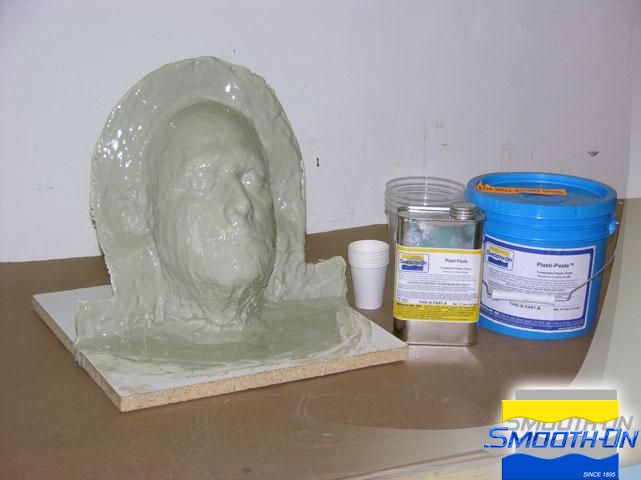
Shell Shock® brushable plastic and Plasti-Paste® trowelable plastic can be used in combination to create a rigid, strong, inexpensive mold. A mold created from these materials can be used for casting silicones directly without a mold release.
Constructing a core in the mold allows for a thin walled casting that uses a minimum of material. The hollow casting is then filled with inexpensive urethane foam to provide support.
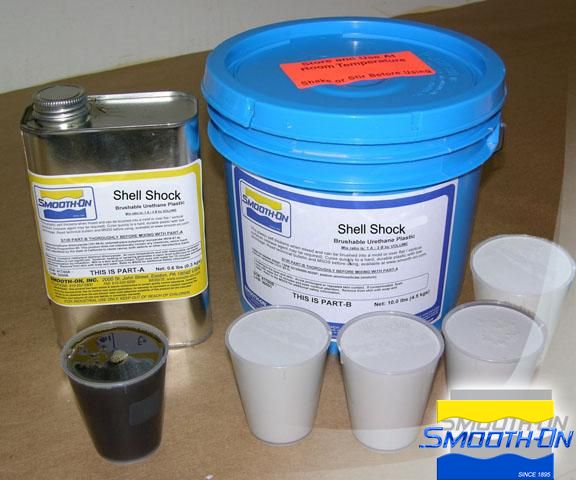
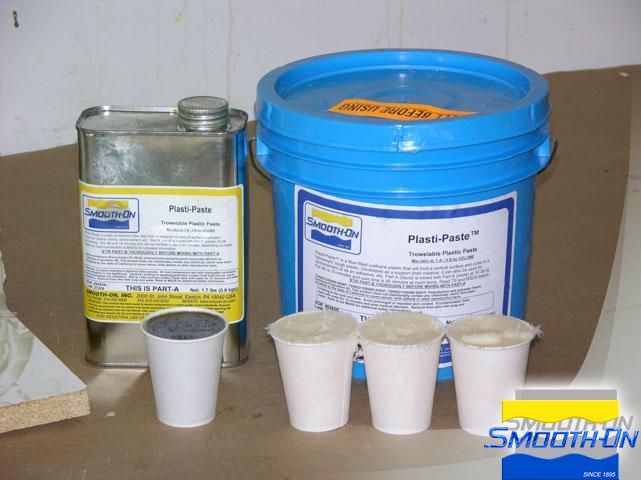
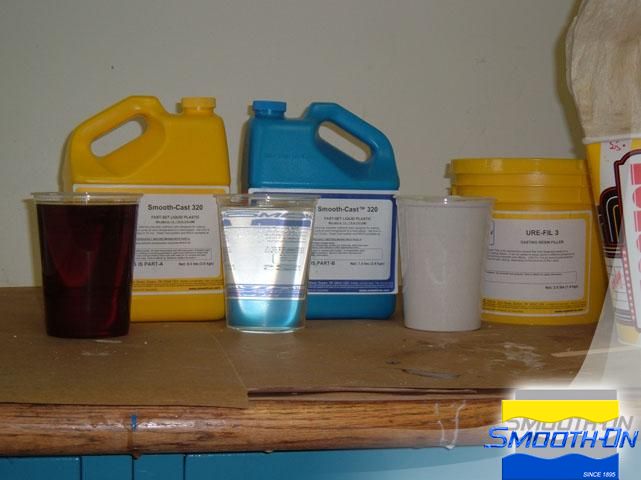
Materials Used in this Tutorial
- Shell Shock
- Plasti-Paste
- Sonite Wax
- Sulfur Free Clay
- Mixing Containers
- Mixing Sticks
- Screw Driver
- FlexFoam-iT! 3
- Acrylic Spray
- Smooth-Cast 320
- Ure-Fil 3
- Universal Mold Release
- Drill
- Bolts
- Hot Melt Glue Gun
- Clamps
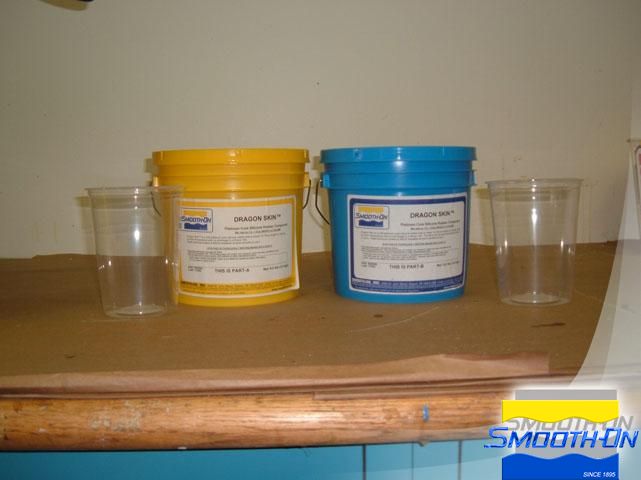
- Dragon Skin
- Silc Pig
- Knife展开
- Psycho Paint
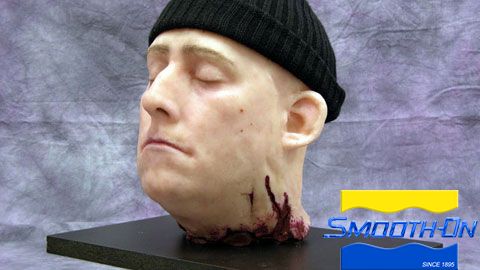
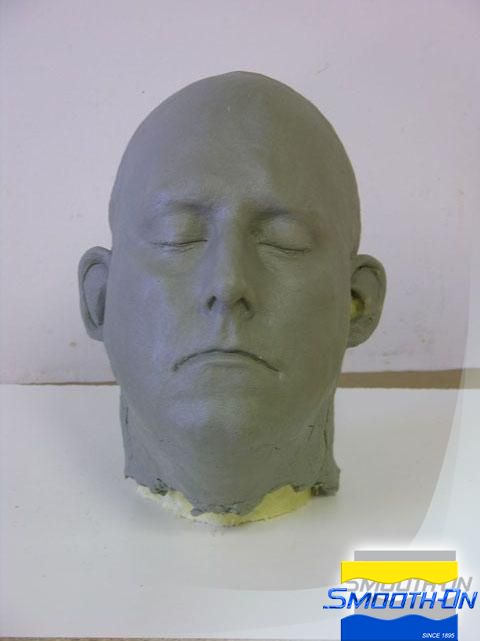
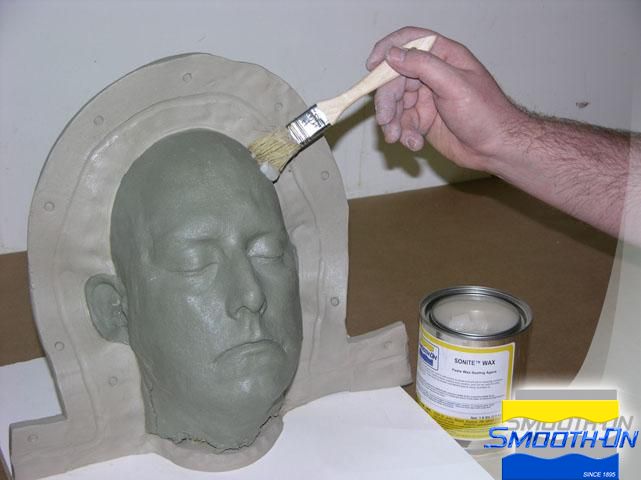
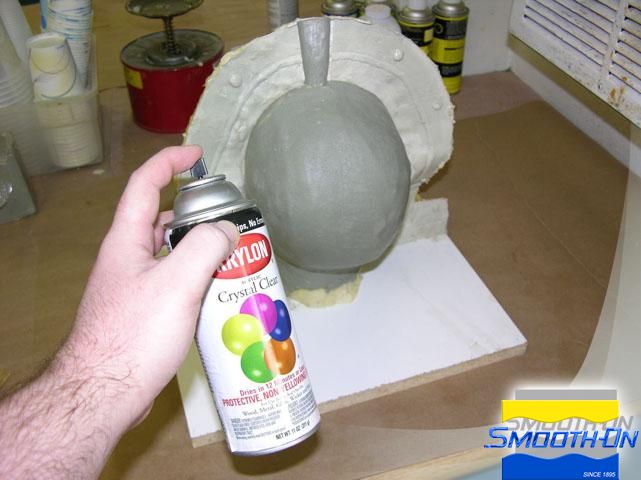
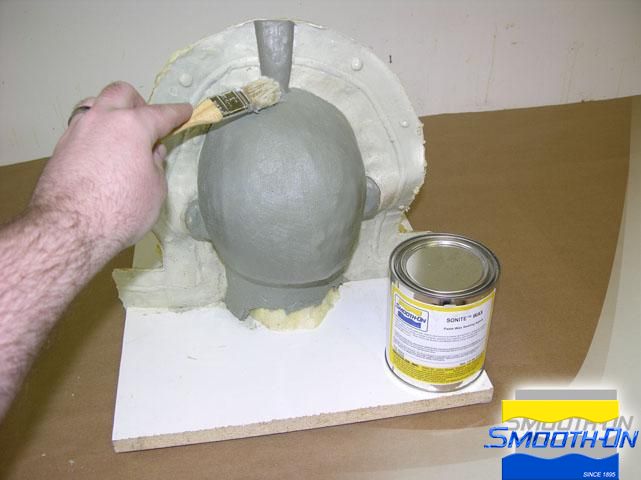
The original piece in this example is a sculpted prop severed head. The piece is sculpted out of a non-sulfur clay. To start, a clay wall is placed on the sculpture, dividing it in half. The piece and surrounding clay wall are sealed with clear acrylic spray and left to dry. After the acrylic spray dries, Sonite Wax® release agent is brushed onto the sculpture and clay wall.

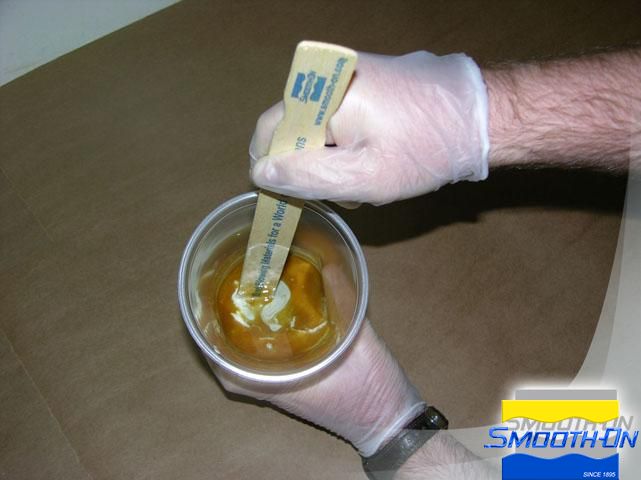
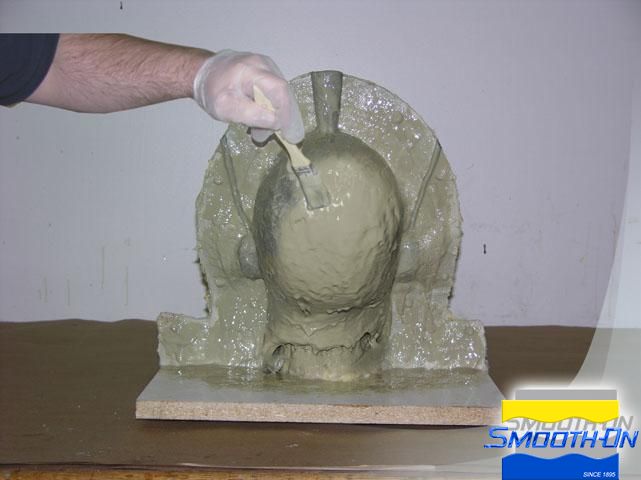
Step 2: Applying First Batch of Shell Shock to Face
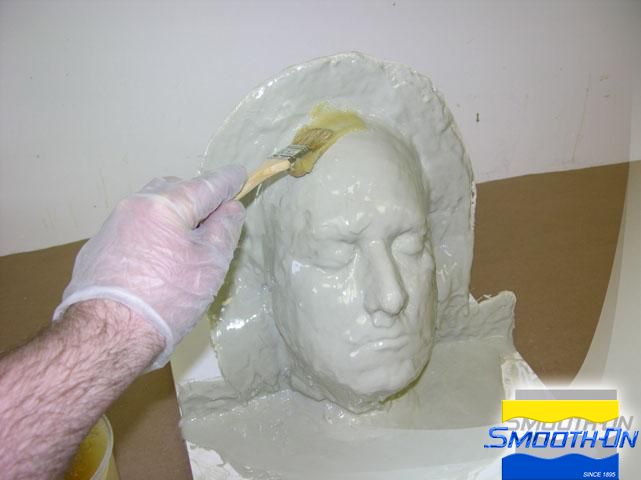
Measure Shell Shock® 1A:4B by volume and mix thoroughly for 30 seconds. Apply the first coat of Shell Shock® by 'stippling' it onto the surface of the scult and clay wall. Leave this first layer to cure for approximately 30 minutes.
Step 3: Applying Second Batch of Shell Shock
Measure a second batch of Shell Shock® and mix thoroughly. Apply the second coat of Shell Shock® on top of the first coat and allow to cure for approximately 30 minutes.


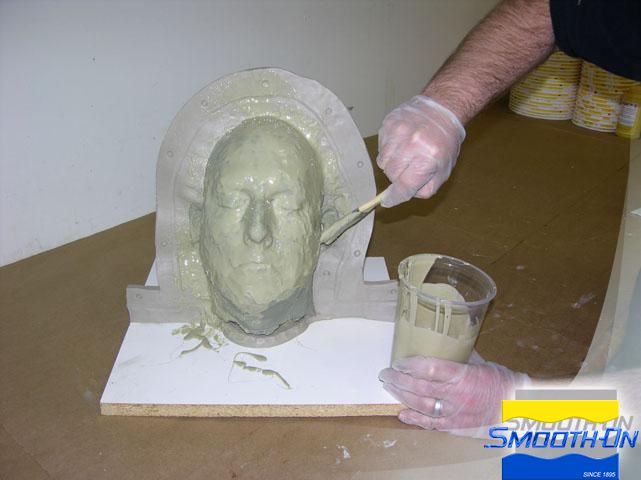
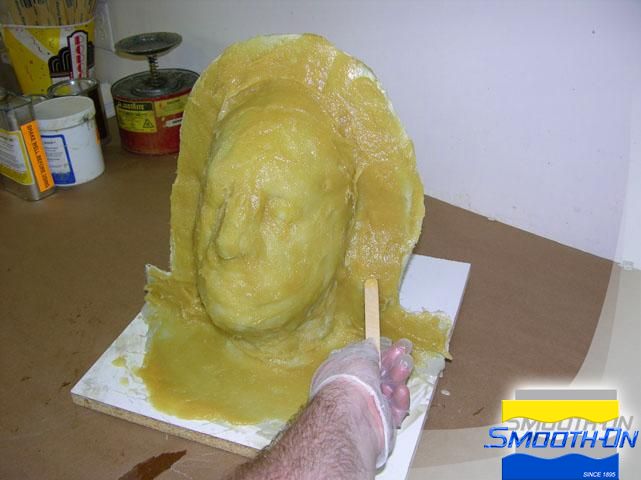
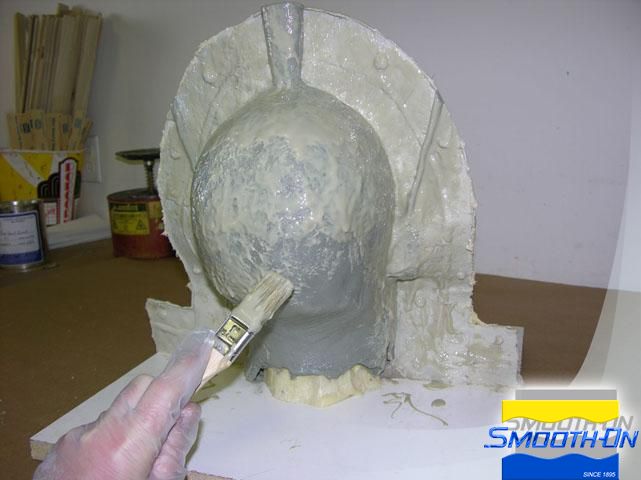
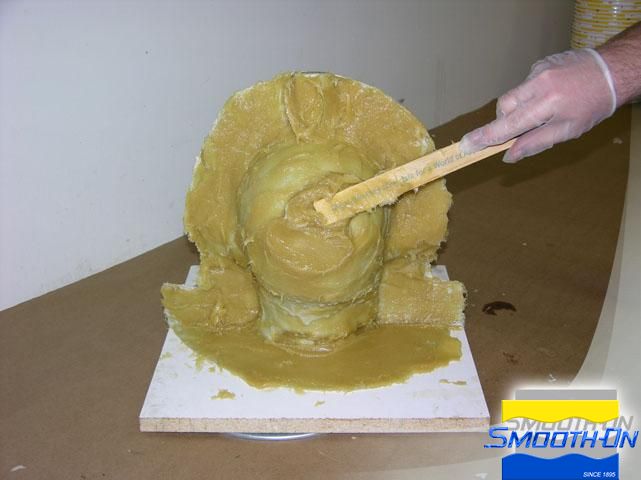
Step 4: Applying First Batch Of Plasti‑Paste
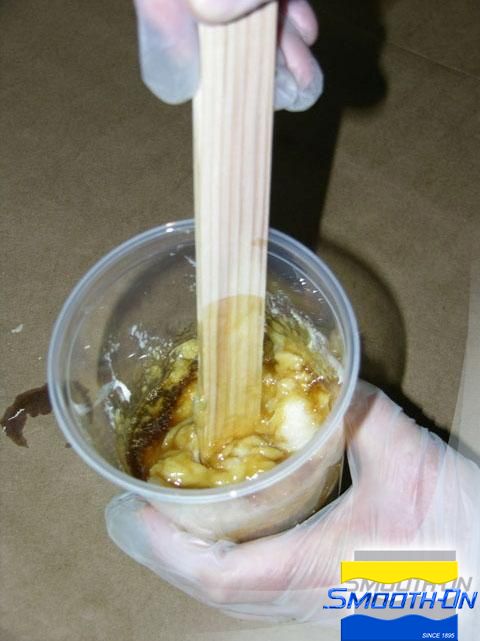
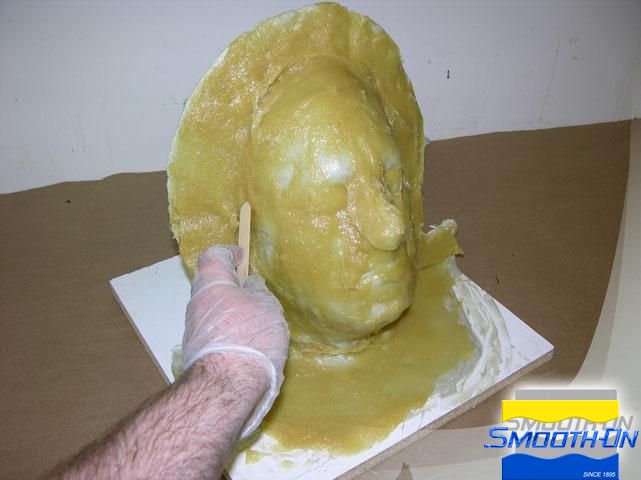
Measure Plasti-Paste® 1A:3B by volume and mix carefully and thoroughly. Apply a coat of the Plasti-Paste® to the entire surface of the sculp. The Plasti-Paste® will bond to the Shell Shock® and help to provide extra strength. It is easy to build up a thickness of 3/8”(1 cm) by using Plasti-Paste® in combination with Shell Shock®.

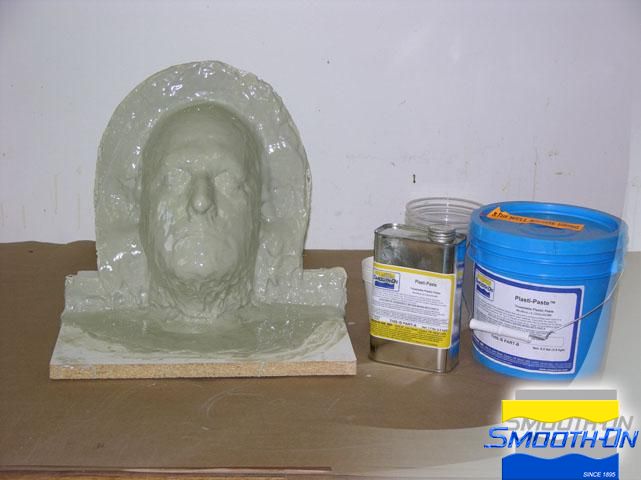
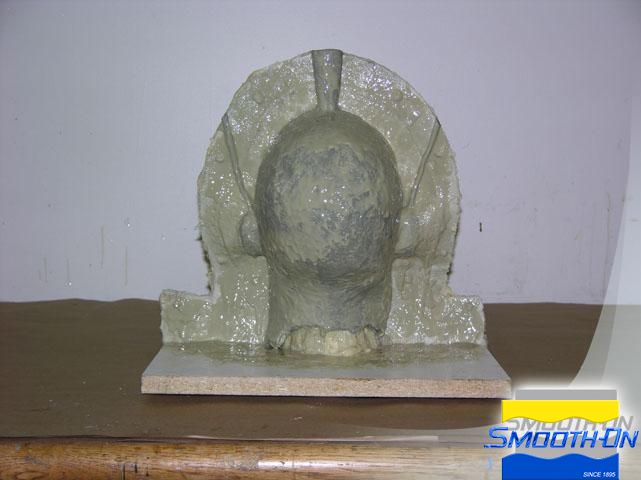
Step 5: Applying Second Batch of Plasti‑Paste
Measure a second batch of Plasti-Paste® 1A:3B by volume and mix thoroughly. Apply this second coat on top of the first coat.
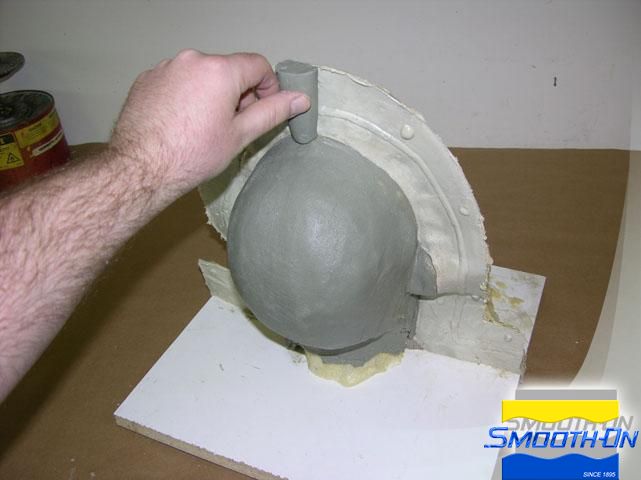
Step 6: Preparing the Back of the head
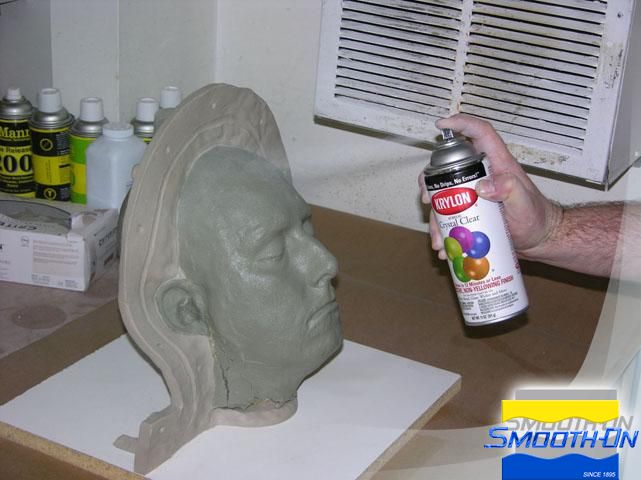
After the Plasti-Paste® cures for 90 minutes, remove the soft clay wall. Place a clay pour spout on the exposed Plasti-Paste® on the surface of the sculpture. Seal the piece and surrounding clay wall with clear acrylic spray and leave to dry. After the acrylic spray dries, brush Sonite Wax® release agent onto the sculpture and clay wall.
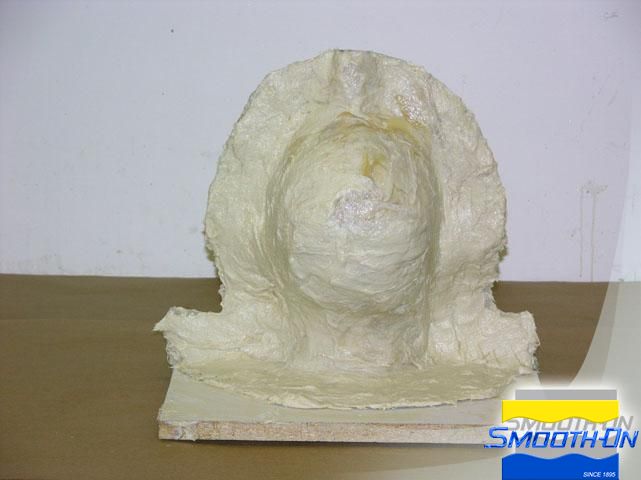
Step 7: Applying 2 layers of Shell Shock to the Back of The Head
Measure Shell Shock® 1A:4B by volume and mix thoroughly for 30 seconds. Apply the first coat of Shell Shock® by 'stippling' it onto the surface of the scupt and exposed Shell Shock® wall. Allow this first layer of Shell Shock® to cure for approximately 30 minutes. Then, measure and mix a second batch of Shell Shock®. Apply this coat on top of the first coat, using more fluid strokes this time.


Step 8: Applying 2 layers Plasti‑Paste to The Back of Head
Measure a batch of Plasti-Paste® 1A:3B by volume and mix thoroughly for 2 minutes. Apply this second coat of Plasti-Paste® on top of the first coat and allow it to cure onvernight for maximum rigidity.


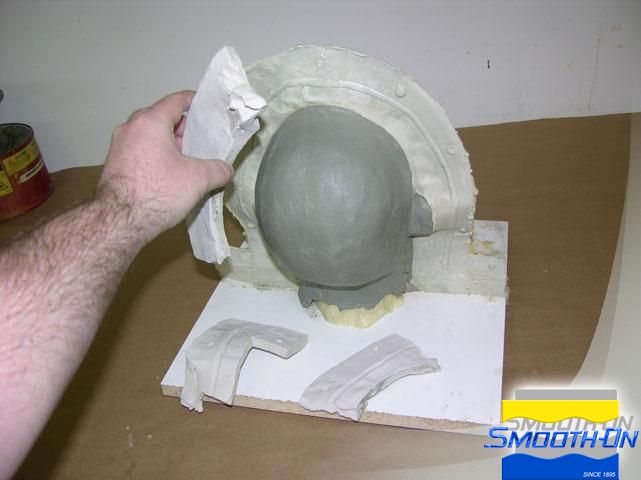
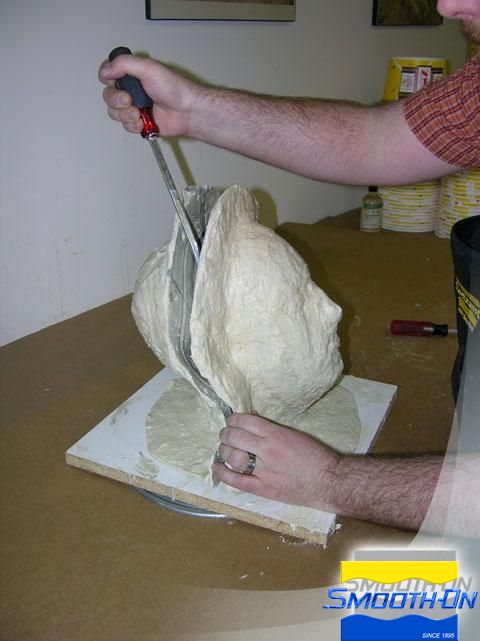
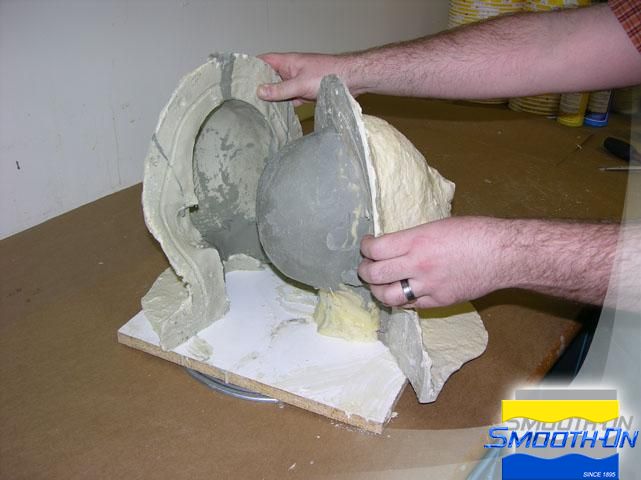
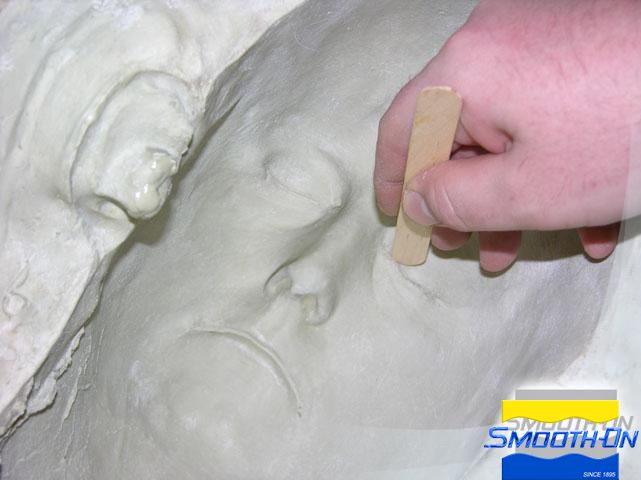
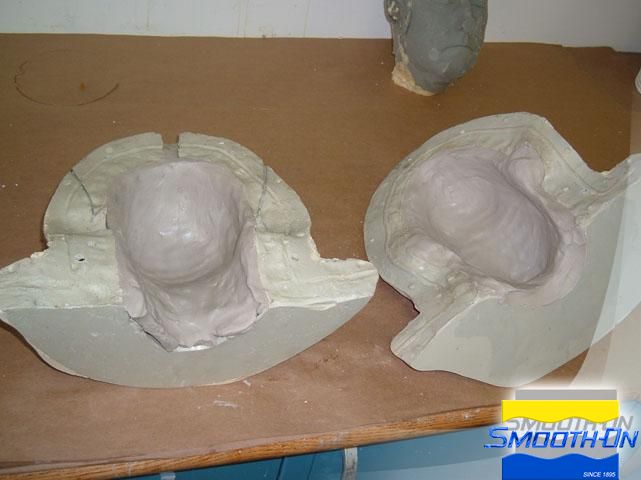
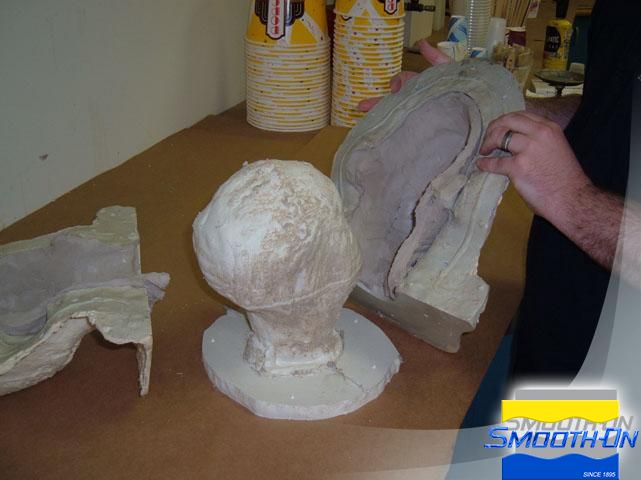
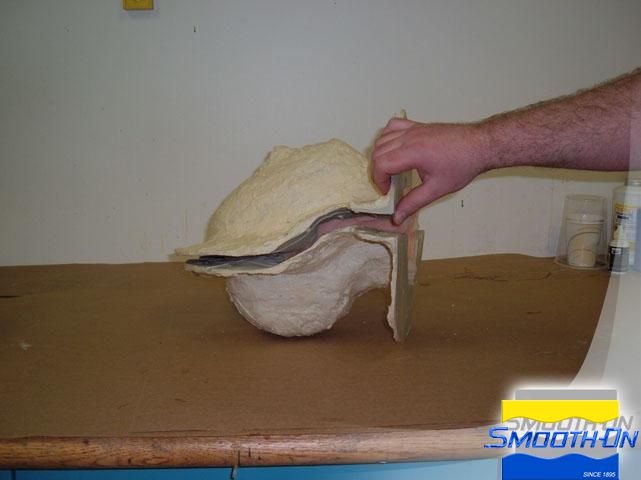
Step 9: Demolding Support Shell
After the mold is completely cured, use a screwdriver to CAREFULLY separate the two halves. Clean out any excess clay using a wooden stick.
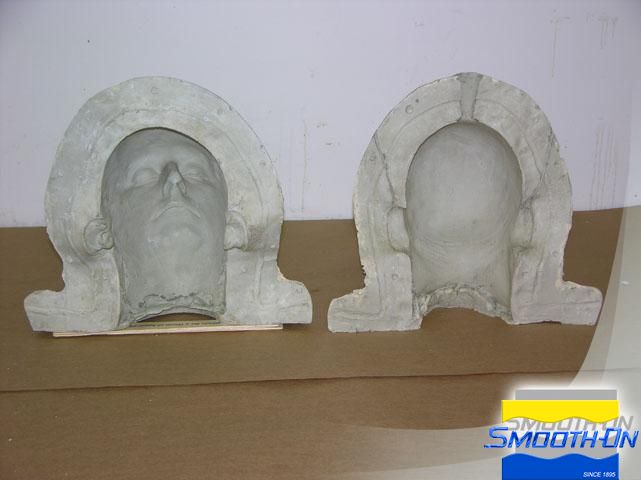
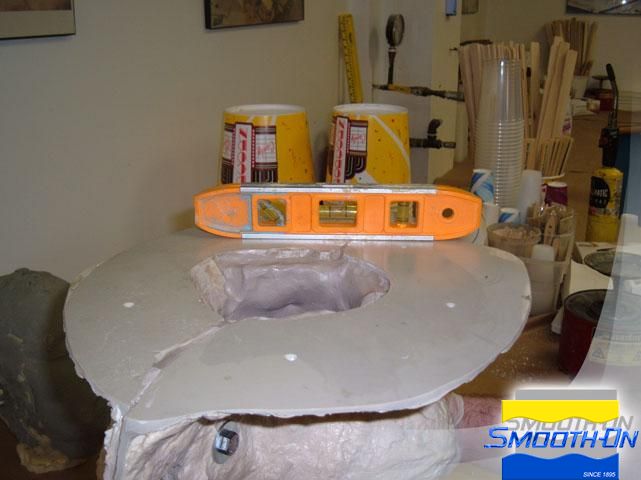
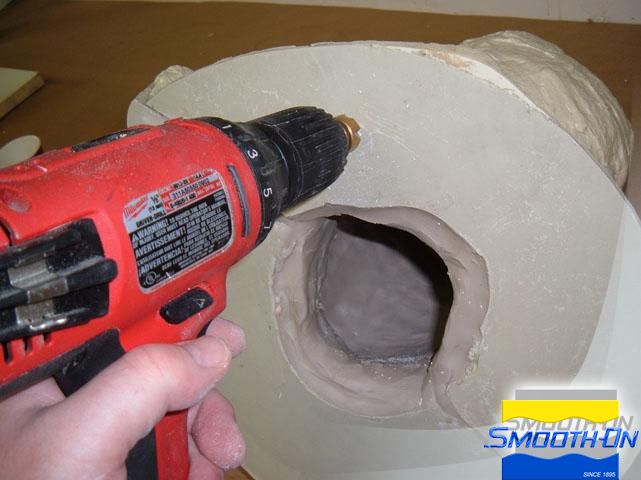
Step 10: Preparing Mold for Smooth‑Cast 320 Casting
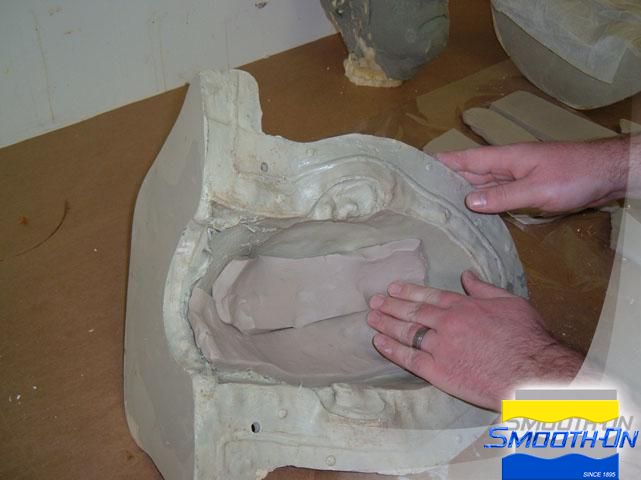
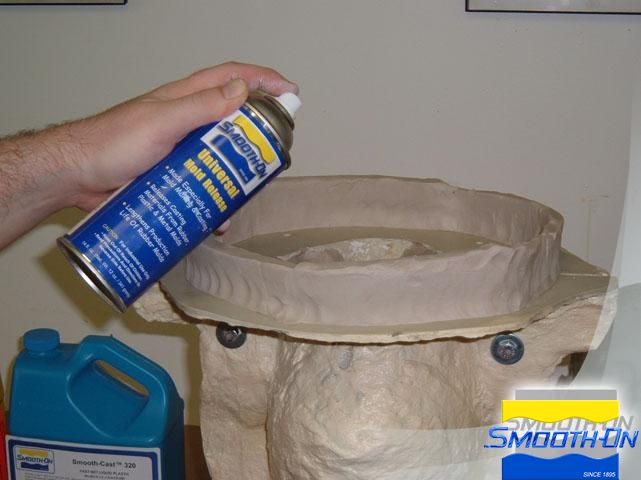
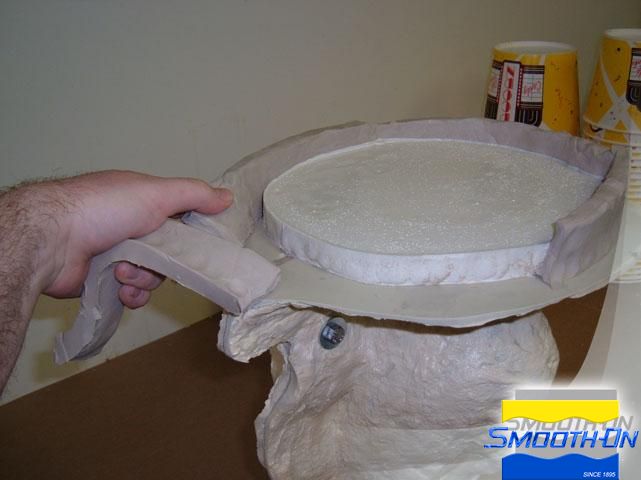
The mold is now prepared for creation of the core. The core will be made out of Smooth-Cast® 320 resin with Ure-Fil® 3 added to reduce cost. Lay a 1/2” thick layer of clay into each half of the mold. Then, bolt the mold closed with the clay inside and place in a container and level. Drill registration notches around the edge using a countersink bit. Next, build a clay wall to contain the Smooth-Cast 320 liquid plastic. Spray both the interior and exterior surfaces with Universal Mold Release.
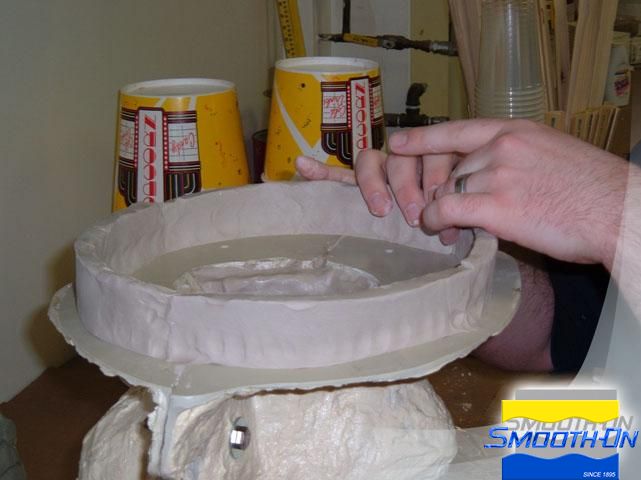
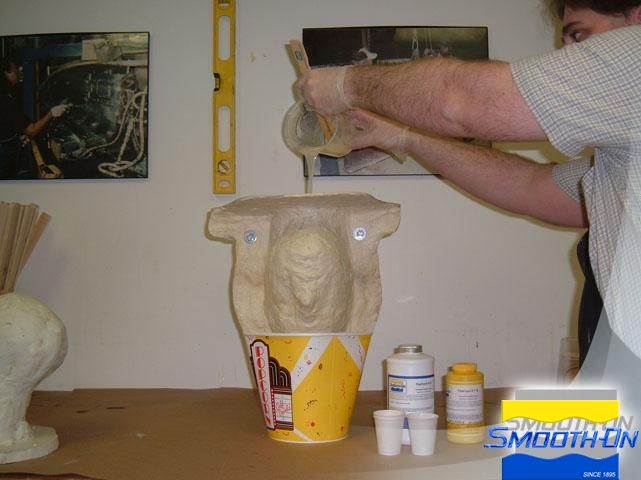
Step 11: Casting with Smooth‑Cast 320
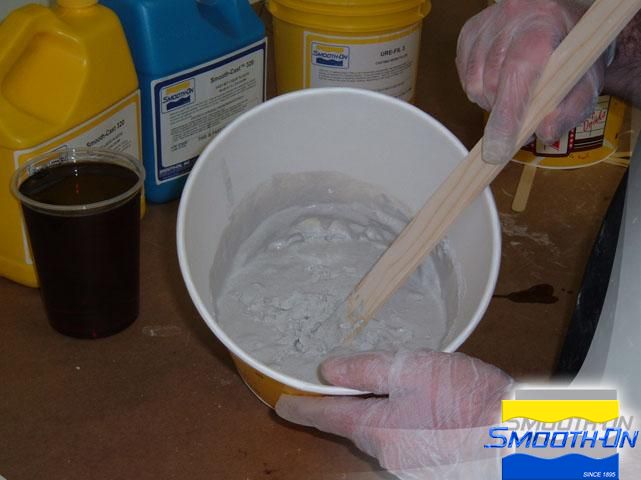
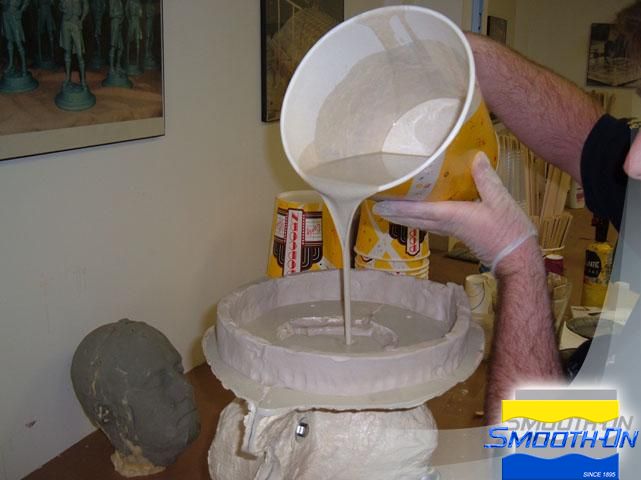
Measure Smooth Cast® 320 1A:1B by volume with one part Ure-Fil® 3 filler and mix together. The Ure-Fil® will reduce cost and allow a larger casting. Once the material is mixed, pour it into the mold so that it fills the clay wall area. After the core is completely cured, remove the clay dam.
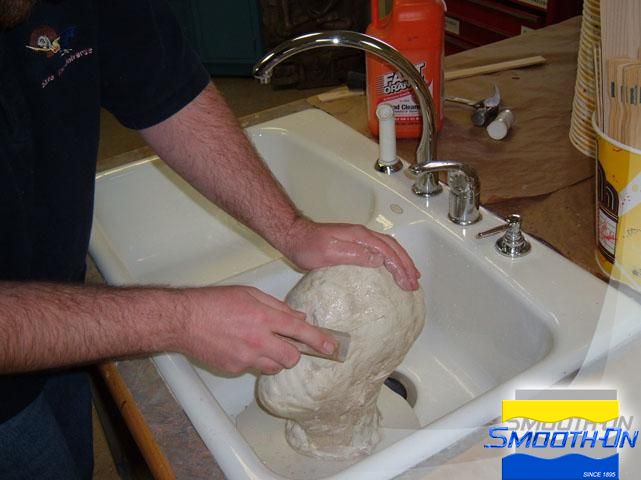
Step 12: Demold
Open the mold and remove the clay blanket from the surface of the mold. Wash of the excess clay from teh mold core, leaving a clean Smooth Cast 320 core casting.
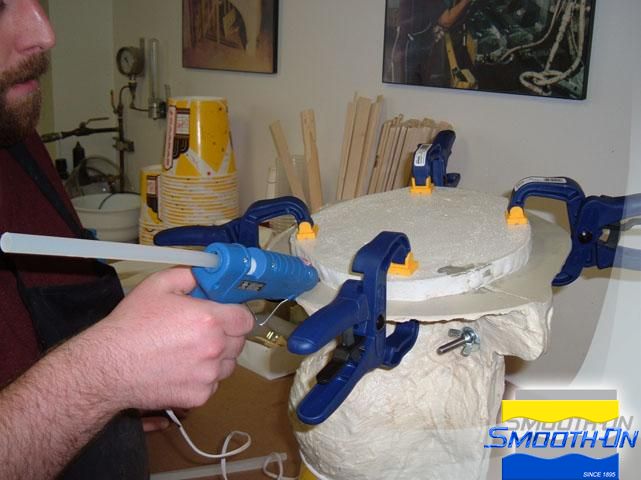
Step 13: Preparing and Casting Dragon Skin
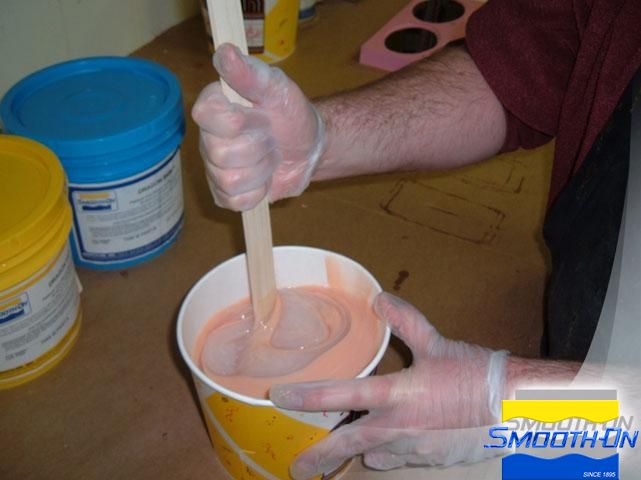
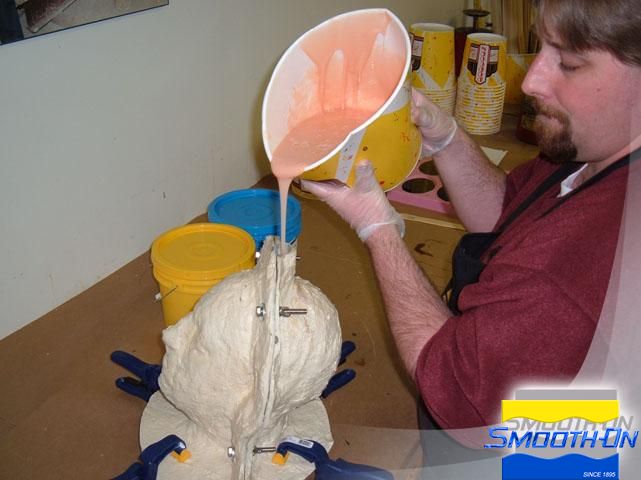
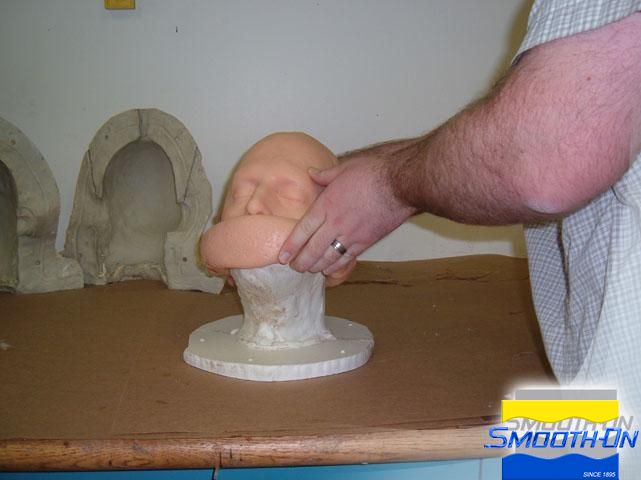
Clamp the core in place and use hot glue to seal any gaps between the core and outer mold. Measure Dragon Skin® silicone rubber 1A:1B by volume, adding Silc-Pig® flesh tone pigment to the Dragon Skin® part B. Then, combine Dragon Skin® part A with Dragon Skin® part B and mix thoroughly. Turn the mold upright and SLOWLY pour the Dragon Skin® into the pour spout. The working time is 20 minutes.
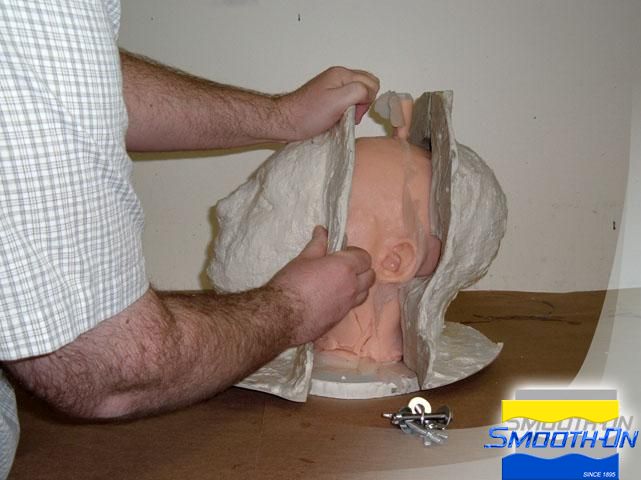
Step 14: Demolding
Remove the bolts and GENTLY pry the mold open with a screwdriver, separating the two halves. Cut off the flashing, leaving a clean silicone casting which is then removed from the core.

Step 15: Casting FlexFoam‑iT III
Replace the silicone casting the Shell Shock® mold. Measure Flex Foam-iT! III out 1A:2B by volume, mix, and pour the material into the mold cavity.
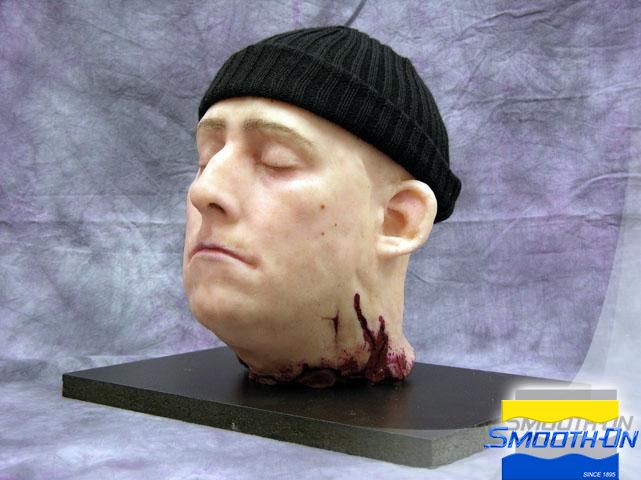
The demolded casting is ready for finishing.
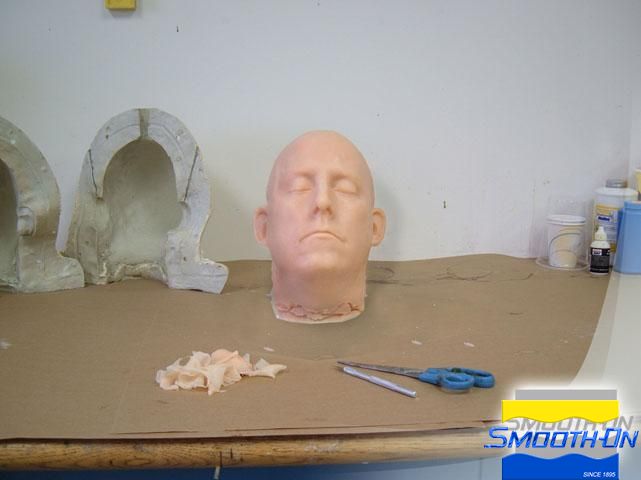
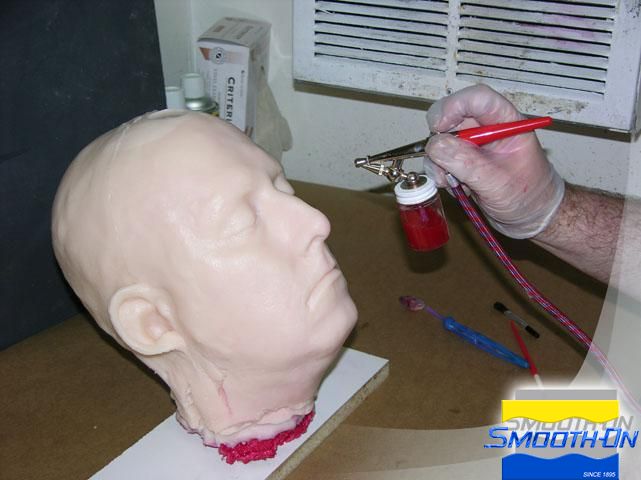
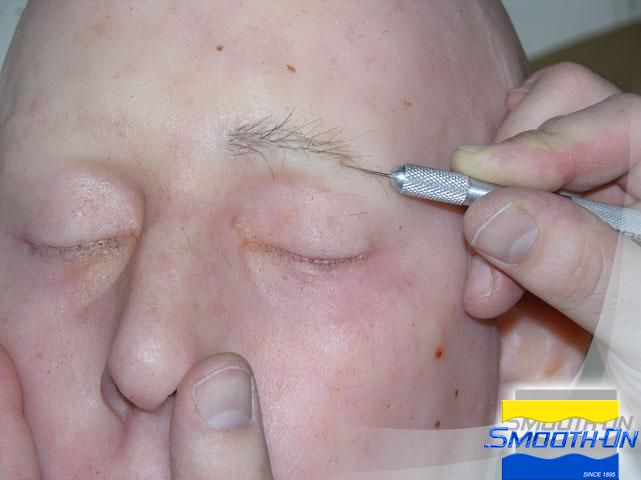
Step 16: Finishing
To apply the finishing touches to the severed head, paint the casting with Psycho Paint and punch eyebrows into the silicone. The finished casting has a realistic, flesh-like look.
文件下载 ›