使用Free Form Sculpt制作刚性大师
概述
Overview
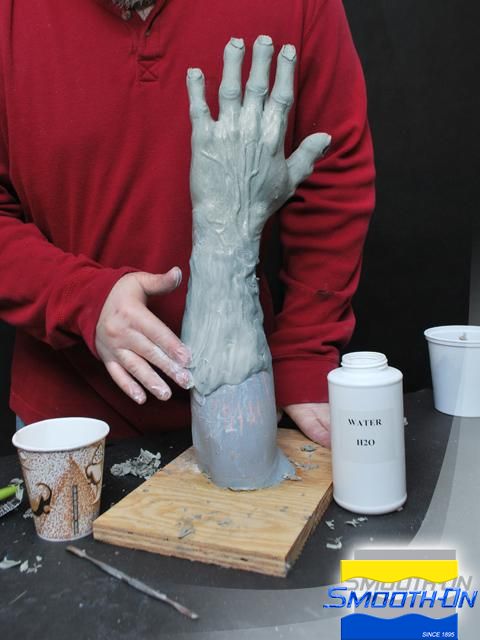
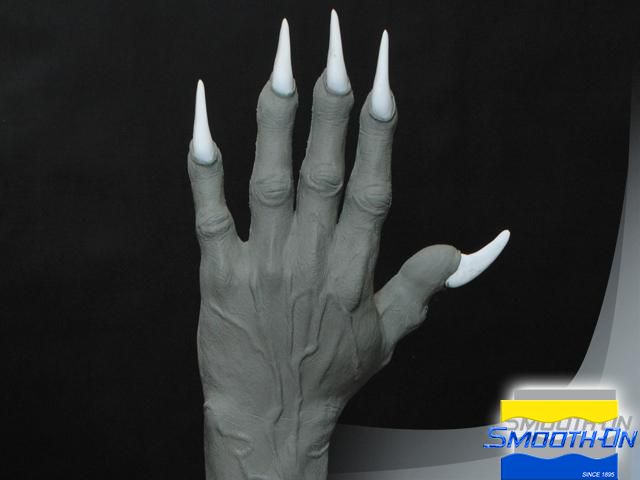
Ryan Sparks of Terror Anatomical, LLC specializes in casting accurate, realistic body parts for clients that use them for films, stage productions, Halloween exhibits, medical demonstration models and more. A recent project for Spencer’s Gifts national retail chain called for making several hundred silicone and urethane plastic castings of a Werewolf’s arm display piece. Normally, Ryan would sculpt in clay and make a mold from that for production. Anticipating that this piece will be used for years to come, however, something more archival than clay is required. Ryan found Free Form® Sculpt sculpt-able epoxy putty to be the perfect medium to create and archival master. His process is chronicled below.
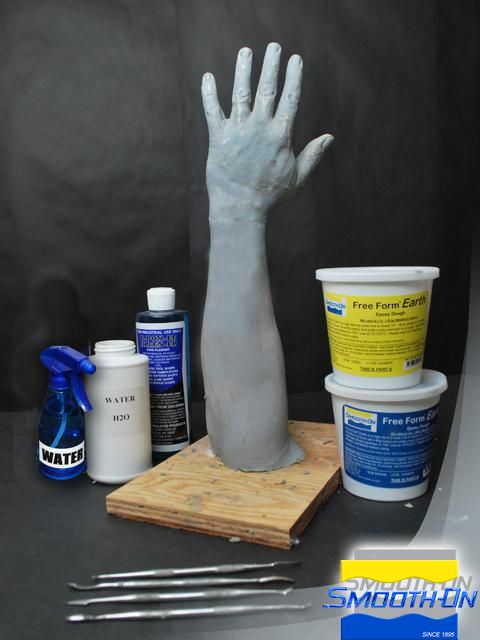
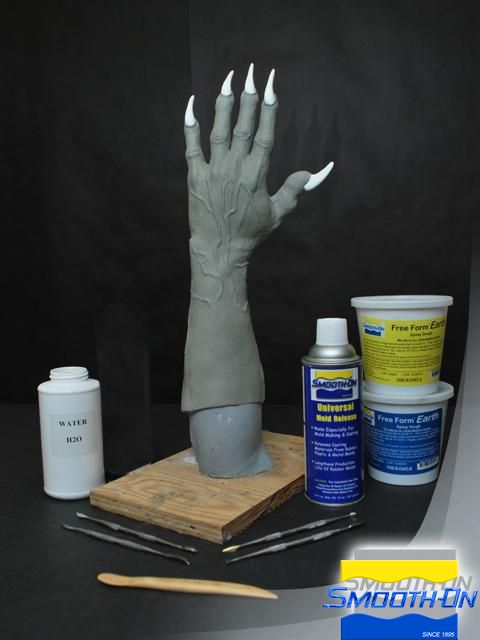
Materials Used in this Tutorial
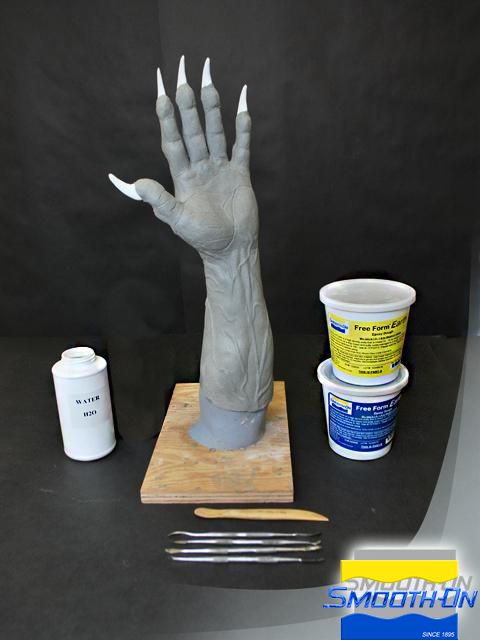
- Free Form Sculpt
- Mixing Containers
- Sculpting Tools
- Cellophane
- Spray Bottle
- Cat Brush
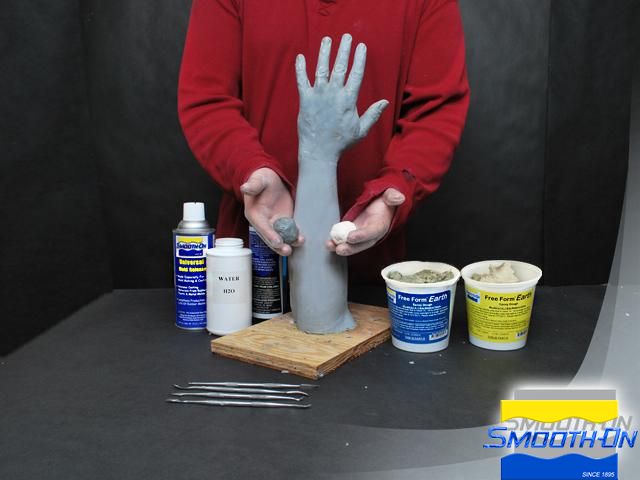
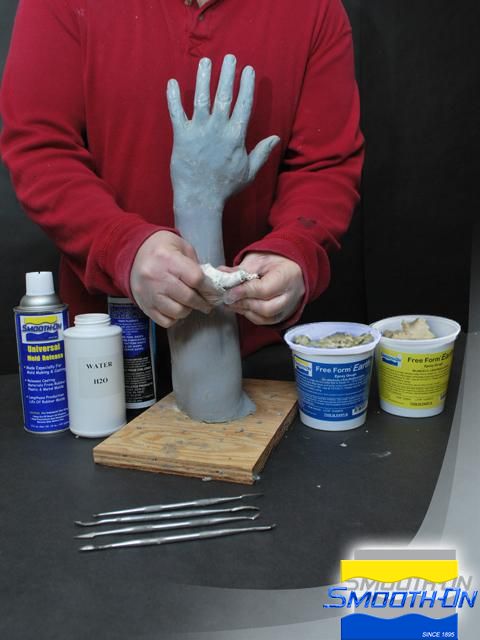
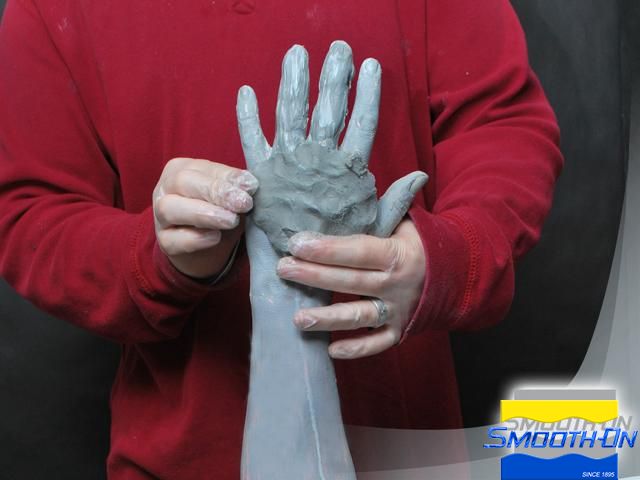
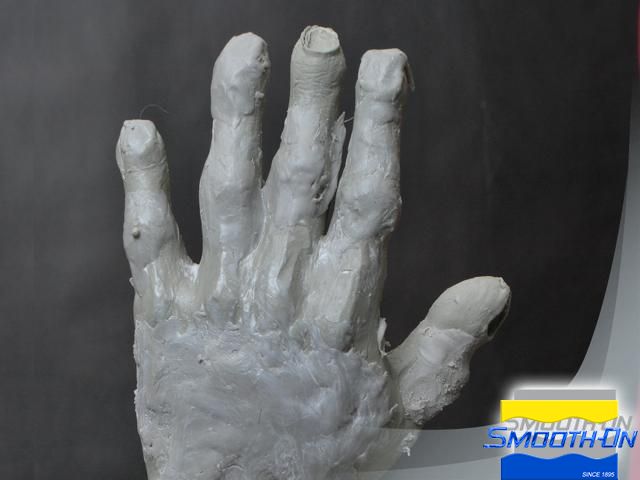
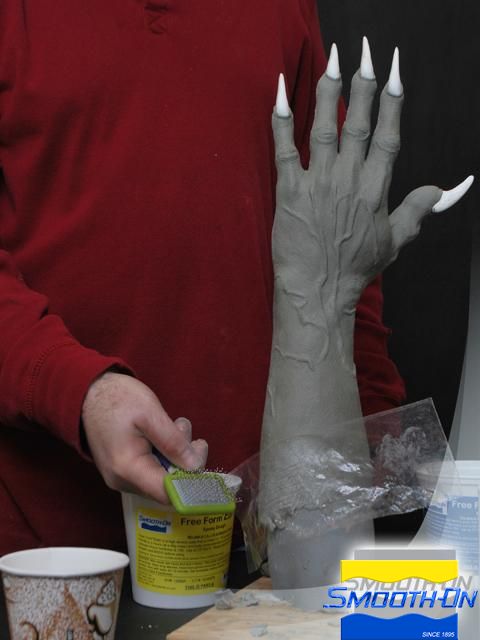
For this project, a lifecasting of an arm is used as the armature for the Free Form® Sculpt.
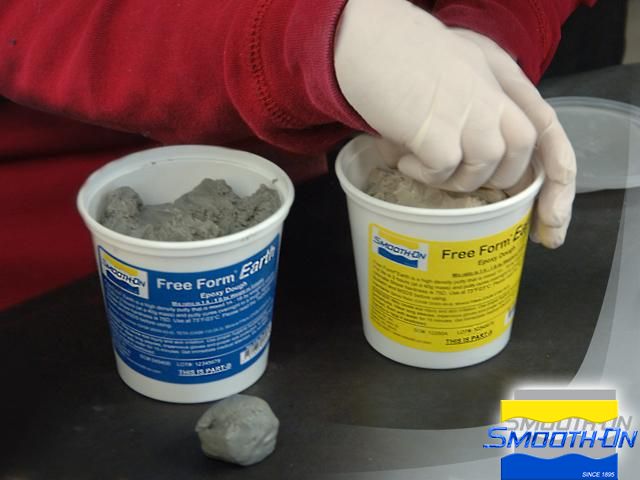
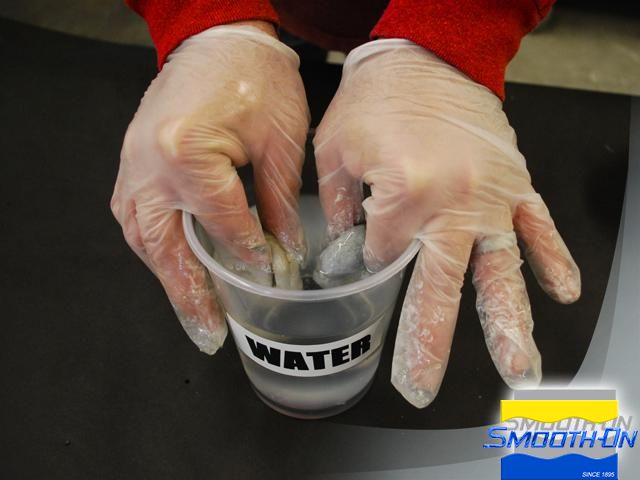
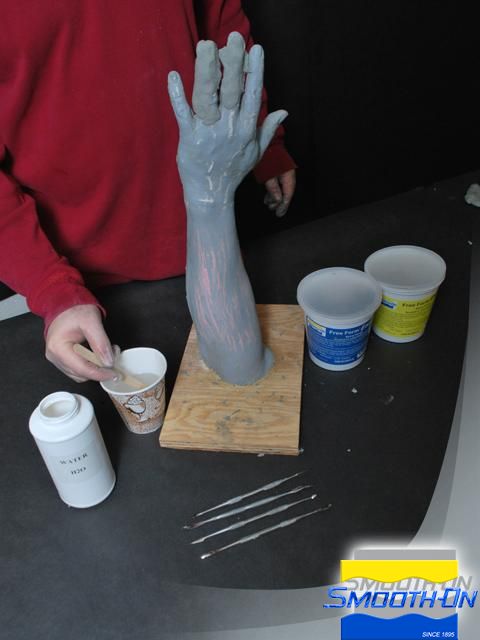
Free Form® Sculpt is a 1:1 professional grade sculpting medium that is easy to use. Equal amounts of part A and part B are scooped out of the containers for mixing. Parts A & B are immersed in water for a few seconds. Free Form® Sculpt blends easily to a consistent neutral grey color; perfect for seeing details. The consistency of the Free Form® Sculpt allows for quick build up over the armature.
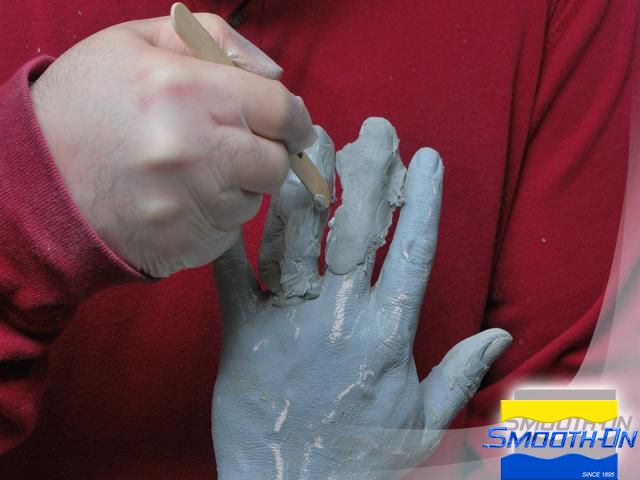
Step 2: Tooling Free Form Sculpt
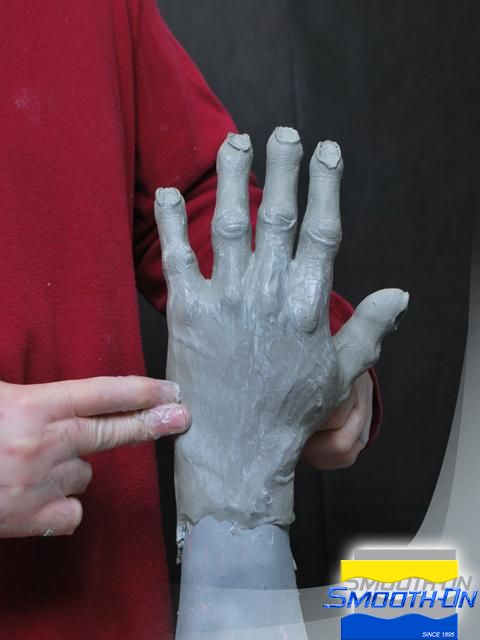
Simple water is used to smooth out the Free Form® Sculpt and help keep anything from sticking to the dough. Free Form® Sculpt is easily tooled with a wet Popsicle stick. More Free Form® Sculpt is mixed and added to the armature for quick build-ups of material. A combination of water and additional Free Form® Sculpt are used to quickly smooth and build up structure on the armature.
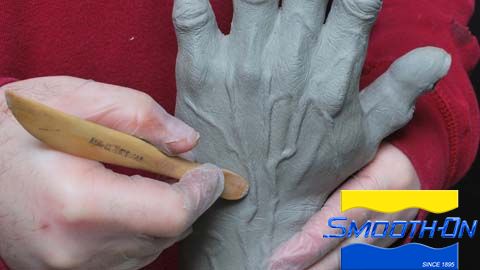
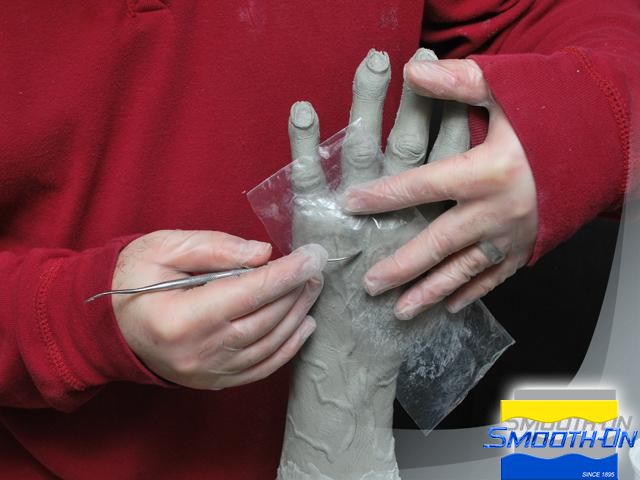
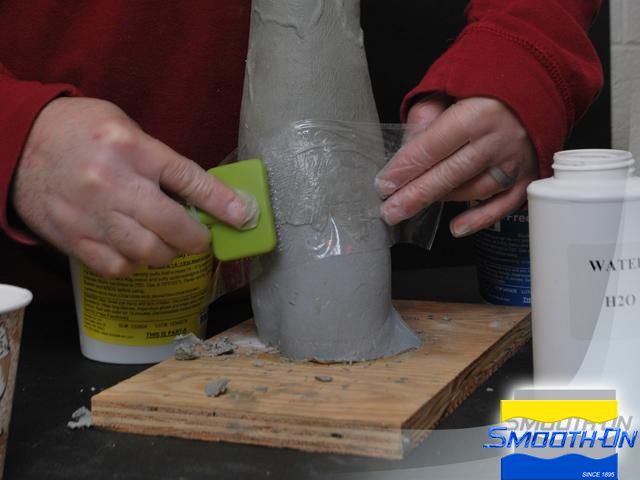
The density of Free Form® Sculpt allows for the sculpting medium to retain shapes when heavily tooled with sculpting aids. Water from a mister is sprayed on a piece of cellophane to be used to create texture on the Free Form® Sculpt. The misted water keeps the cellophane from sticking to the epoxy.
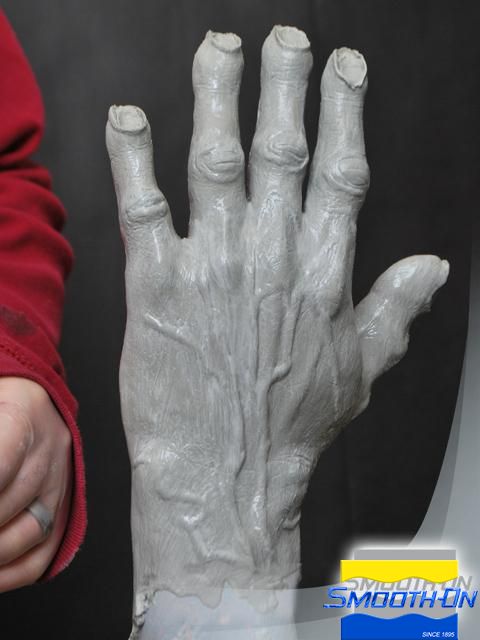
The tool pressing into the cellophane over top the putty allows for soft natural looking wrinkles to be pressed into Free Form® Sculpt. Free Form® Sculpt reflects the detail captured with the tool.
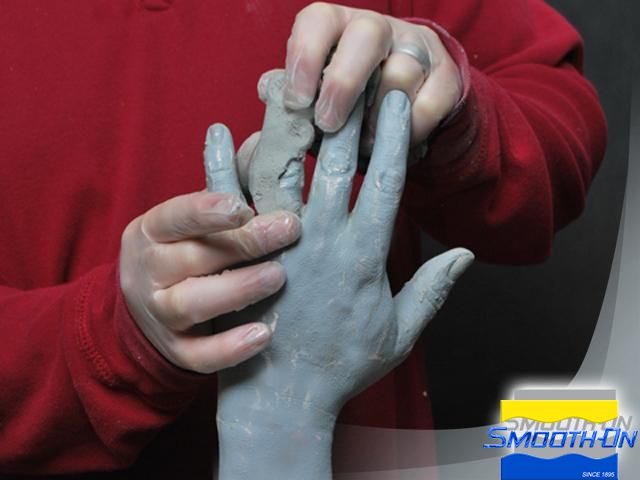
Long potlife allows for further refining and addition of more putty without worry of the Epoxy hardening up while working it. Details such as veins can be quickly added by rolling up pieces of Free Form® Sculpt, attaching them to the sculpt and blending them in using water. More Free Form® Sculpt is mixed with water and added to the armature
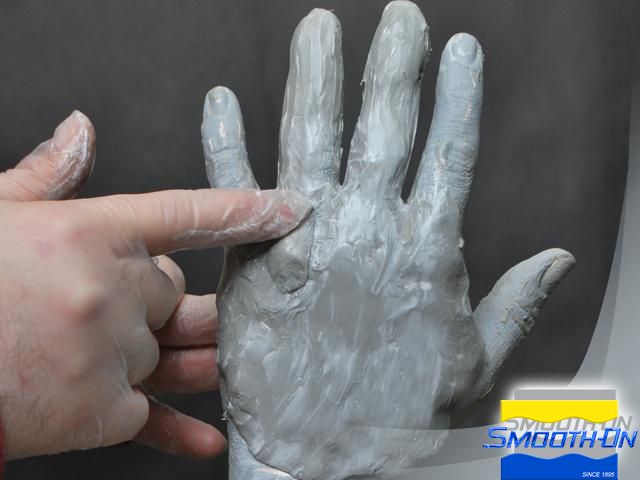


Step 3: More Advanced Detail Added
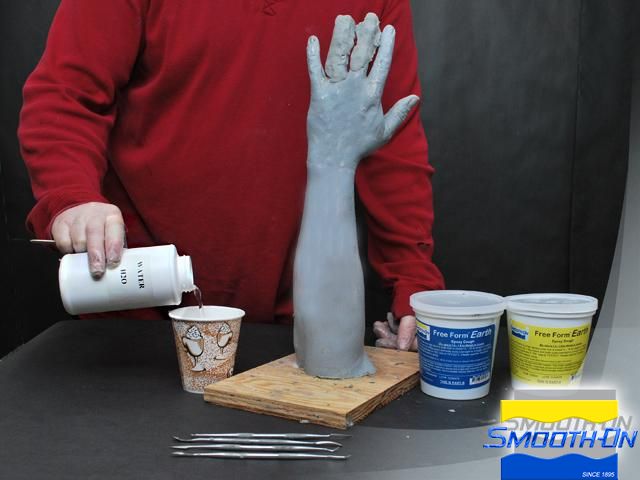
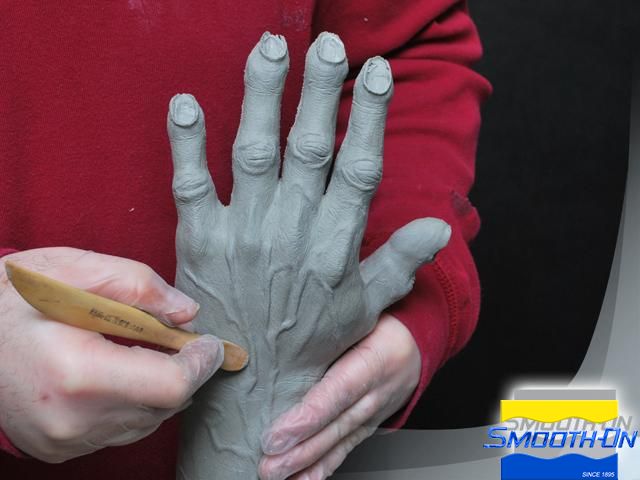
Once again, water is used to blend and smooth the Free Form® Sculpt onto the existing sculpture. A variety of tools and common items can be used to work the Free Form® Sculpt into the desired shape. More tooling and detailing is done using the cellophane method. Free Form® Sculpt reflects perfect detail and texture.
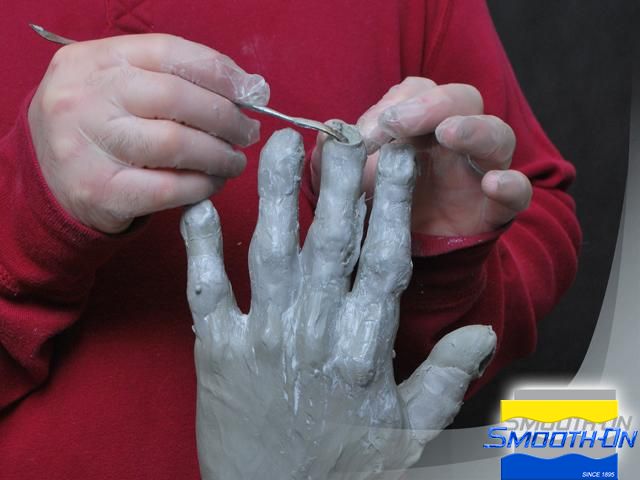
Step 4: Finishing
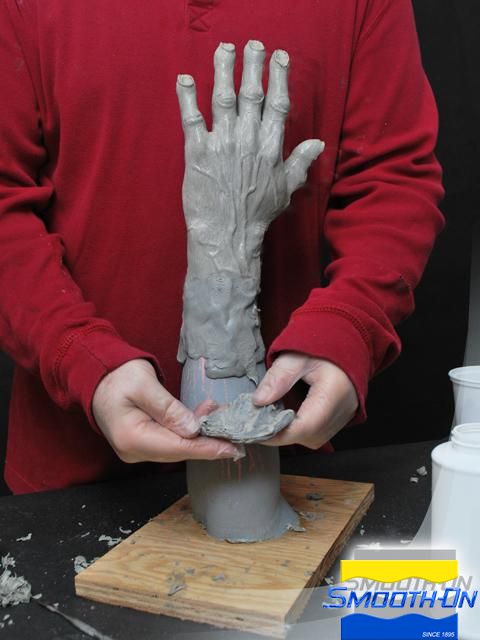
Resin claws are test fitted into the piece to make sure they are registered correctly. They will eventually be pulled back out and cast separately. An ordinary cat brush will be raked against the cellophane to make soft skin texture in the Free Form® Sculpt. The raking of the cat brush on the surface makes very believable skin texture.
After a 24 hour complete cure, the master is finished, archival, and ready for production molds to be made from it.
文件下载 ›