使用FreeForm SCULPT修复找到的稀有品
概述
Overview
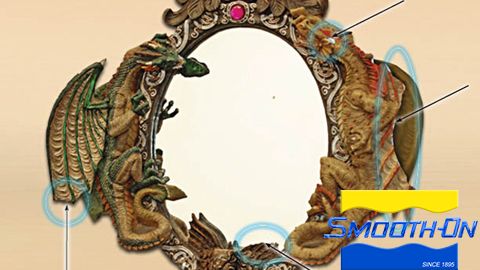
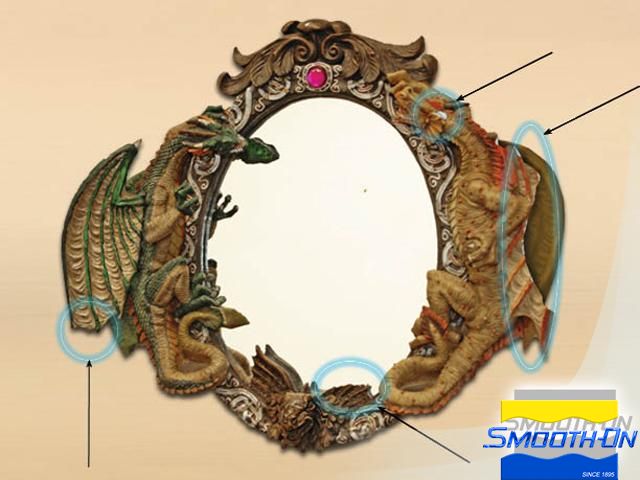
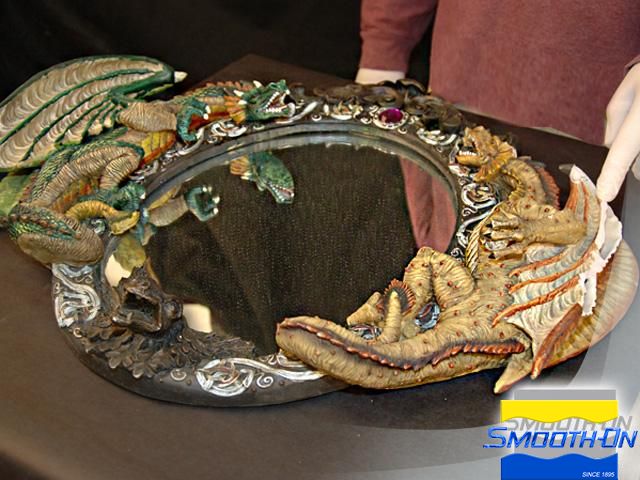
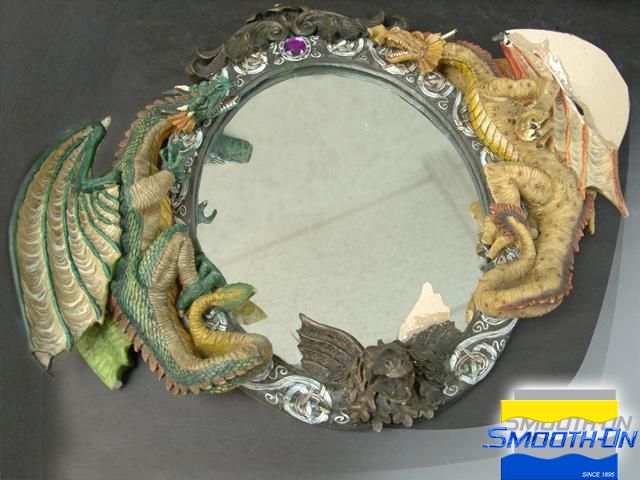
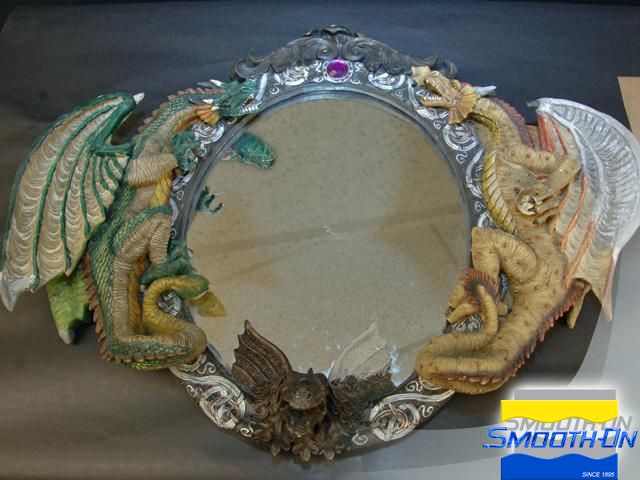
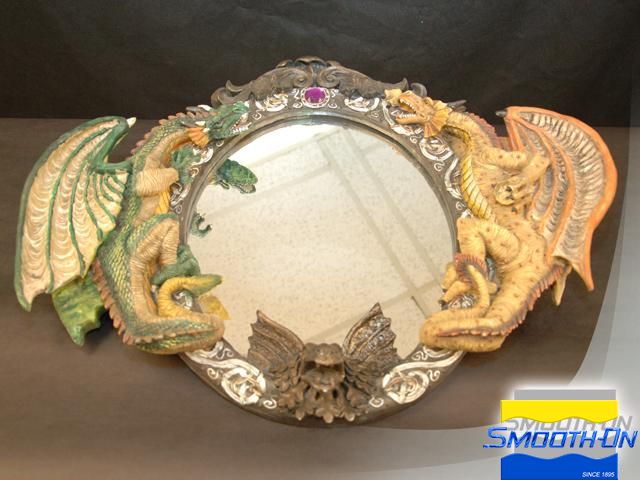
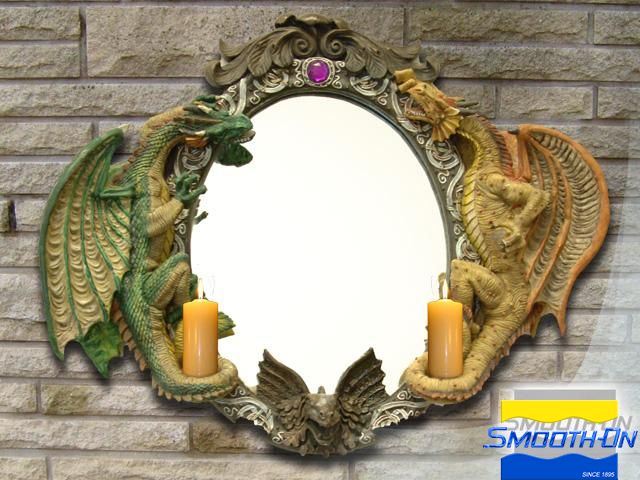
For over 40 years, Tim Bennett's hobby has always been treasure hunting at garage and yard sales. He often acquires sculpture or 3-D art that needs minor repair, restores it and sells it for a profit. Tim recently came across a mirror with a fantasy themed frame featuring two highly detailed dragons. Purchase price: $10.00. Damage to the frame was mild to moderate with some sections missing entirely.
Tim figured that he could make at least 10 times what he paid for the piece if it could be repaired and restored. He called the Smooth-On technical help line looking for options. Smooth-On had just introduced a new sculpt-able epoxy putty called Free Form® SCULPT. It is a sister product to Free Form® Air lightweight epoxy putty that Tim had used in the past for sculpture projects, to create lightweight masks, armatures and more. The new Free Form® SCULPT is more precise as a sculpting medium than the Free Form® Air and better suited for this type of project.
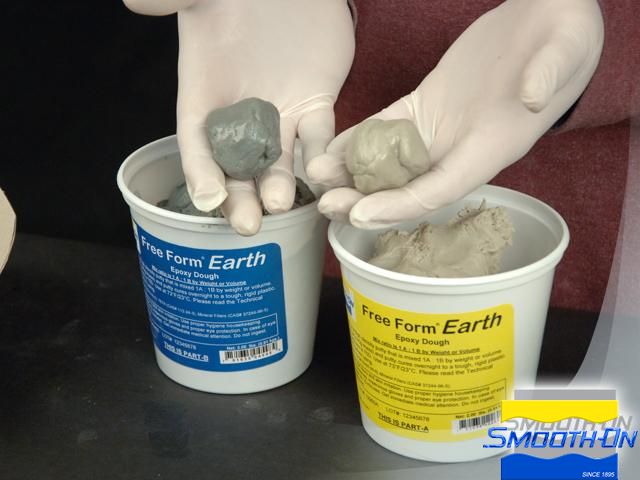
Note: The Free Form® Earth shown in this tutorial has been renamed Free Form® SCULPT.
Materials Used in this Tutorial
- Free Form Sculpt
- Super Instant Epoxy
- E-POX-EE KLEENER
- Dowel
- Cardboard
- Marker
- Chip Brush
- Mixing Containers
- Mixing Sticks
- Spray Bottle
- Tap
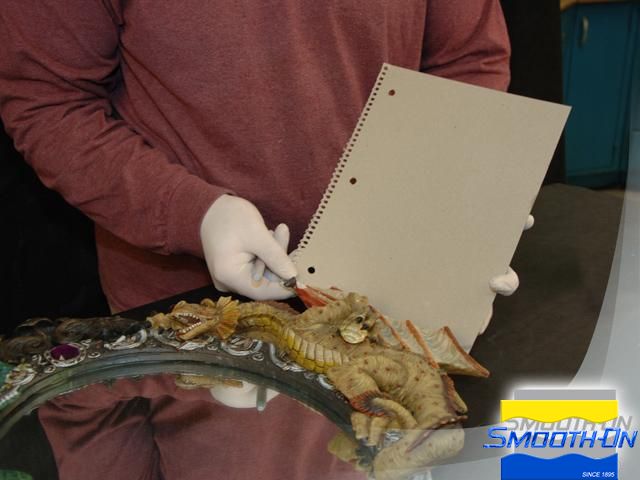
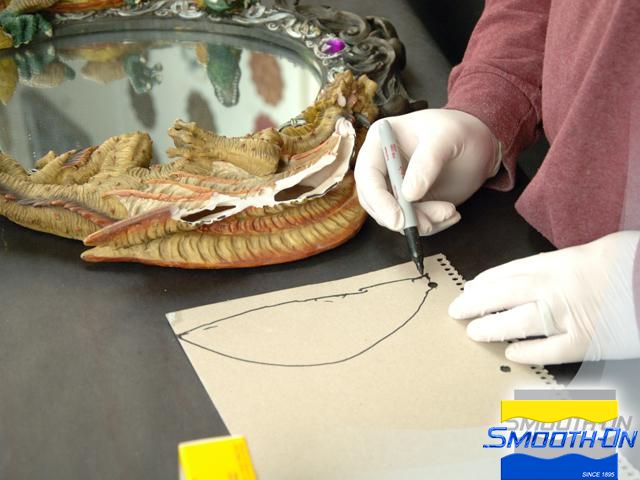
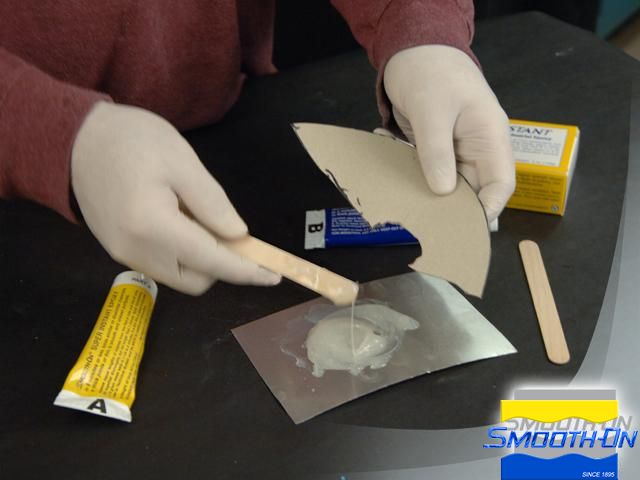
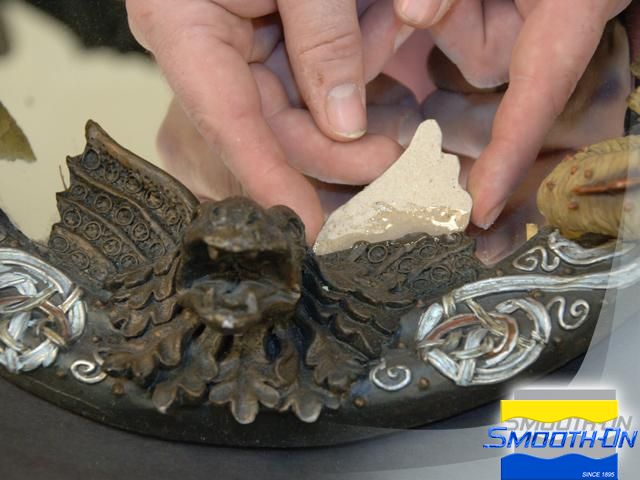
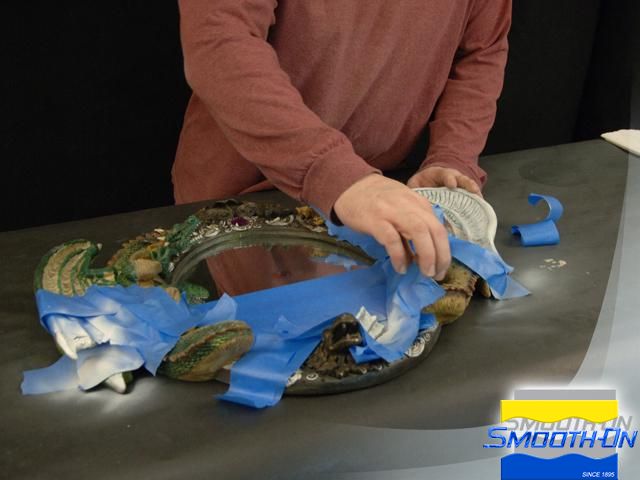
A mirror with a damaged frame was purchased at a yard sale and the broken parts have been identified. The missing wing will be recreated first. Cardboard will be used as an armature support Free Form Sculpt® sculptable putty. A marker is used to trace the outline of the broken piece onto the cardboard. Once the outline of the broken area is complete, the general shape of the wing is then sketched onto the cardboard and cut out. At this point, it is test fitted onto the dragon. Super Instant® Epoxy is mixed and applied to the edge of the cardboard. The cardboard armature is glued into place and held momentarily as the epoxy sets.
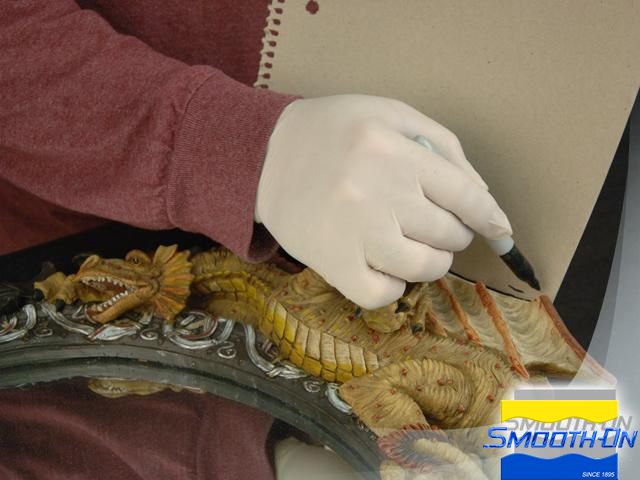

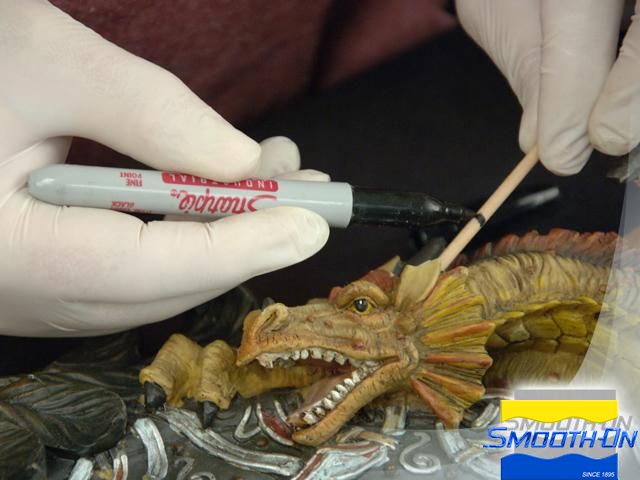
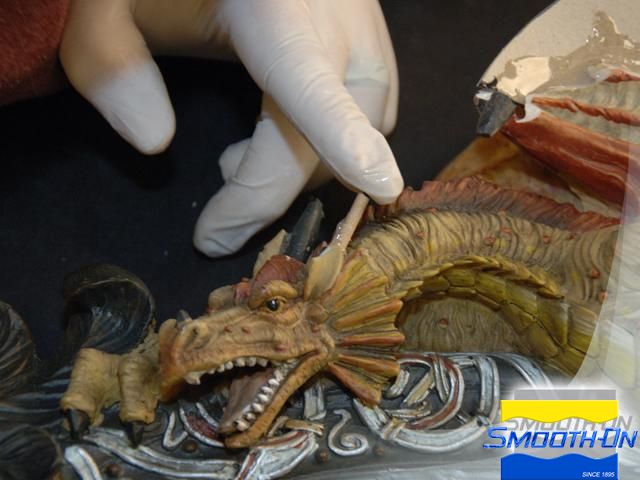
Step 2: Creating missing Dragon Horn
A piece of wooden dowel will be used as an armature for the missing dragon horn. As with the wing, the dowel is marked, fitted and cut to the desired length for the horn. Super Instant® Epoxy is used to glue the dowel into place for sculpting purposes. The bottom gargoyle wing gets the same treatment as the dragon wing, and is glued in place. Finally, the broken end of the other dragon wing is fitted with a small cardboard armature. The armatures are all epoxied into place and ready for the application of Fere Form® SCULPT Epoxy Putty.

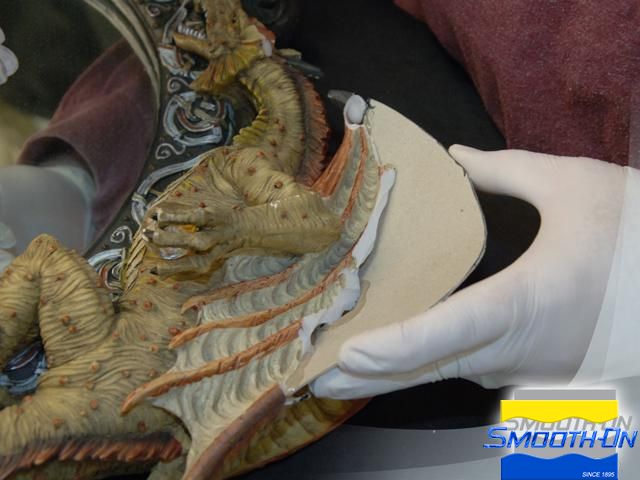
Step 3: Applying Free Form Sculpt
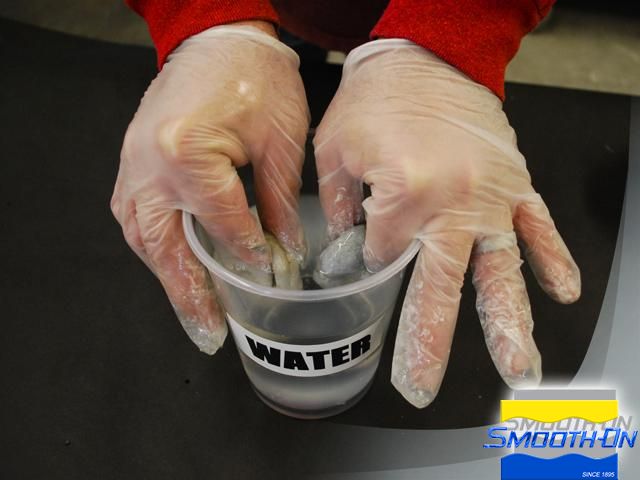
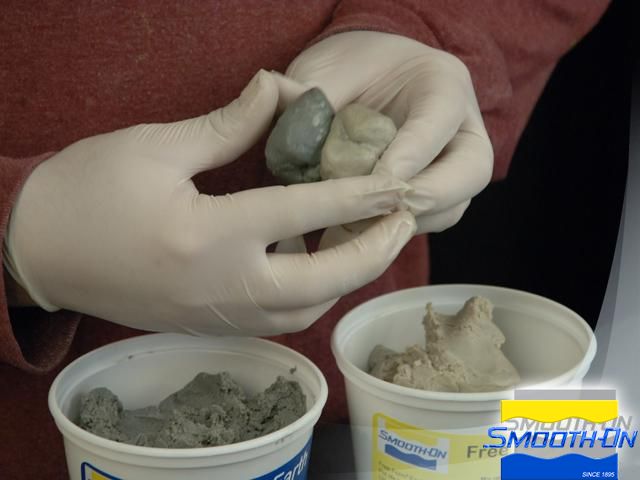
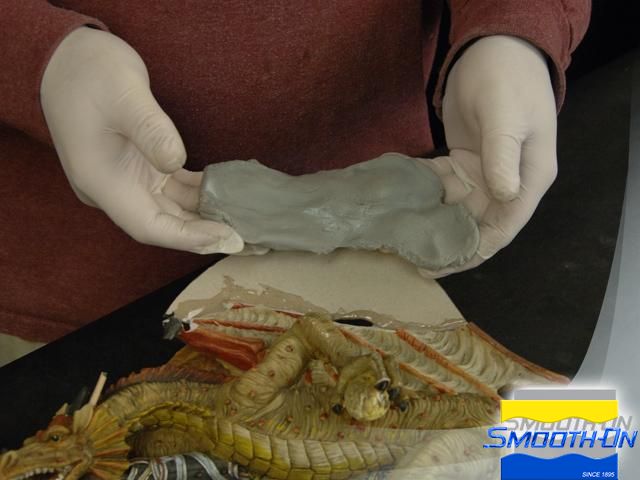
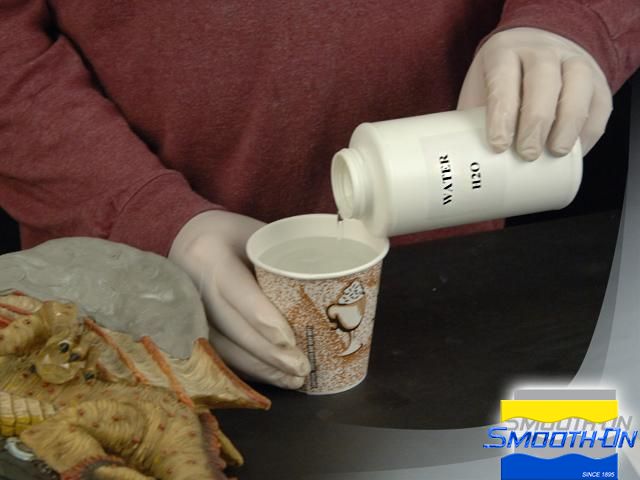
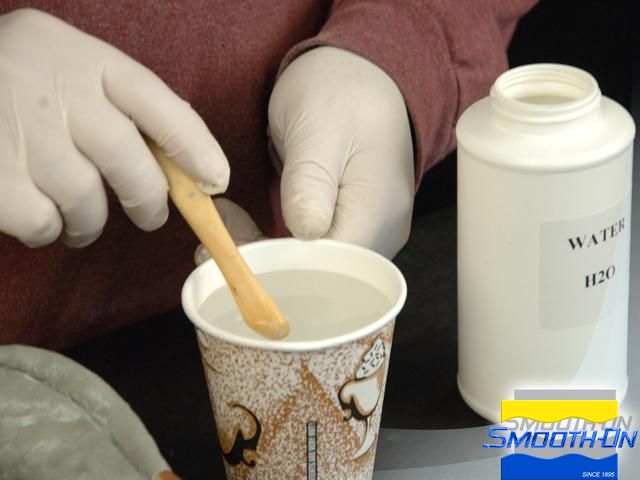
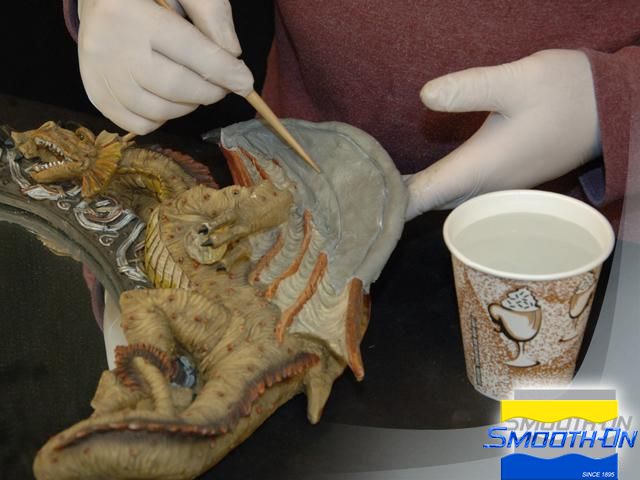
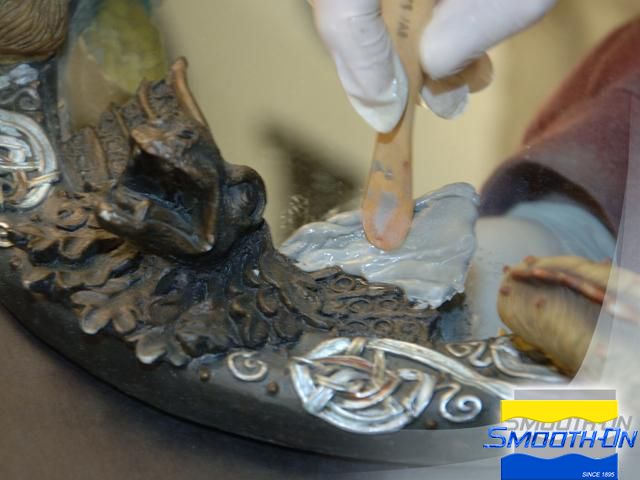
Free Form® SCULPT is a 1:1 epoxy putty that blends together easily when water is added to it. Equal parts of putty are dispensed out of the containers. Free Form® SCULPT is immersed in water prior to blending together to achieve maximum work-ability. Part A and Part B are blended together carefully by hand. Once a uniform color is achieved, Free Form® SCULPT is ready to be applied.
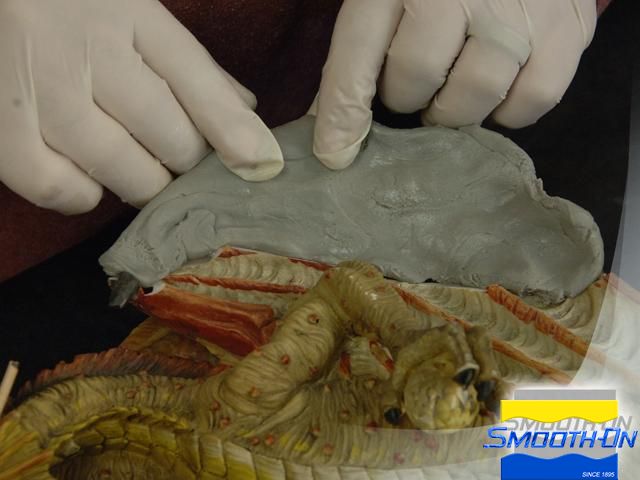
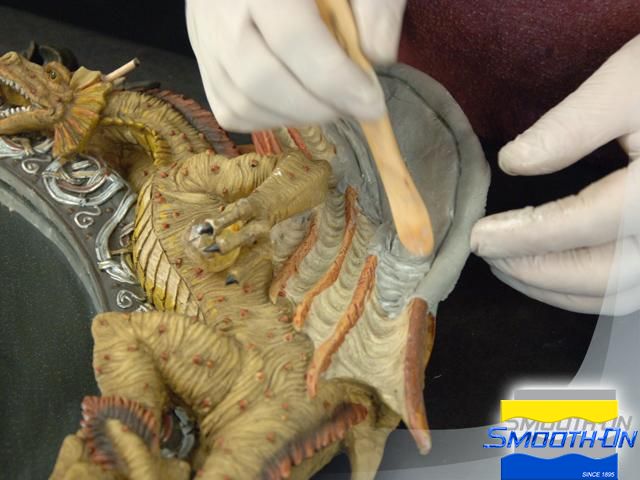
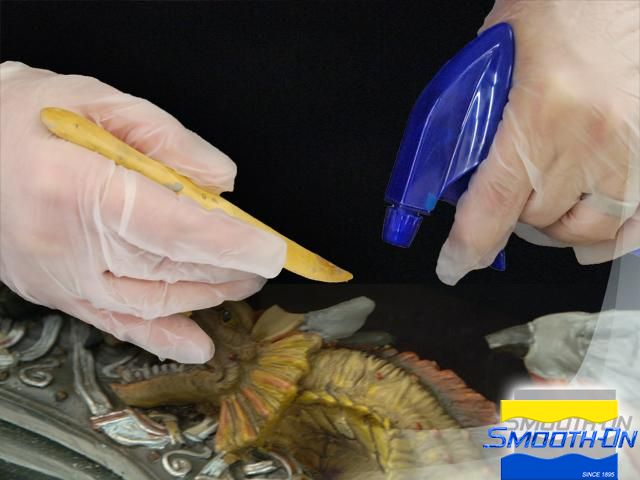
Free Form® SCULPT is then fitted onto the cardboard armature and blended into the existing piece. Water is used to smooth out the Putty and ensures that nothing sticks to the sculpting tools. Sculpting tools are dipped into water prior to using them to sculpt Free Form Sculpt®. Water helps smooth the putty as well as sculpt fine detail on the surface easily and efficiently.
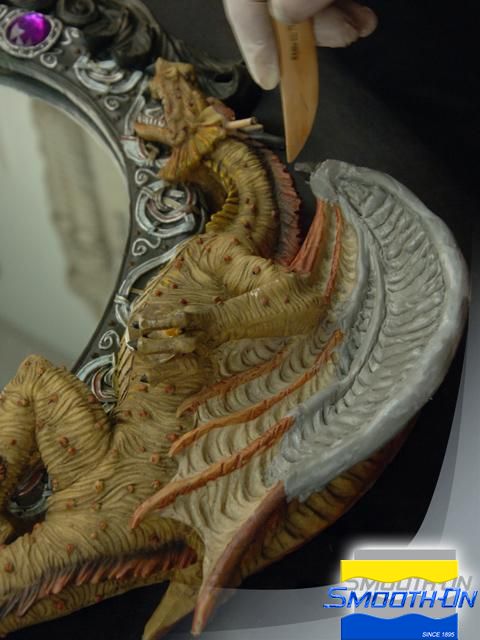
A long potlife coupled with ease of workablity, makes quick work of an otherwise tedious process. The dragon horn is quickly restored with a couple spritzes of water and a few touches of the sculpting tool against the Free Form® SCULPT. More is applied to the broken wing bottom as well and the gargoyle wing is repaired using the same technique.

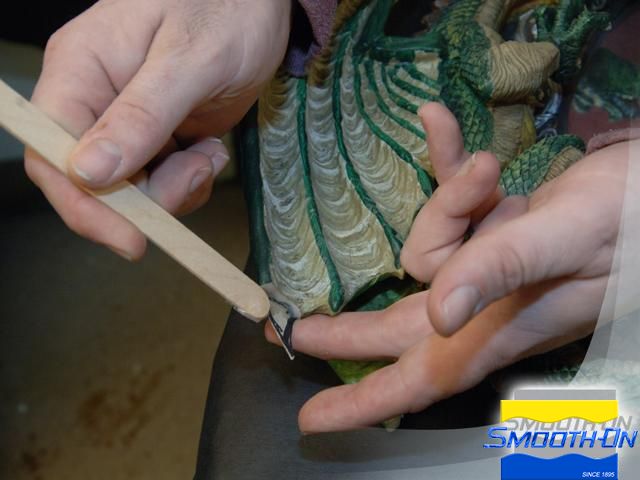
Step 4: Cleaning Utensils
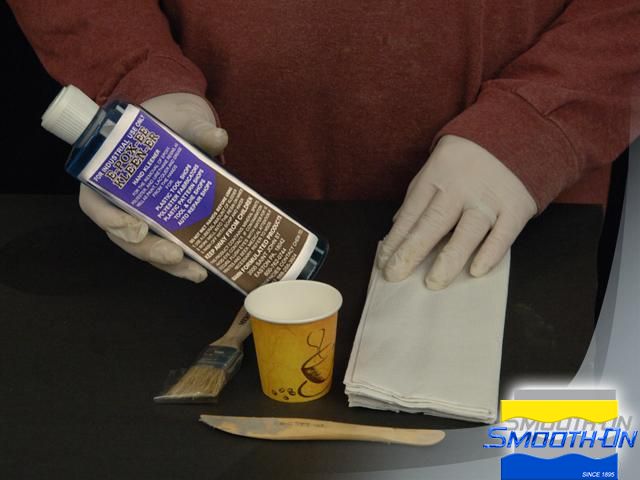
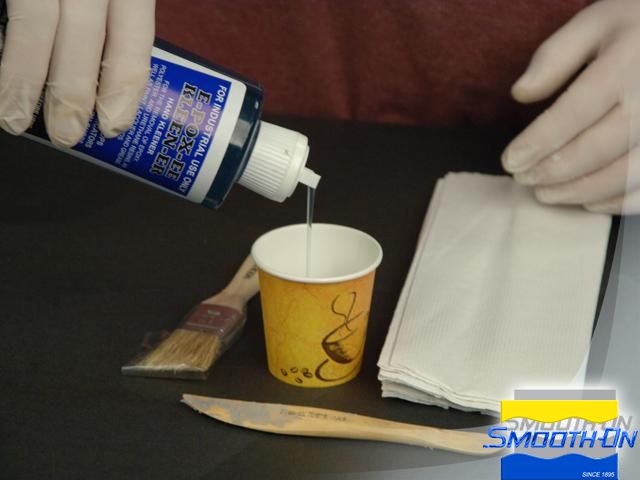
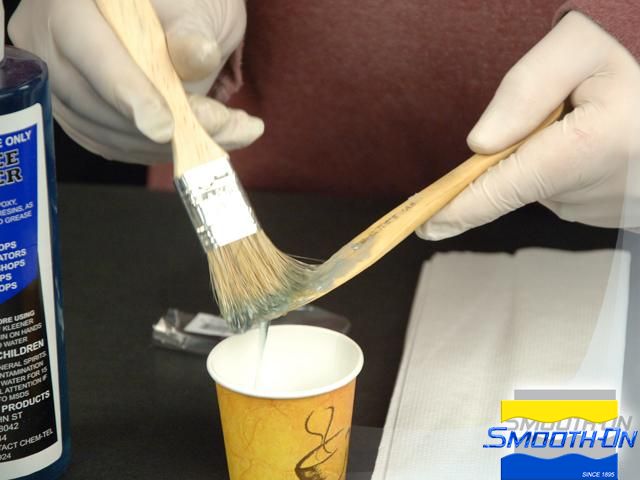
Once sculpting is finished, tools, hands. and surfaces can easily and safely be cleaned up using Smooth-On E-POX-EE KLEENER®. A small amount of KLEENER® is dispensed in a disposable cup. A chip brushed dipped into the E-POX-EE KLEENER® is brushed onto the tool or any surface that may contain uncured Free Form® SCULPT.
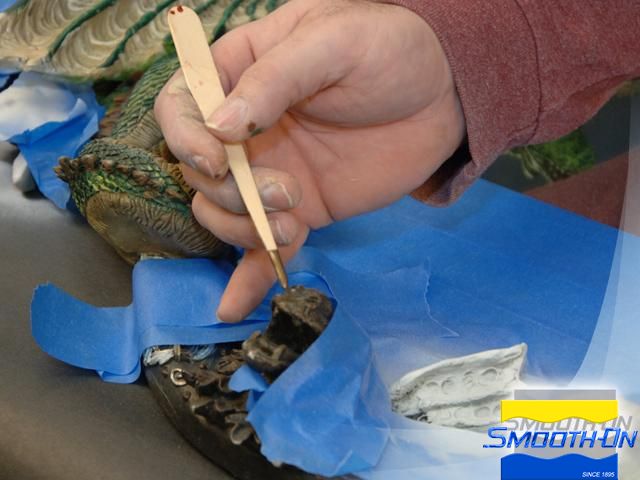
Step 5: Finishing
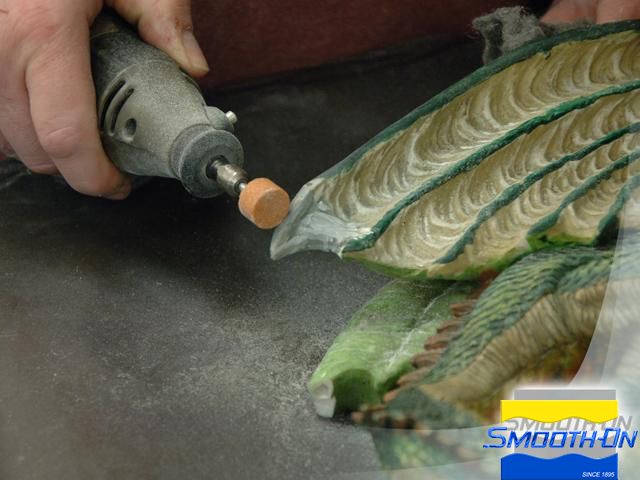
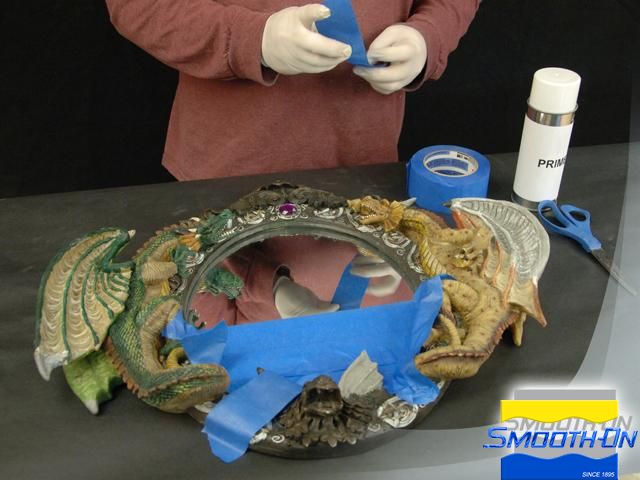
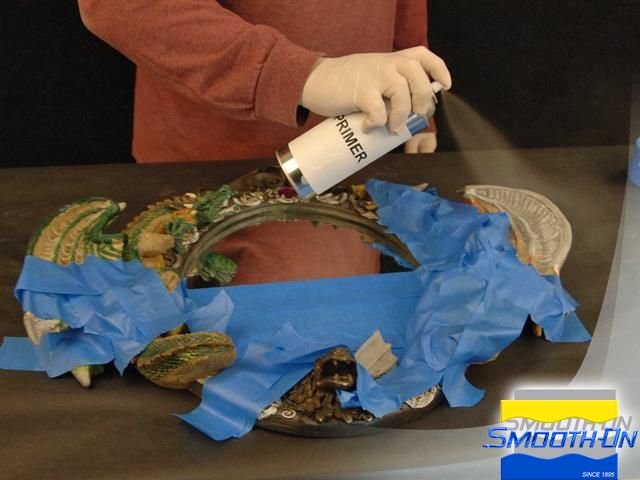
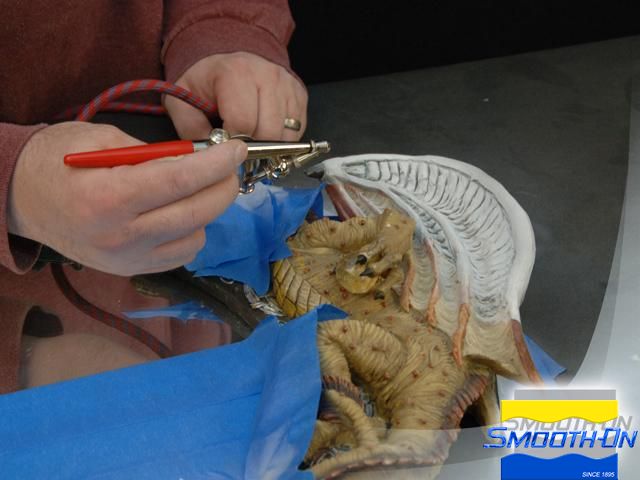
After an overnight cure, the Free Form® SCULPT is strong enough to be shaped with a grinding wheel if necessary. Once the piece is cured, it is strong and ready for primer. Masking tape is applied in areas to protect the piece from primer over spray. Once all areas are masked, a plastic primer is applied to Free Form® SCULPT. A thorough coat of primer will enable paint to stick to the Free Form® SCULPT. Once the primer is fully dried, the tape can be safely removed for painting.
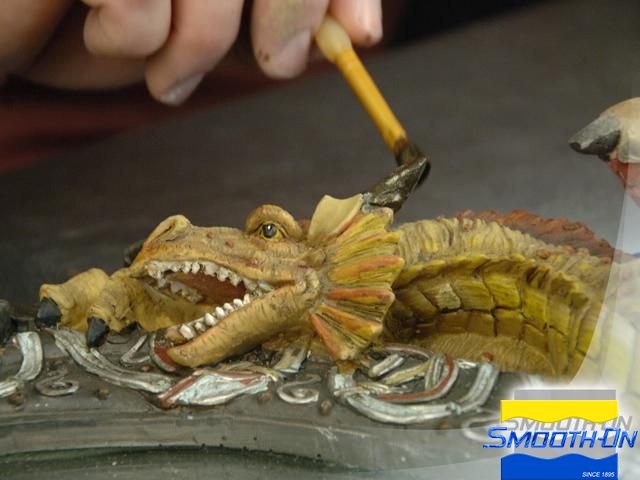
The end user can determine how they want to paint the primered Free Form® SCULPT for this piece, a combination of airbrush and paint brush will give us the desired finished effects. A base coat of paint is applied to the wing, closely matching and blending to match the original paint.

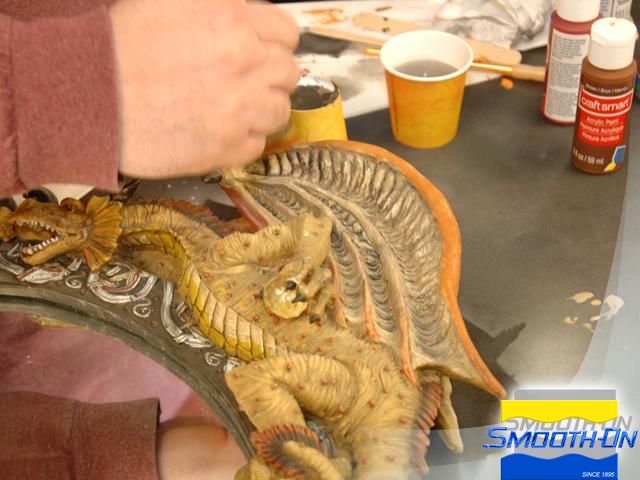
Step 6: Final Touches
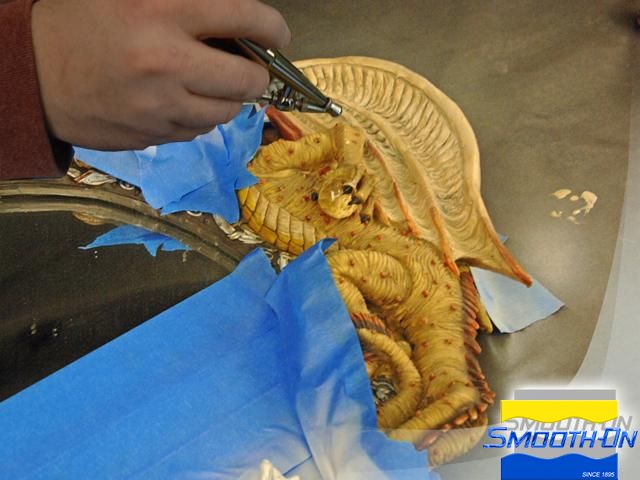
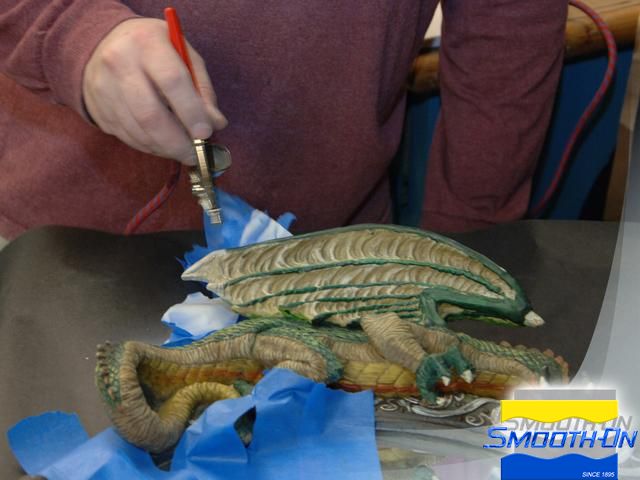
Other areas of similar color are also sprayed. More paint is mixed with the color matched to the existing piece and all remaining areas are paint finished. A combination of dry brush and paint brush techniques are used to finish the painting process. The mirror frame is fully restored. Tim Bennett sold this mirror on ebay for $225.00. A net profit of about $175 after factoring in repair material costs.
文件下载 ›