使用板模制作硅胶伤口
概述
Overview
This step-by-step guide will illustrate how to make a flat resin plate mold that you can cast platinum silicone into to make a realistic scar or wound make-up effect.
Looking for new Halloween ideas or need to create a theatrical fake scar or wound? Follow this step-by-step guide to making a facial wound appliance.
Materials Used in this Tutorial
- Shell Shock® Brushable Plastic
- Skin Tite®
- Silc-Pig®
- Ease Release® 200
- Non-Sulphur Clay
- Melamine Board
- Mixing Sticks and Containers
- Paint Brush
- Baby Powder
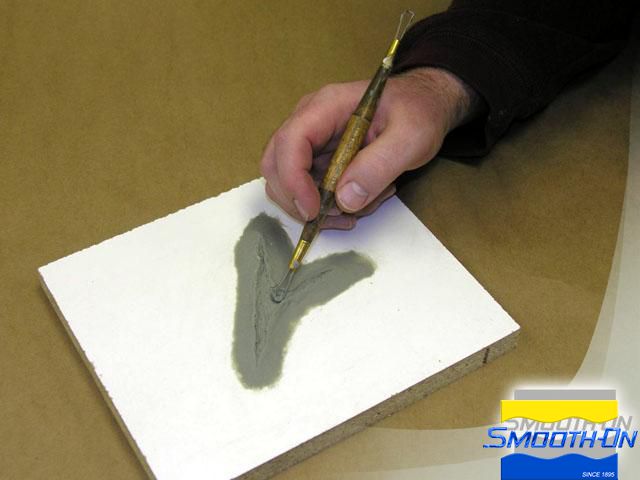
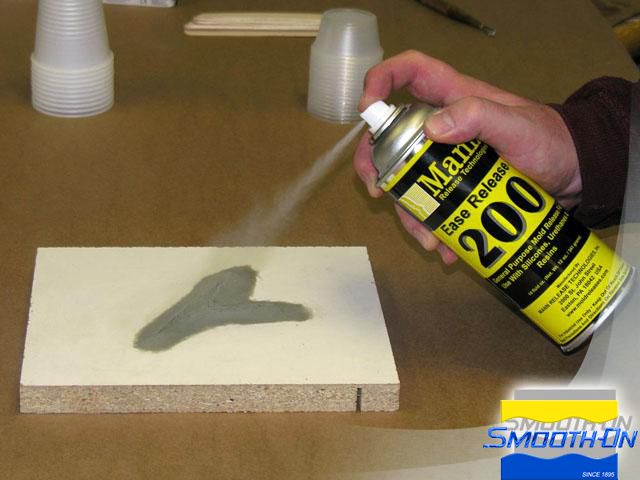
Step 1: Designing Wound
Create a sculpture of desired wound in non-sulphur clay, then apply Ease Release 200 to the entire surface.
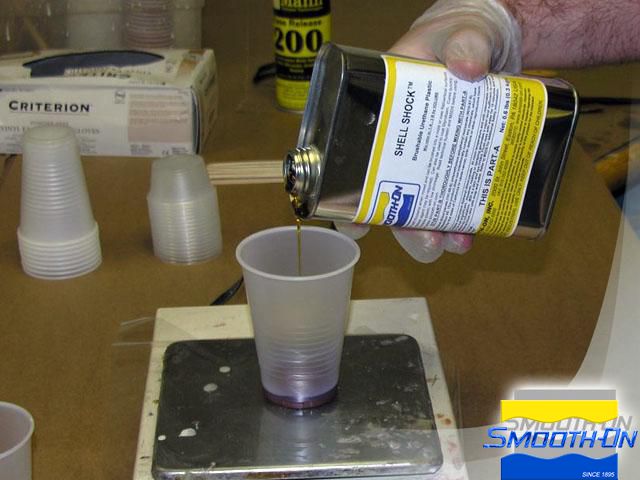
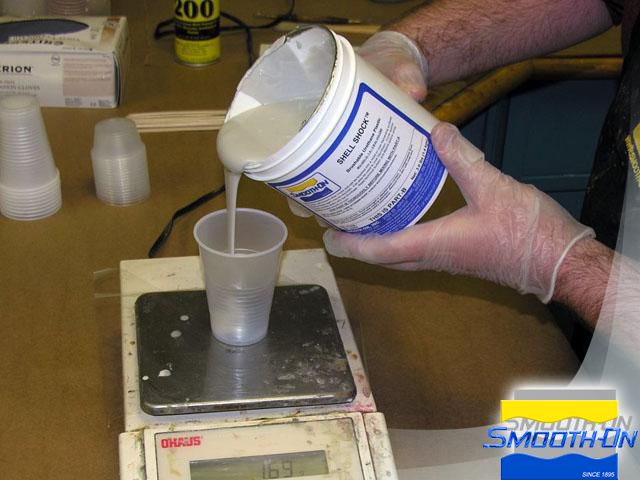
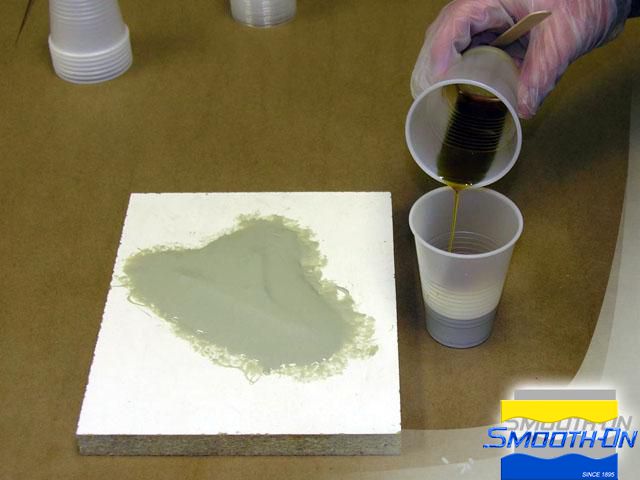
Step 2: Measuring Shell Shock®
Measure Shell Shock® Parts A and B separately (1A:5B by weight), and then combine and mix thoroughly.
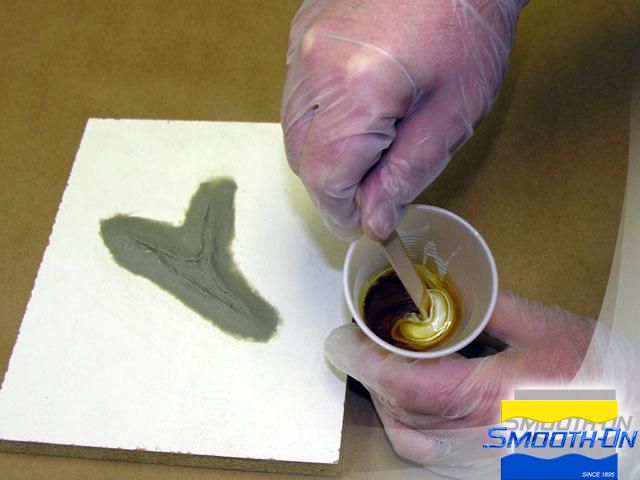
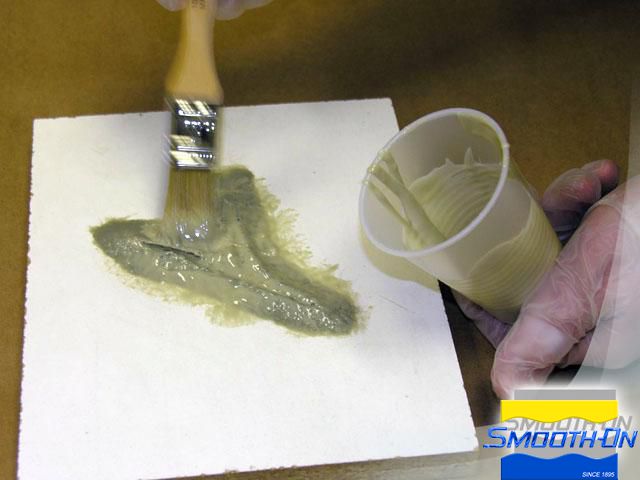
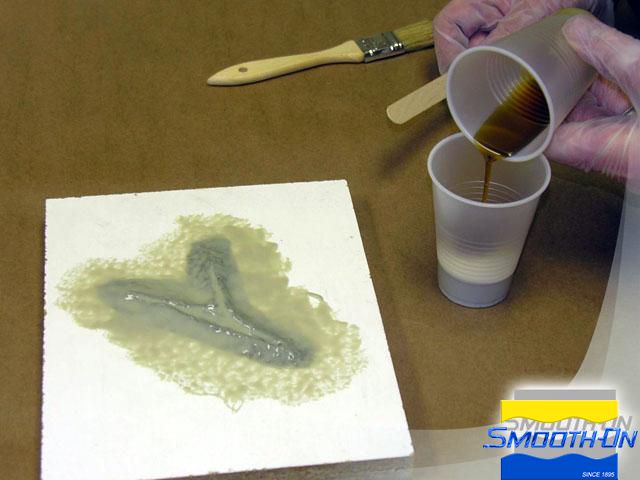
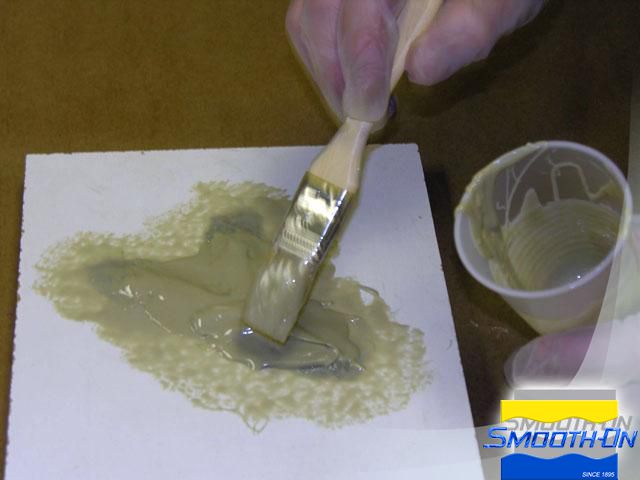
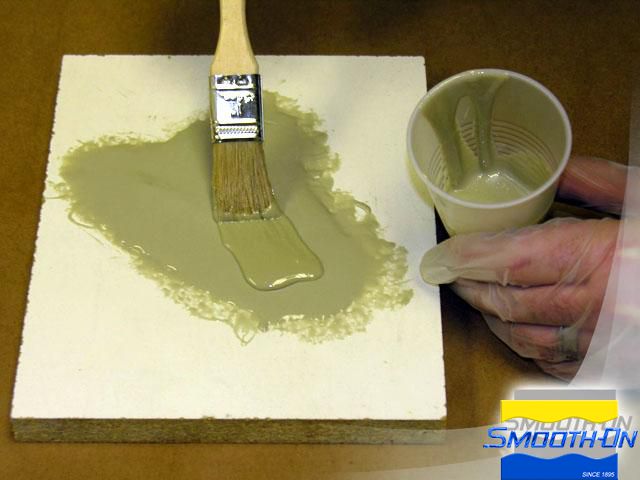
Step 3: Applying Shell Shock® To Sculpture
First, apply a thin detail coat of Shell Shock® by stippling it onto the clay sculpture. After the first layer, mix, measure, and apply a second thicker batch of Shell Shock®. Repeat once more for a third batch, creating 3/8'' (1cm) mold thickness.
Step 4: Demold
Remove the Shell Shock® mold from the board and clear the excess clay out of the mold using a wooden stick.
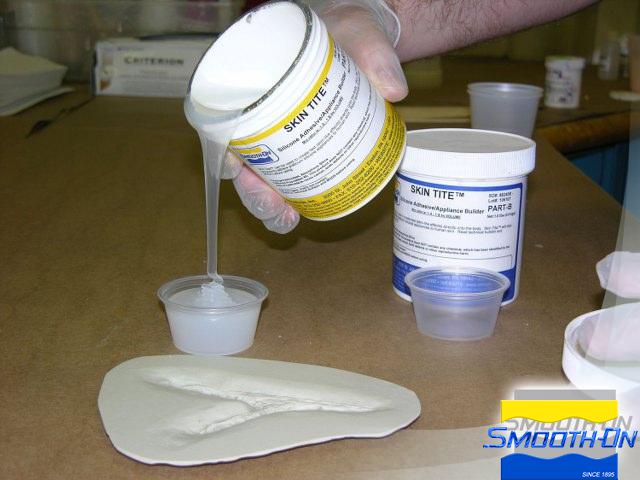
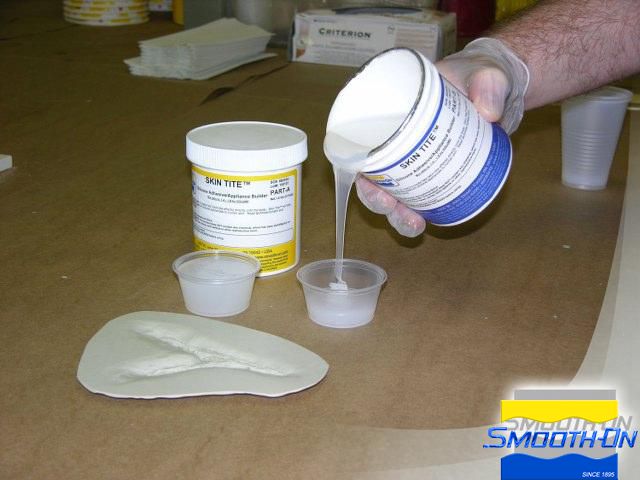
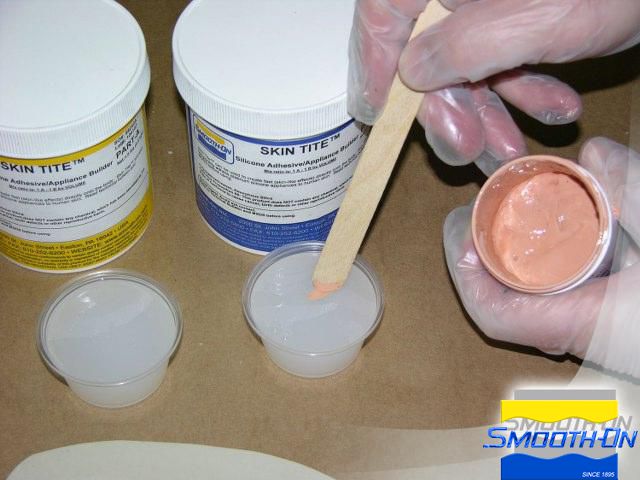
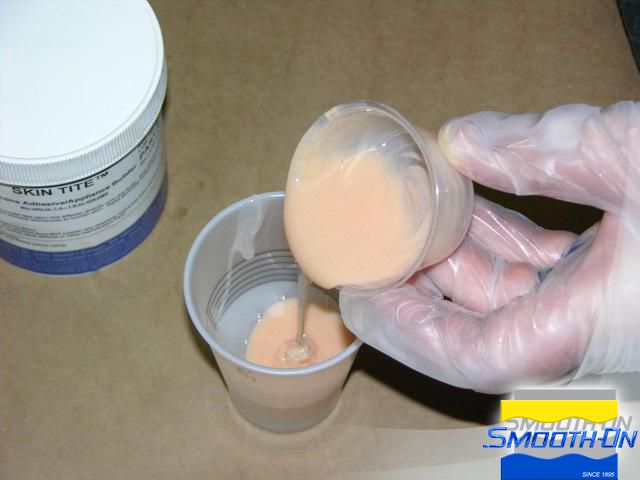
Step 5: Measure Skin Tite®
After the edges of the mold are sanded smooth, measure Skin Tite® parts A and B separately (1A:1B by volume). Add Silc-Pig® flesh tone pigment to Skin Tite® part B and to Skin Tite® part A. Mix the Skin Tite® silicone thoroughly for a perfect wound make-up effect.

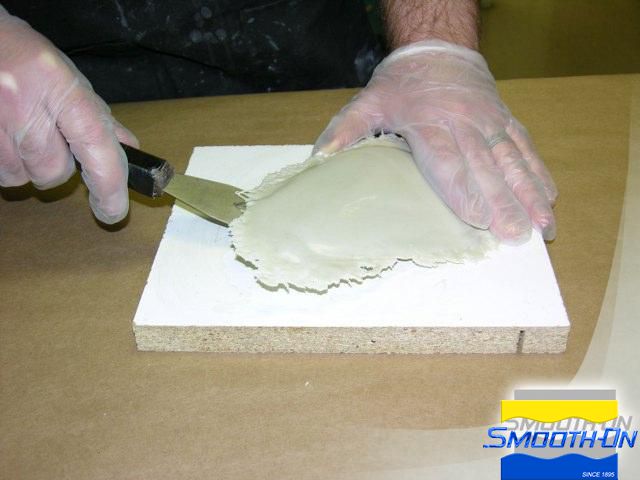
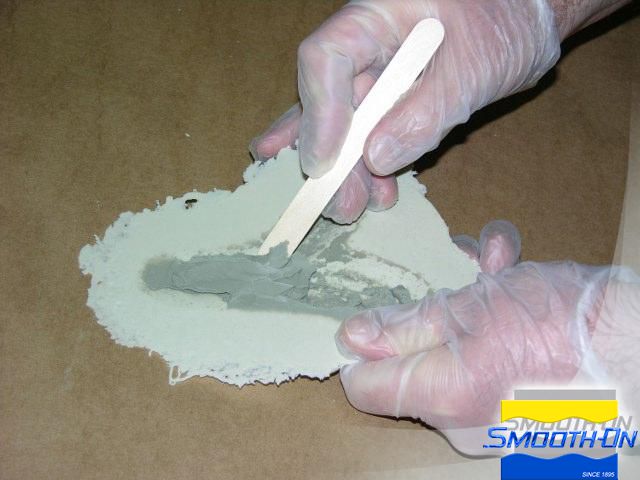
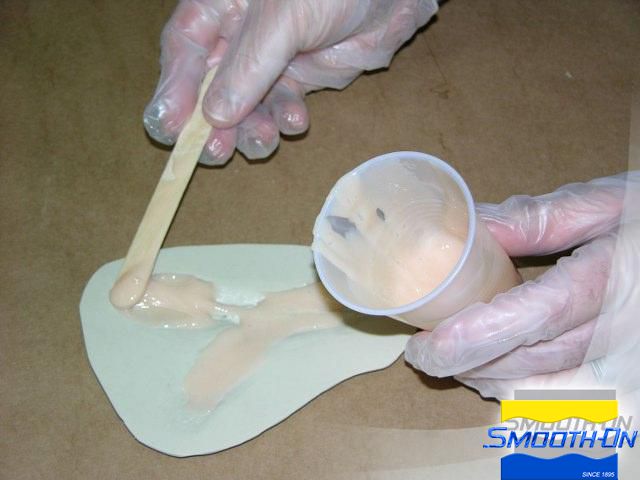
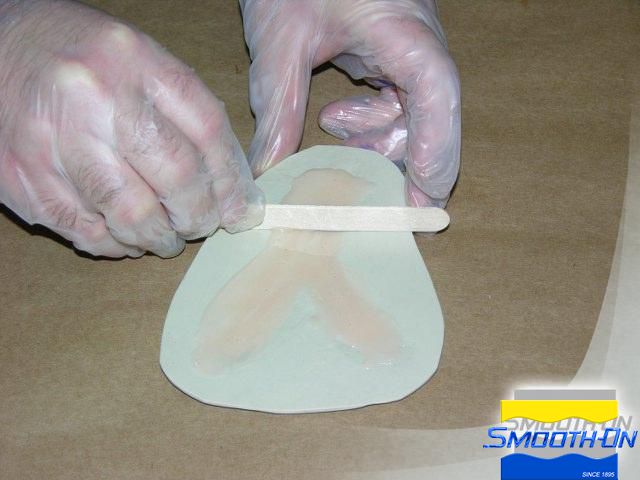
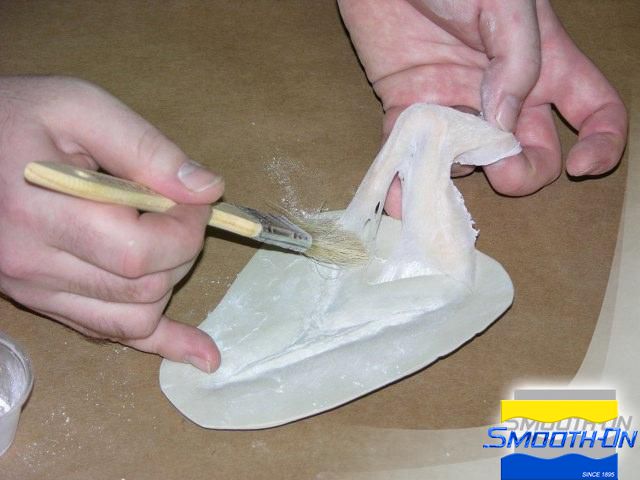
Step 6: Casting and Demolding Skin Tite® From Mold
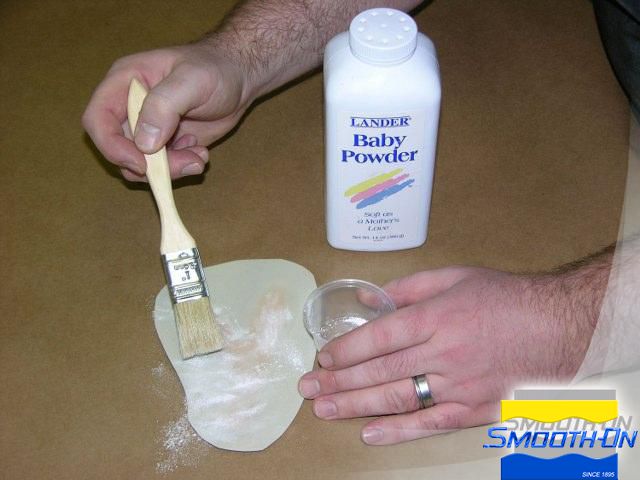
Spread the mixed Skin Tite® into the mold using a wodden stick and scrape the excess Skin Tite® away. After a 10-minute cure, powder the Skin Tite® piece and carefully remove it from the Shell Shock® mold.
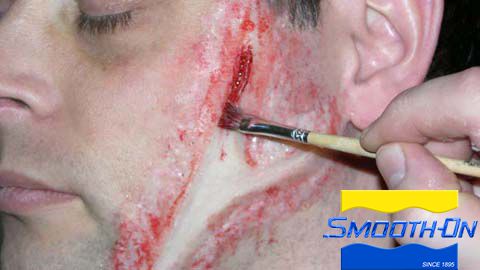
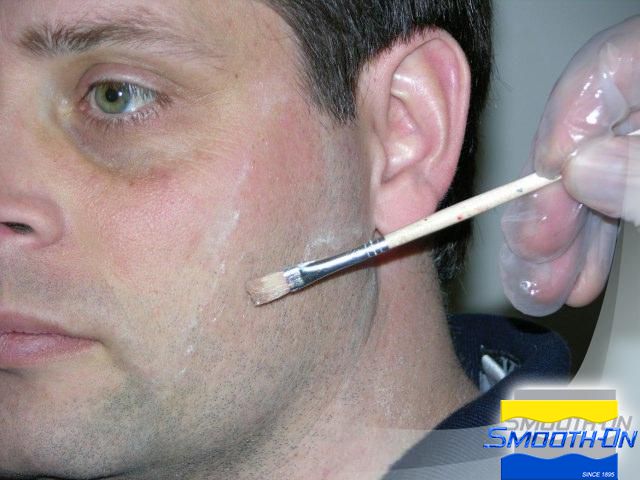
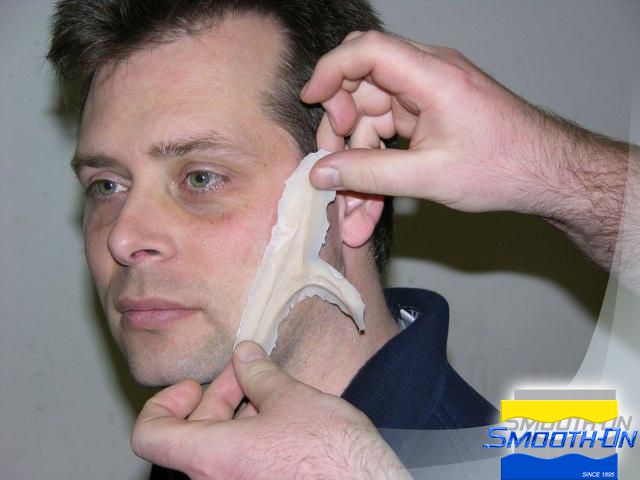
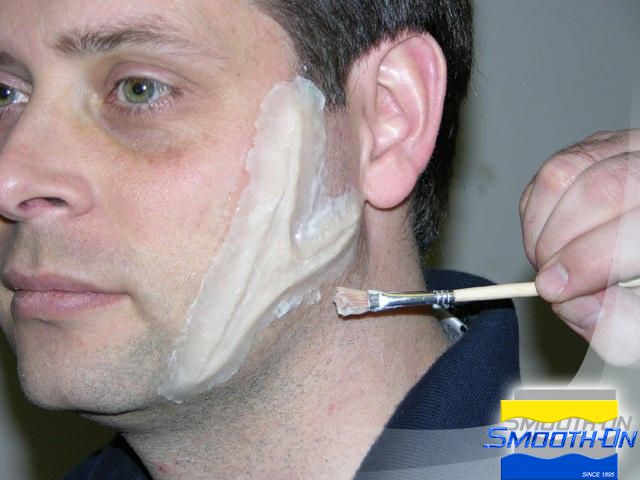
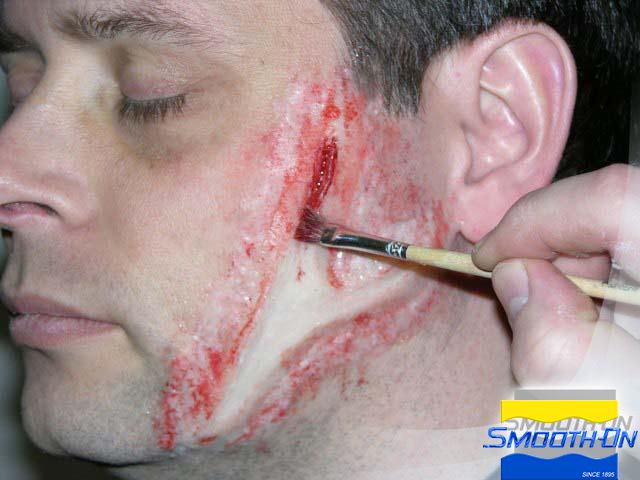
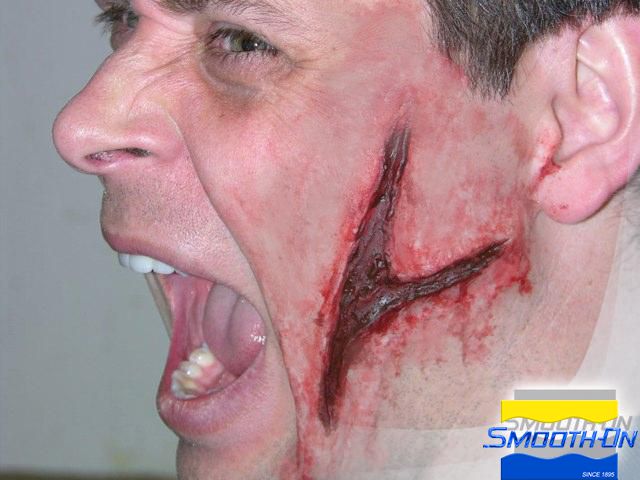
Step 7: Applying Skin Tite®
The Skin Tite® wound make up appliance is now ready for application. Mix Skin Tite® and apply it to the model's skin. Then, mix more Skin Tite® and use it to blend the edges of the piece. After the Skin Tite® cures, apply theatrical makeup for a fake blood effect. The finished piece bends and flexes with the model's facial movements.

文件下载 ›