用于耐冲击的TASK 16保险杆
概述
Overview
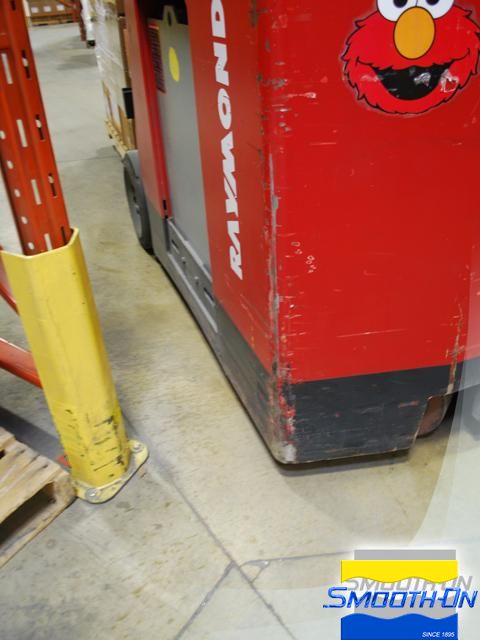
BMS Logistics in Allentown, PA has one of the largest bonded freight warehouses in Pennsylvania, USA. They receive, store and ship tons of freight on a daily basis, over 100 fork trucks operate simultaneously at high speeds to stay on schedule. Fork trucks that handle pallets and crates move quickly between aisles and occasionally run into metal rack guards that protect storage rack posts. Some really take a beating and need to be replaced on a regular basis. Warehouse manager, Owen Morris, contacted Smooth-On for a material and procedure for making custom bumpers that would help minimize the damage to their rack guards.
TASK® 16 urethane rubber was selected because it is highly impact and abrasion resistant; a perfect protective rubber bumper material.
Materials Used in this Tutorial
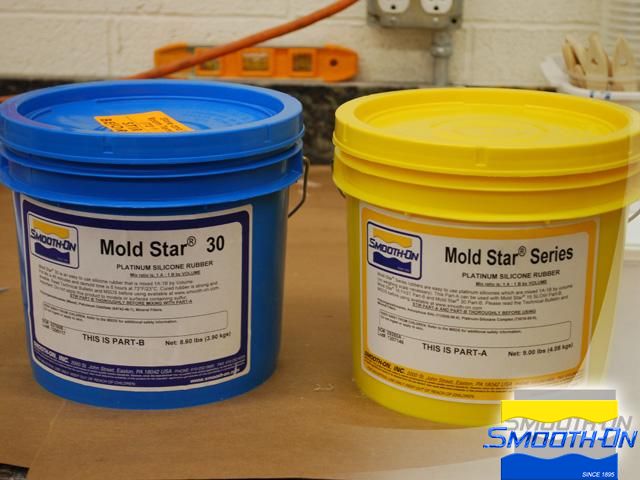
- Mold Star 30
- Task 16
- Ignite Pigment
- Universal Mold Release
- Ease Release 200
- Sheet Wax
- Mold Box
- Clay
- Hot Glue
- Screws
- Mixing Containers
- Mixing Sticks
- Vacuum Chamber
- Gram Scale
- Drill
- Exacto Knife
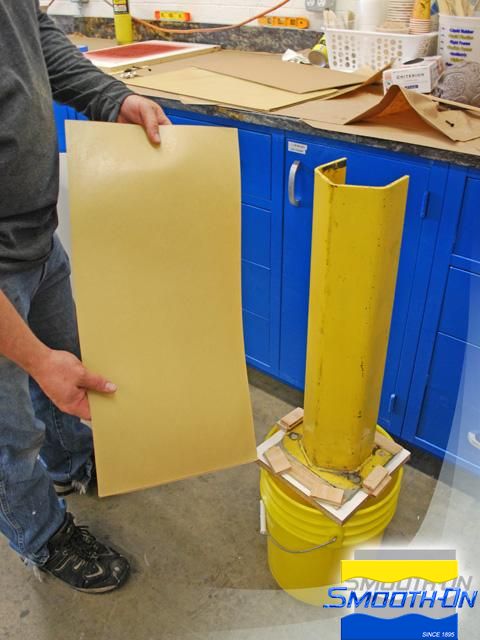
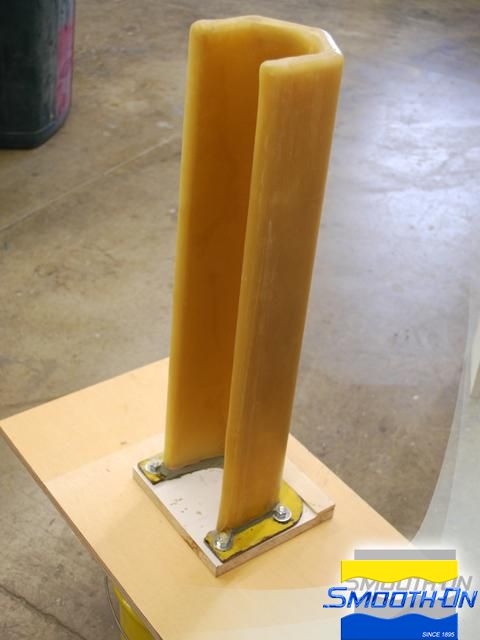
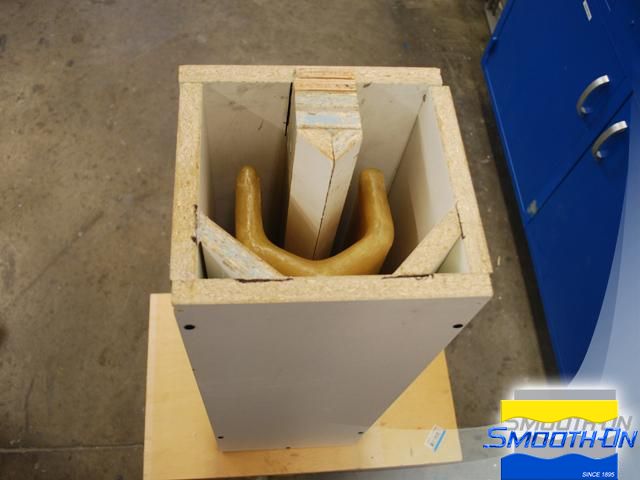
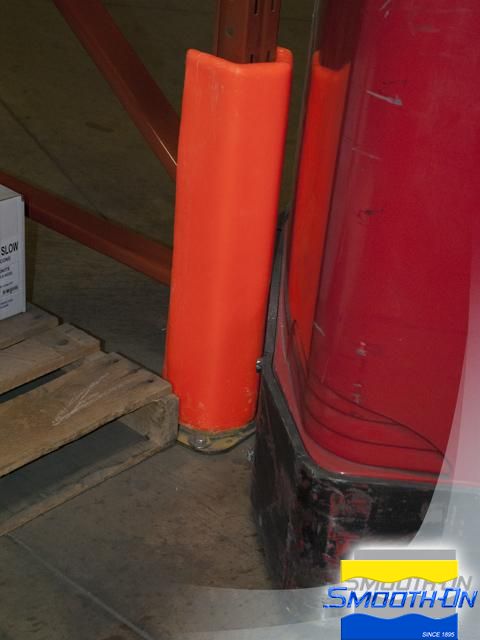
The post protector is showing signs of wear from fork lifts, while the fork lifts are also showing signs of wear from hitting the metal post protector.
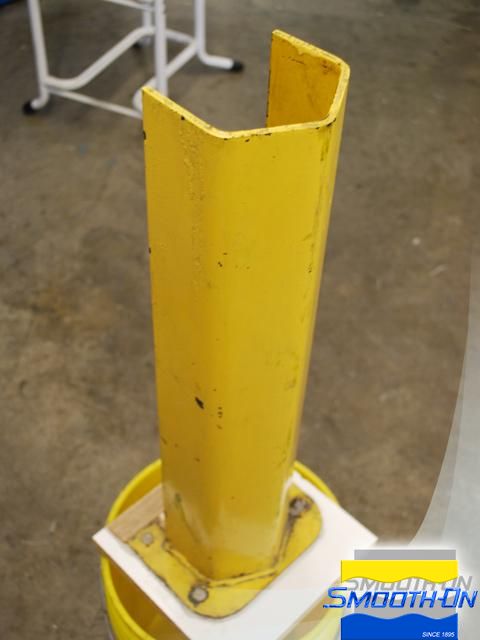
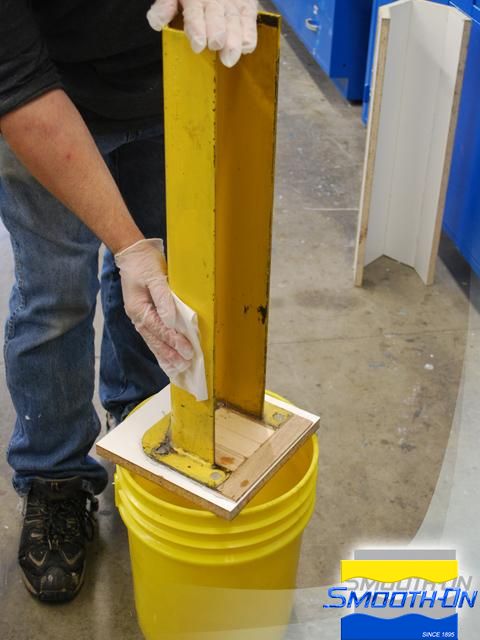
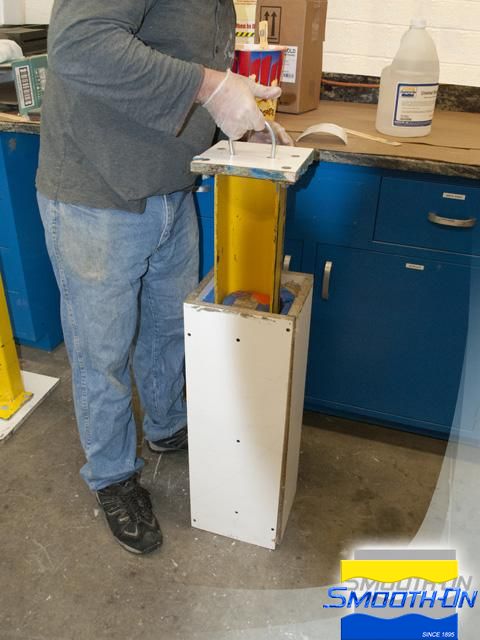
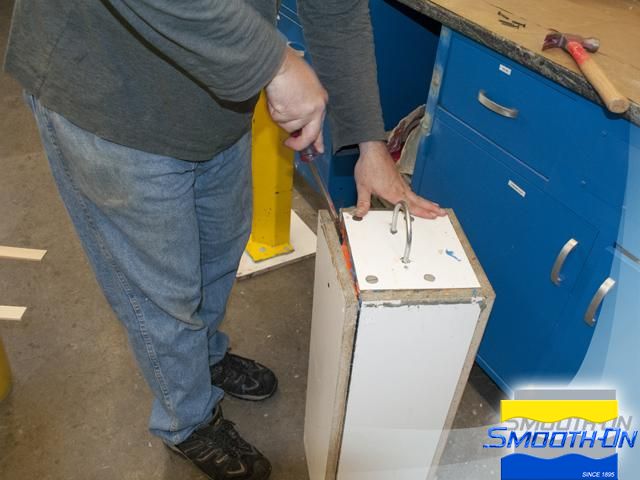
To begin the post protector needs to be mounted on board in preparation of the molding process. The post is cleaned of any dirt and grime with isopropyl alcohol. Next, sheet wax will be used to create a profile which will be the model for the rubber cover. Sheet wax has an adhesive backing that is pulled away from the protective paper prior to adhering to the post. The sheet wax is then aligned and placed on the post.
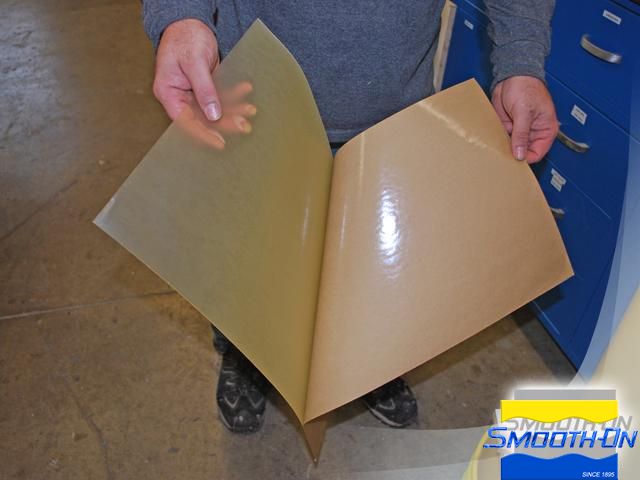
Multiple layers of 3mm wax is laid on the post to create the profile. Each piece of wax is carefully applied. The wax is pressed hard on the post core and it conforms to the shape of the post. The backside of the post is also fitted with wax in order to create the cover. The wax is carefully blended at the seams once the desired thickness is reached.

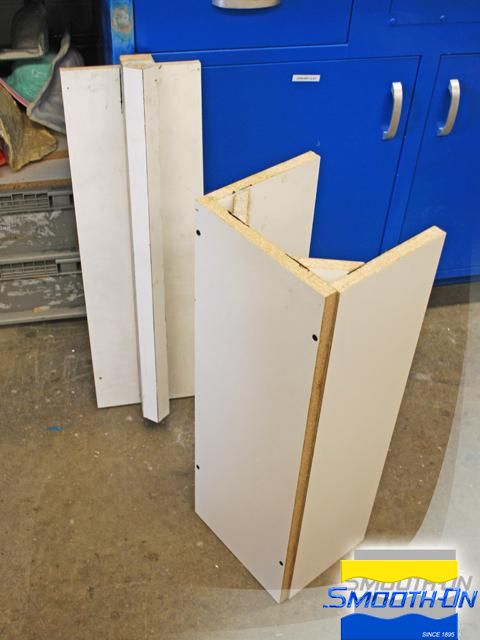
Step 2: Building Mold Box
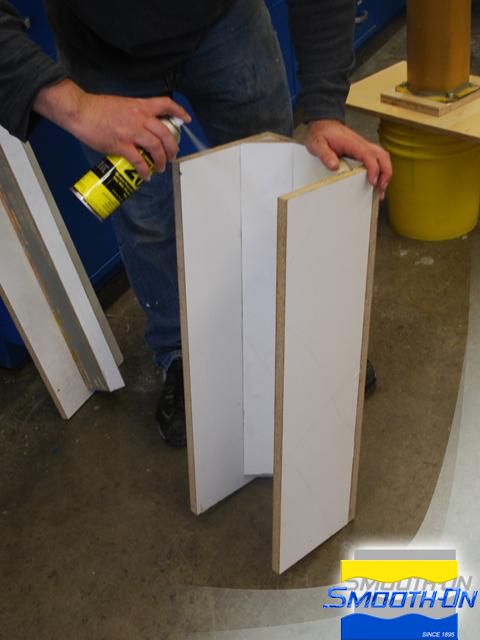
A mold box is created from Formica to house the wax core. Ease Release 200 is applied to all surfaces of the box that will be in contact with the molding compound. The wax profile is also sprayed with Ease Release 200.
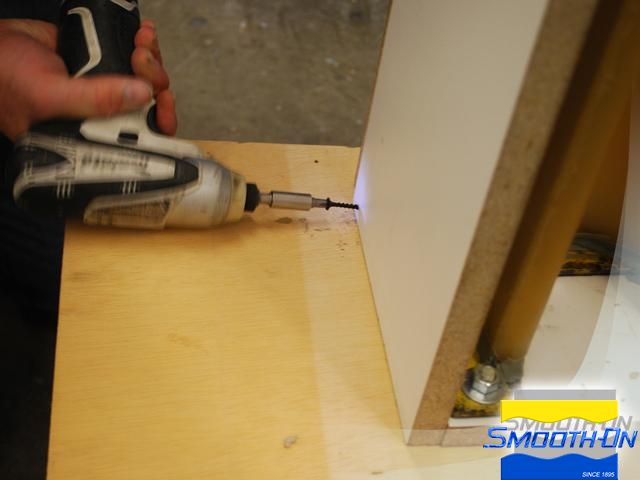
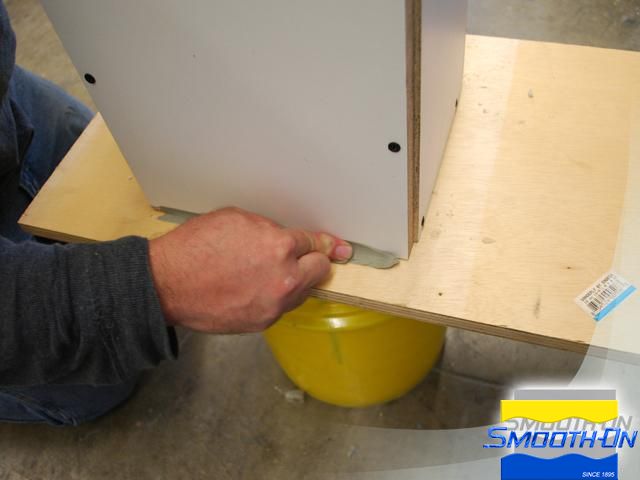
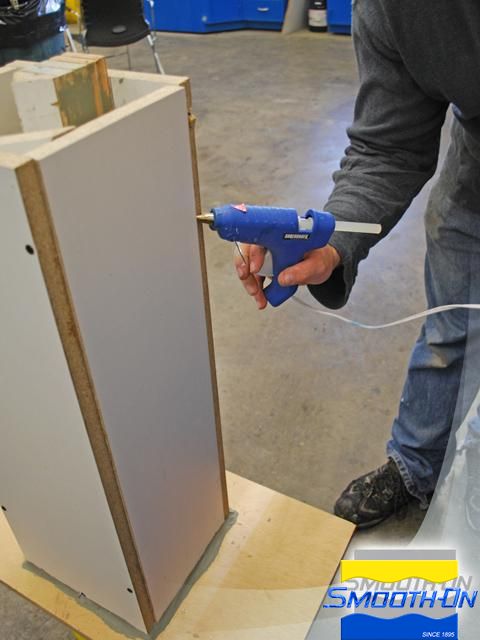
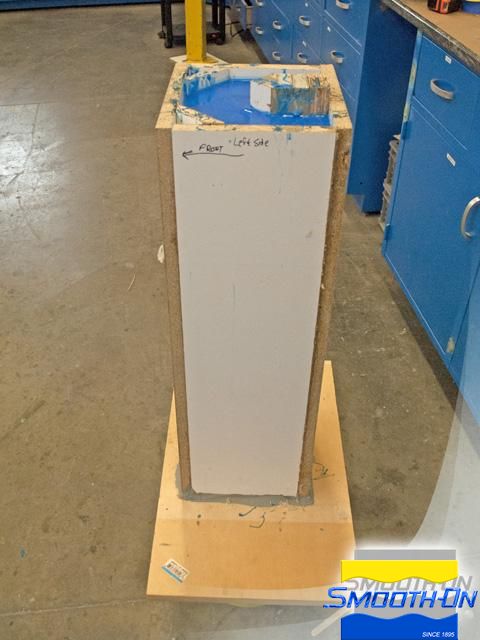
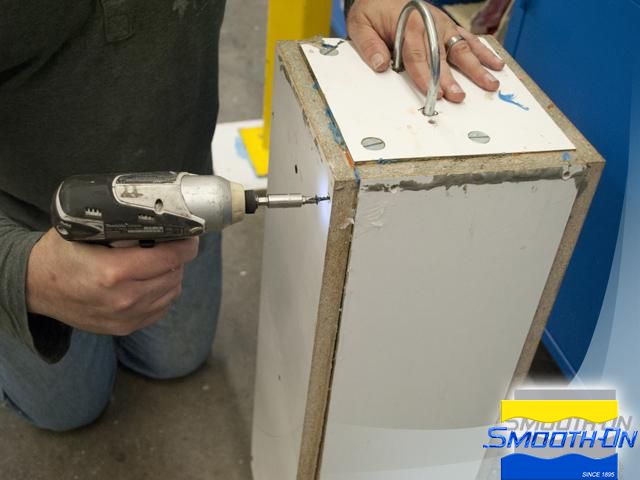
The mold box is placed around the model. The box is screwed into the base to keep it from moving. Clay is used along the bottom edge to prevent any leakage by the mold material. Hot glue is used along the edges of the box to keep any material from leaking out.
The box and model are ready to be molded.
Step 3: Mold Making With Mold Star 30
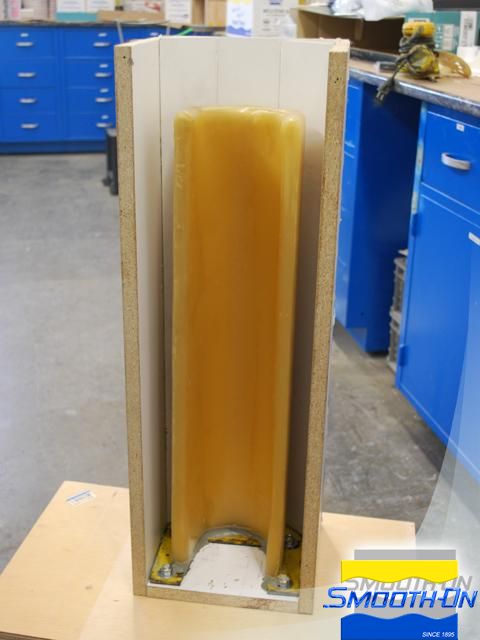
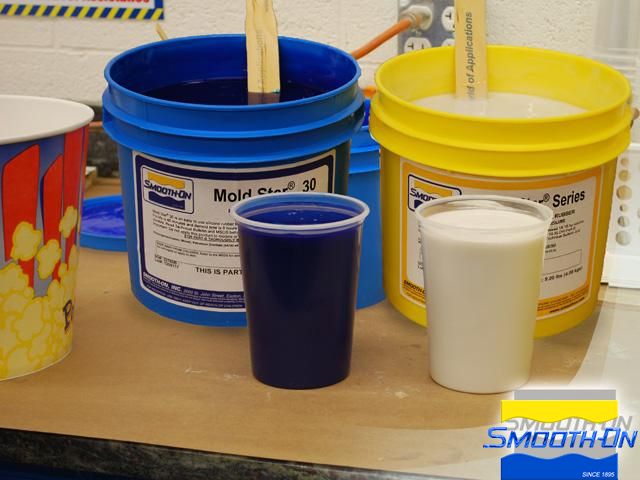
Mold Star® 30 is chosen for its ease of use and dimensional stability. Mold Star® 30 is measure 1:1 by volume. Mold Star® 30 is mixed and poured into a new clean container to be mixed again.
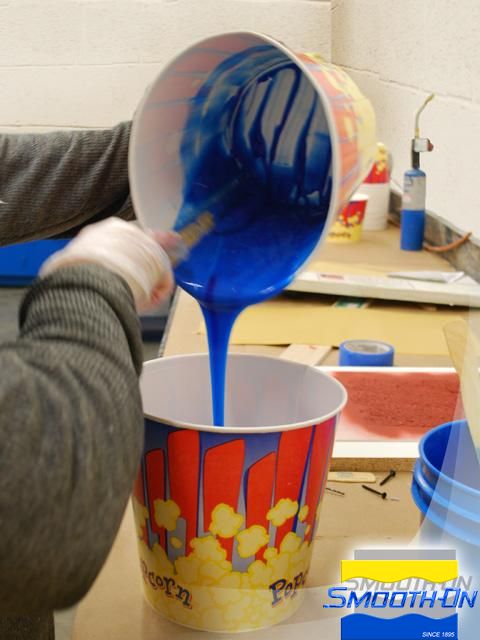
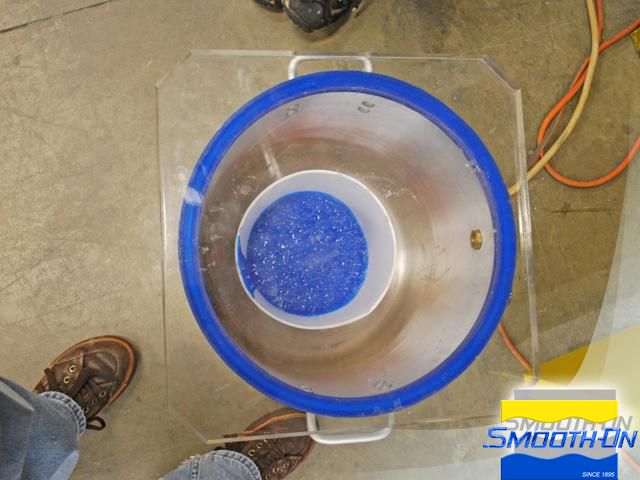
The silicone is vacuumed at 29 inches of mercury to extract any bubbles created from mixing. Then the Mold Star® is poured into the mold box in a long thin stream.
Once mold is filled, it is allowed to cure for 6 hours. The cured mold is ready for demold.
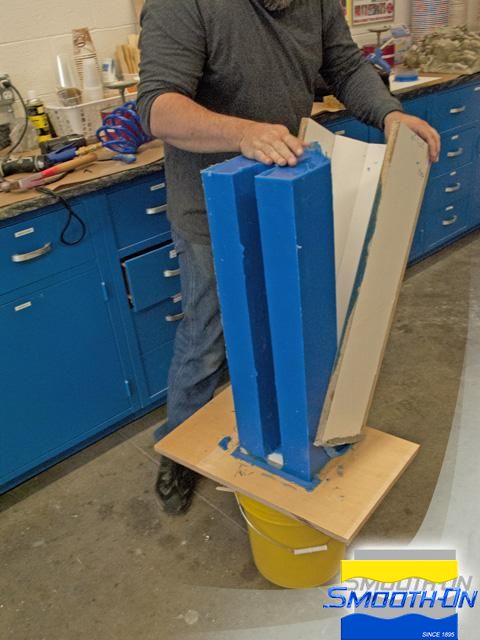
Step 4: Demold
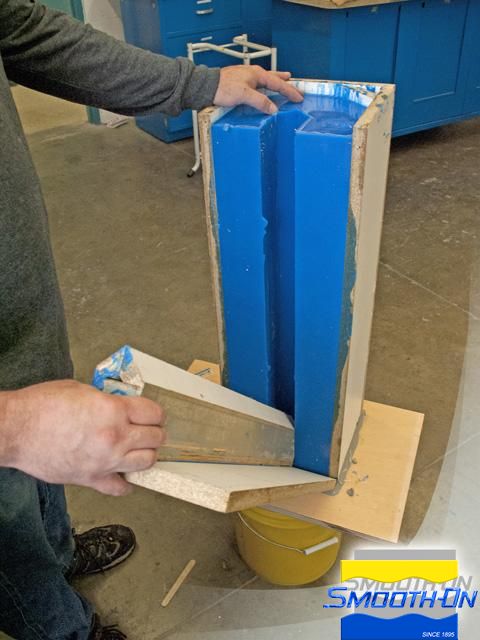
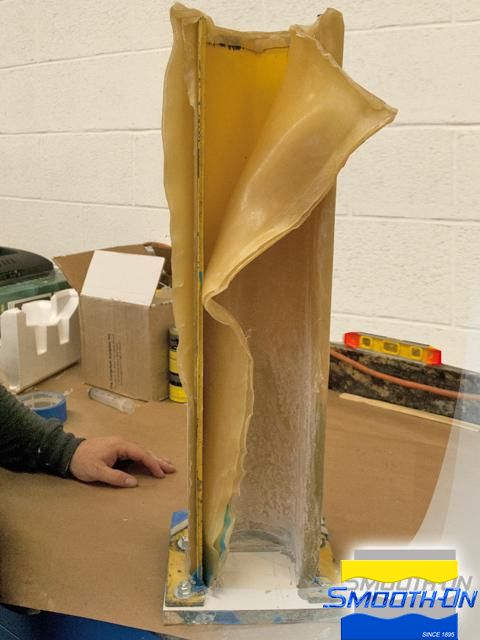
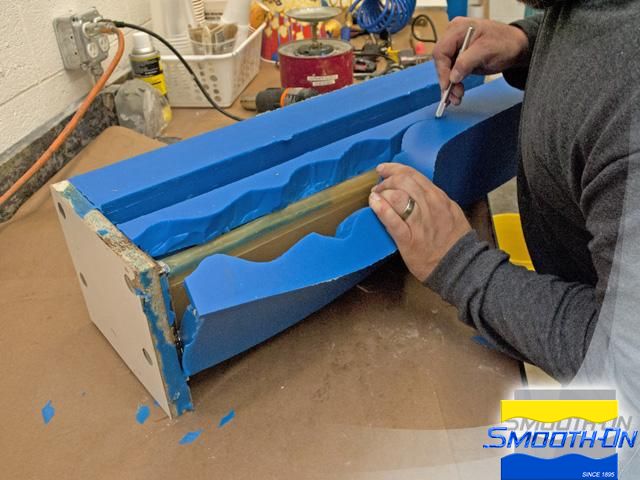
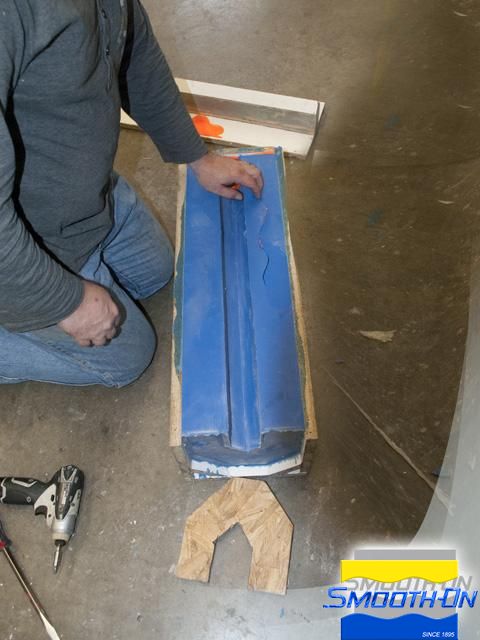
The mold box is completely removed from the cured silicone and ready to be removed from the wax master. An exacto knife is used to cut the silicone along the back edge of the piece. The zig zag cut will help register the silicone for casting. The waxed post is removed from the mold.
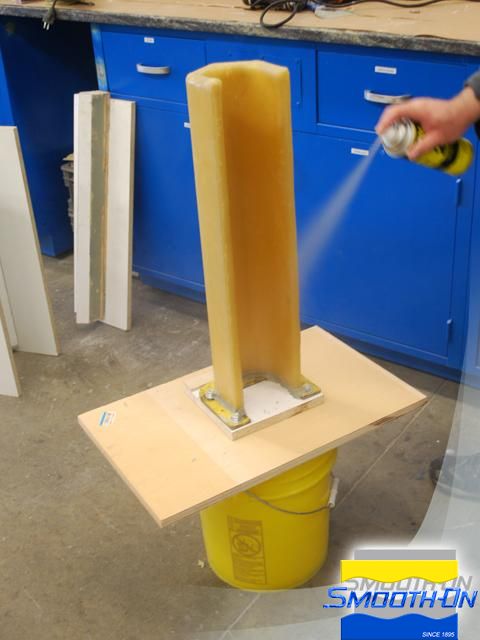
Once removed, the wax is taken off the metal post protector. The post protector is sanded smooth and Universal Mold Release® is applied so it can be used as a core.

Step 5: Casting With Task 16
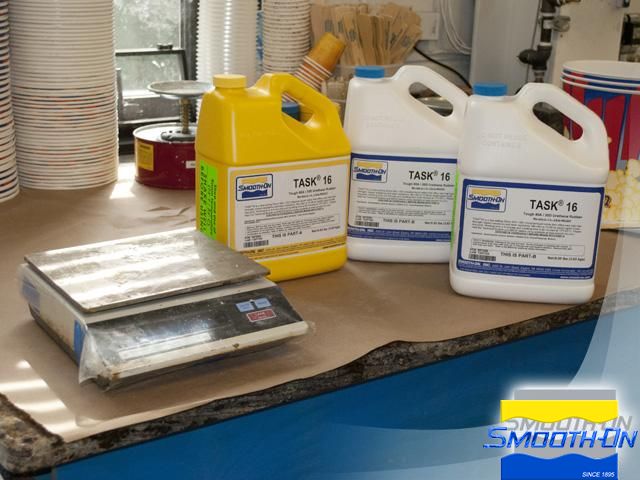
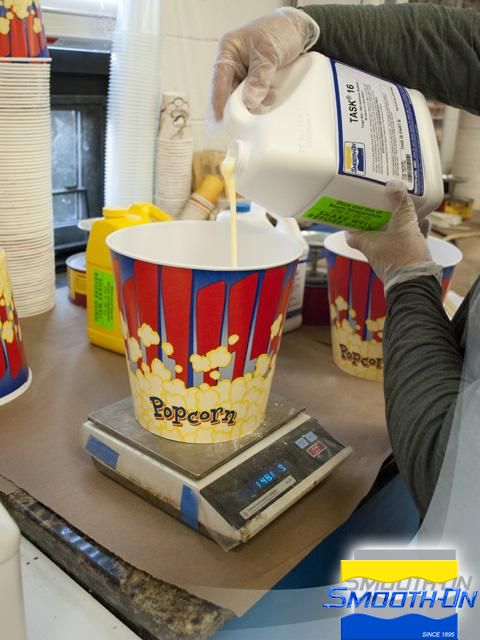
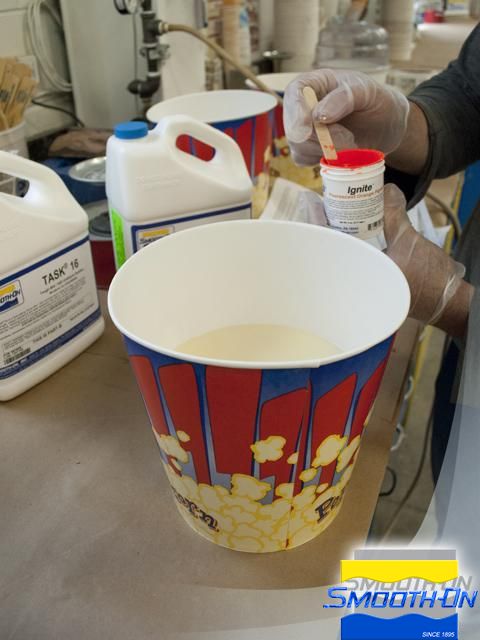
Task® 16 will be used to make the rubber cover for the post protectors. Task® 16 is measured 2:1 by weight so a gram scale is required.
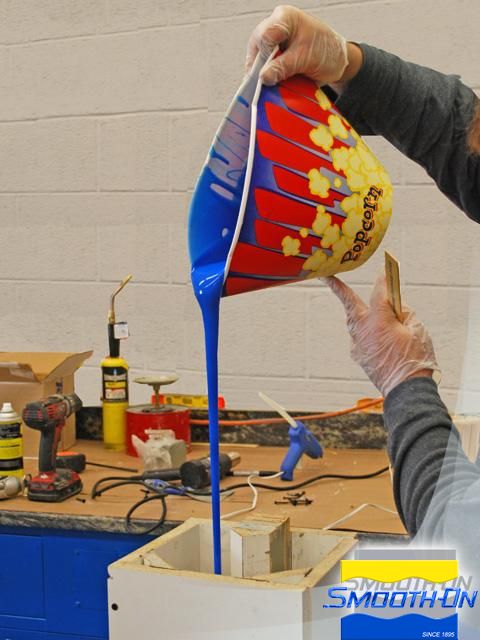
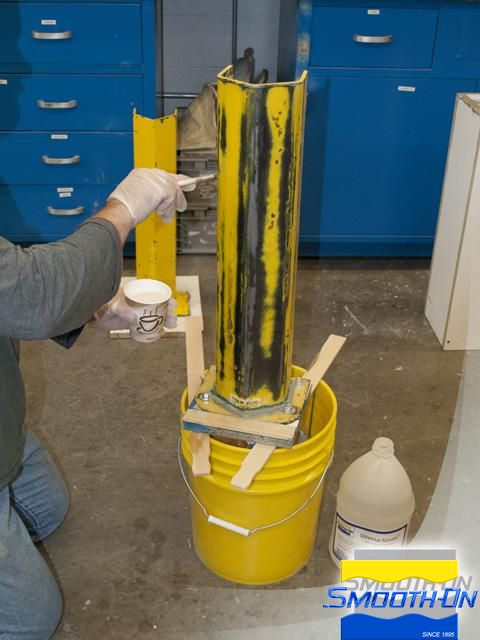
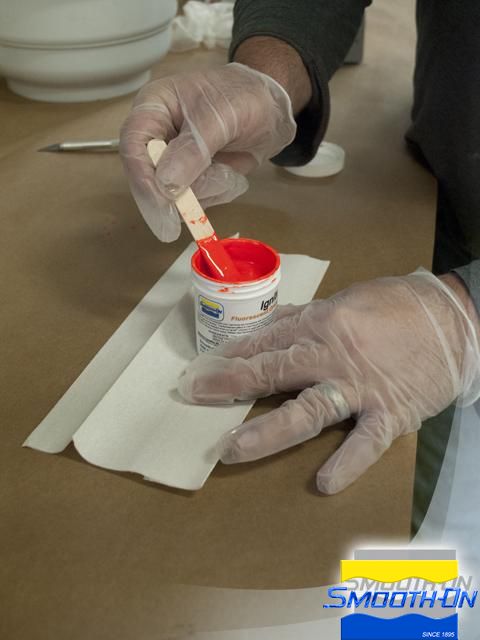
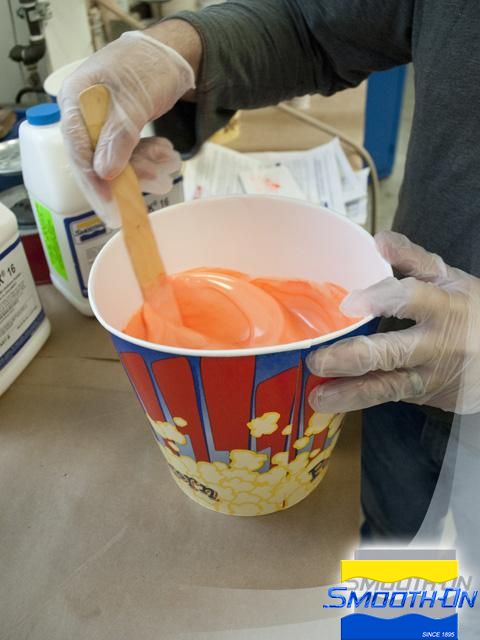
Ignite® orange pigment will be used to intrinsically tint the Task 16 a florescent orange. The Ignite® is dispensed on the B side of Task 16 prior to mixing A and B together. Pigment is thoroughly blended into the Task® 16.
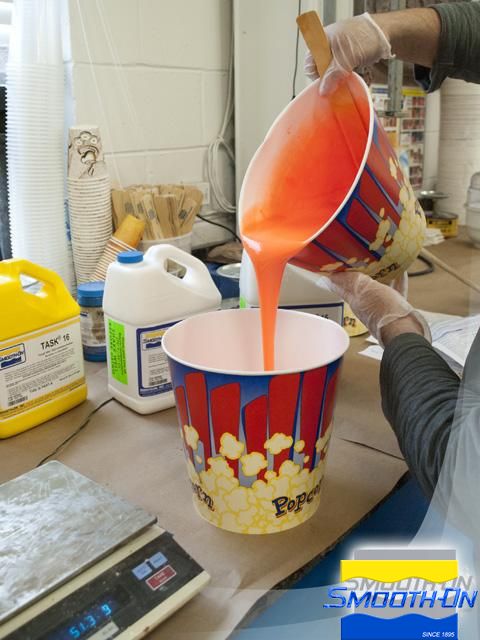
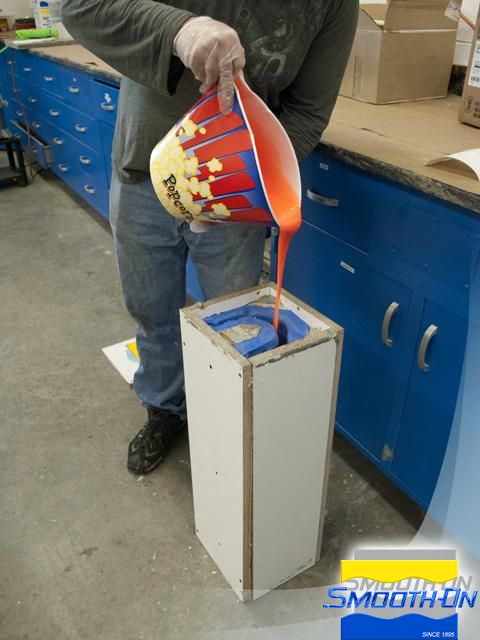
Once mixed, Task® 16 is poured into a new clean container to be mixed again to ensure thorough mixing. TASK® 16 liquid is poured into the mold cavity. Once the Task® 16 is poured, the metal post is sprayed with Universal® Mold Release then inserted and used as a core.
The material is allowed a 90 minute cure before the mold box is opened.
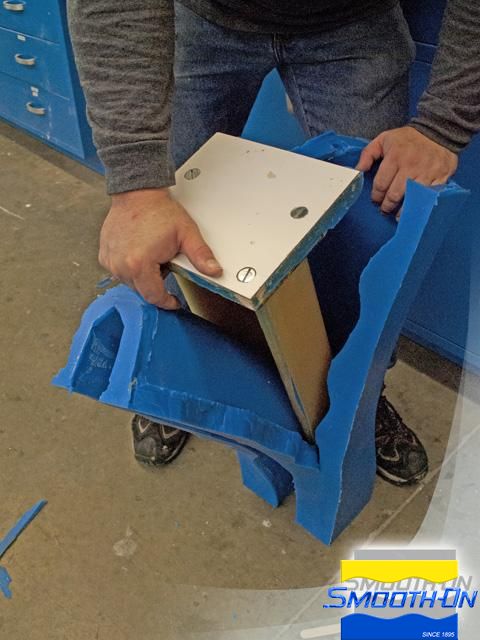
Step 6: Demolding
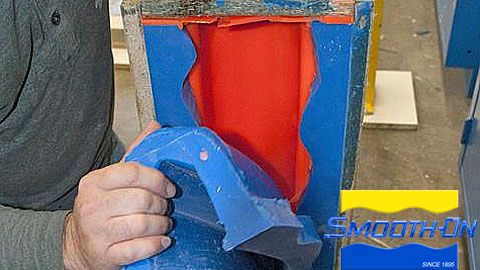
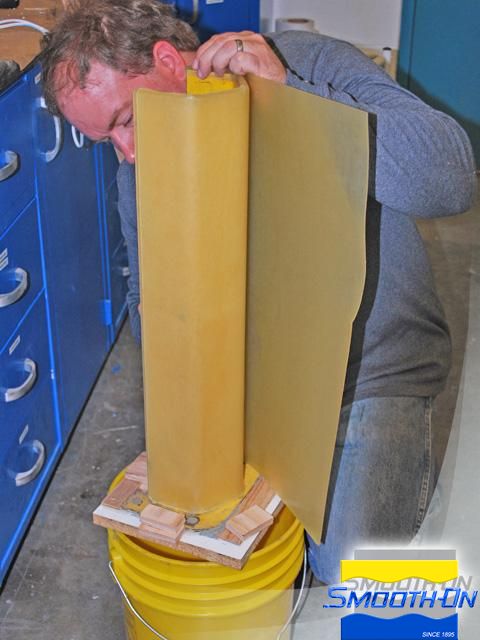
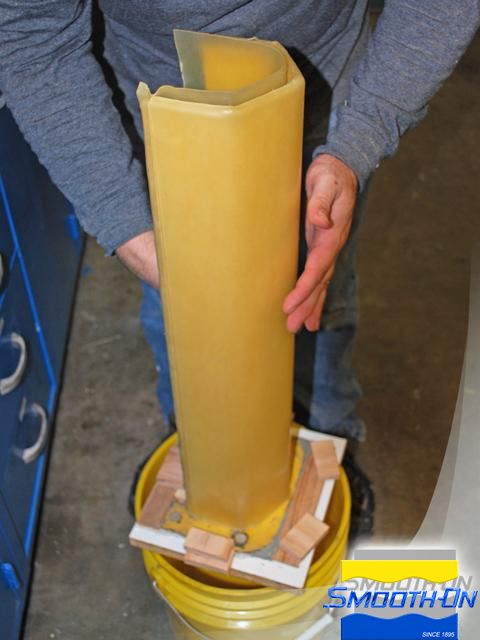
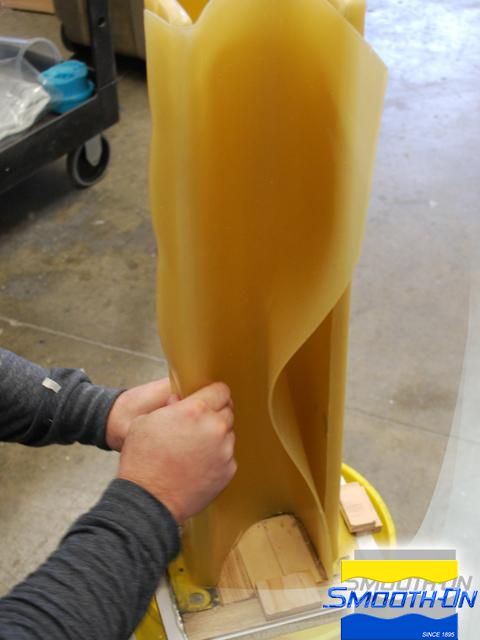
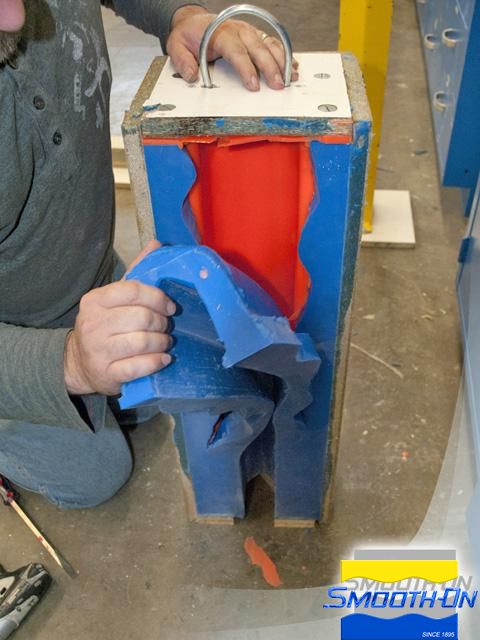
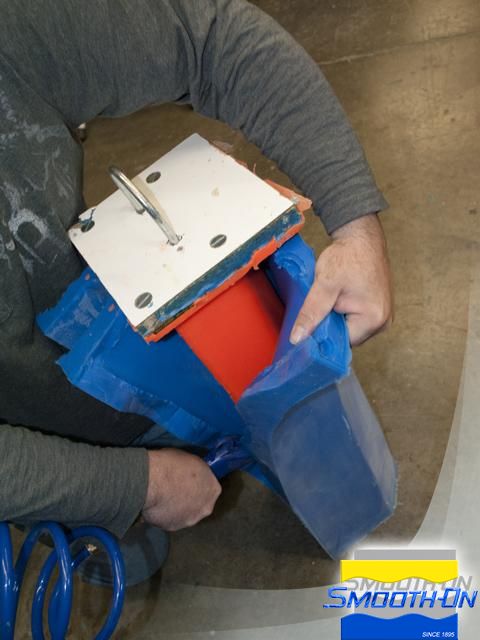
The mold box is carefully pried off the silicone mold. The seam of the mold is pulled apart. The Mold Star® 30 is gently pulled away from the casting. Air pressure can help break any vacuum seals that may have occurred as the material cured. The rubber cover is removed from the core.

Step 7: Finishing
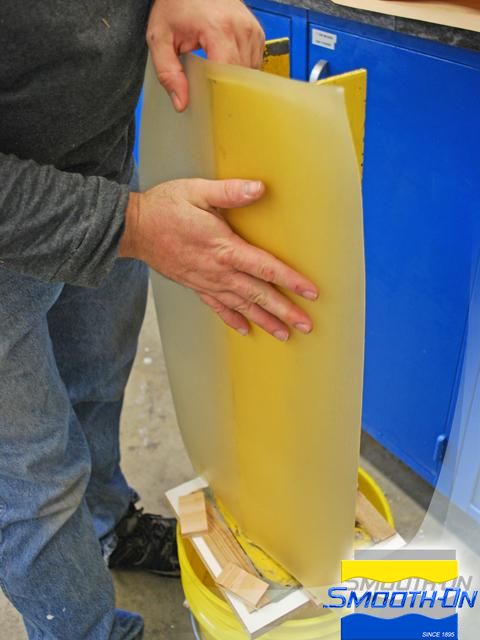
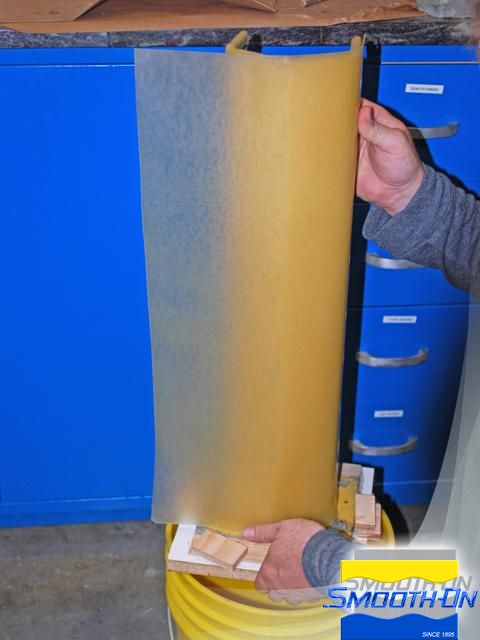
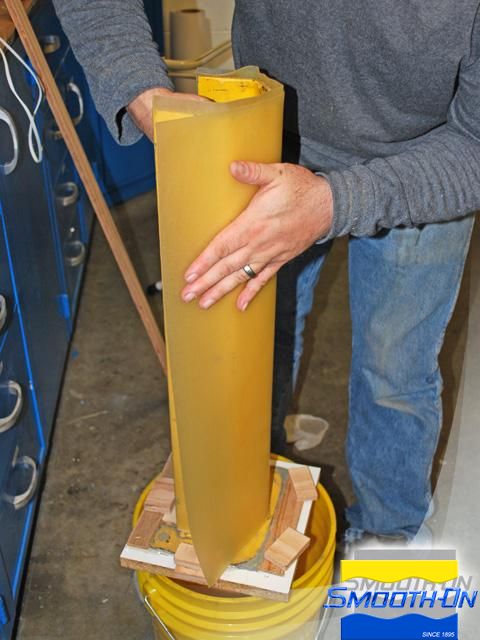
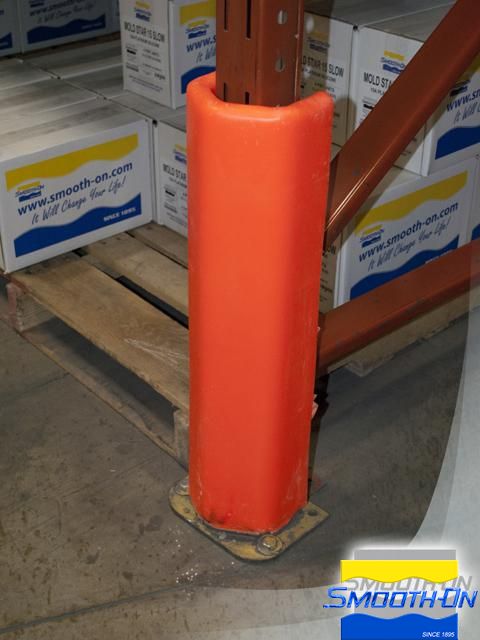
The Task® 16 sleeve is fitted over the existing post protector. The fresh rubber sleeve is tough, abrasion resistant and dimensionally stable, ensuring no further damage will come of the post or the fork lifts.
文件下载 ›