duoMatrix® NEO

特征
duoMatrix®NEO易于使用,可以浇筑成固体、用短切纤维手工涂覆或喷涂。完全固化的浇筑件可以涂漆、打磨、机加工和抛光。
duoMatrix®NEO可用于制造非常坚固且防水的轻质部件。NEO已获得UL-94V-O等级,并符合建筑材料的ASTM E-84,A级(或1级)等级,产品符合火焰和烟雾的最高标准。
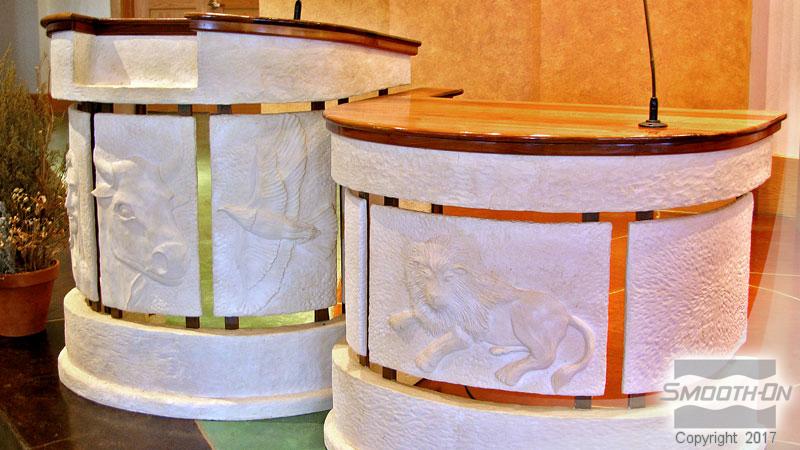
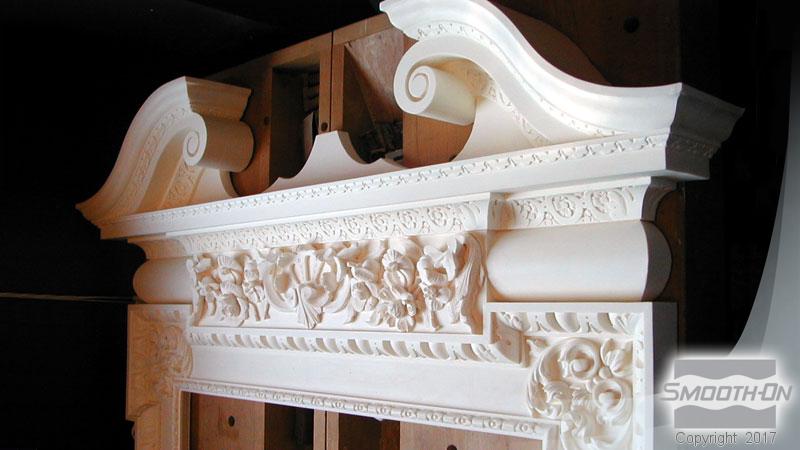
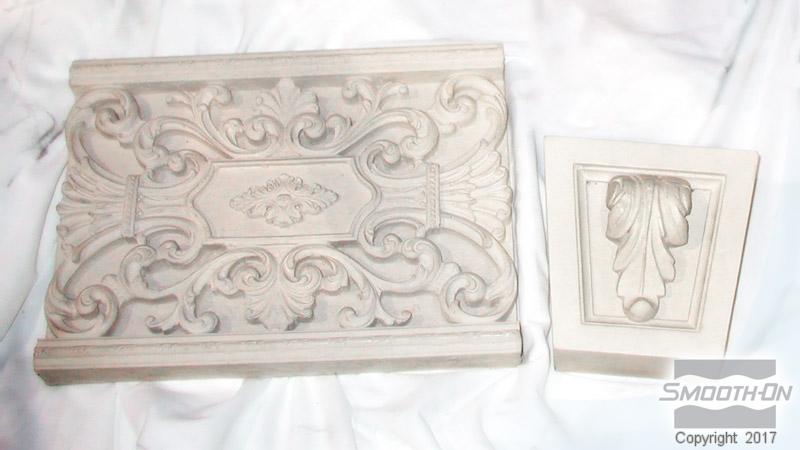
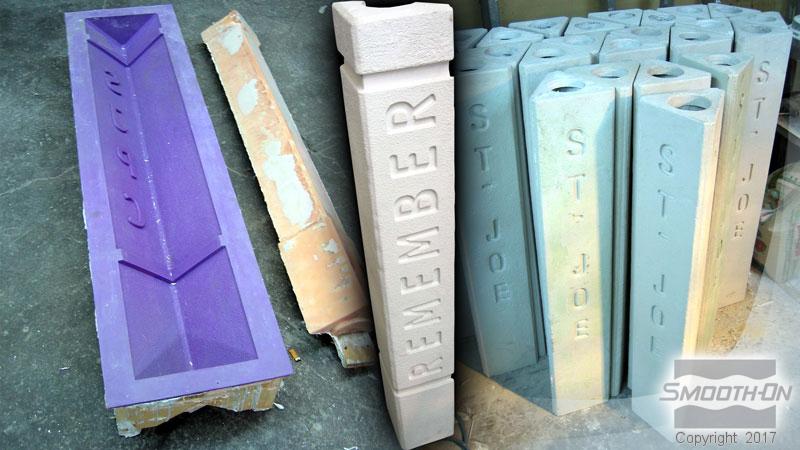
应用包括制作建筑元素、复制雕塑和创造主题效果。通过添加混凝土氧化铁粉末颜料可以着色材料。可以添加金属粉末(青铜、锡铅合金、黄铜等),以很小的成本制作具有真正金属外观的浇筑件。可以通过添加廉价的填料来复制大理石或陶瓷的外观。可以添加碎石来模拟毛面石料效果(需要喷砂或研磨)
说明
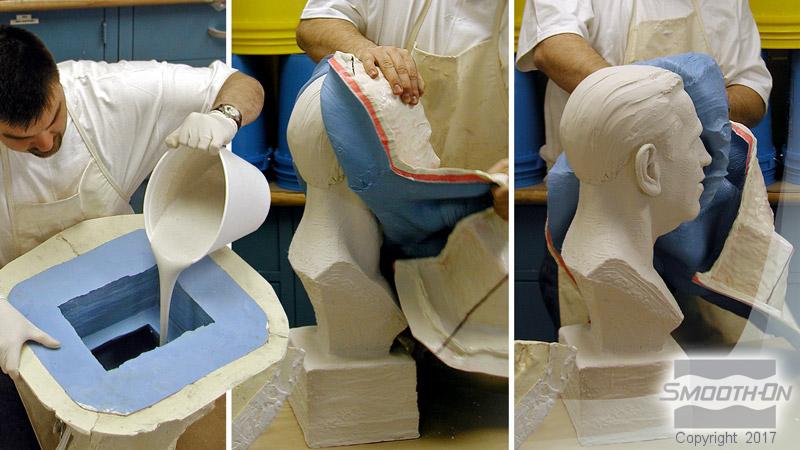
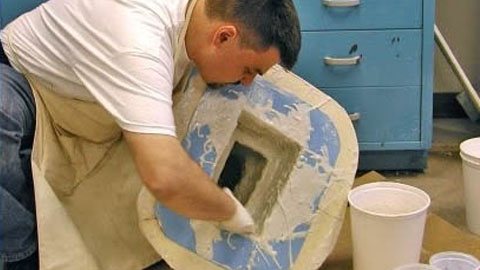
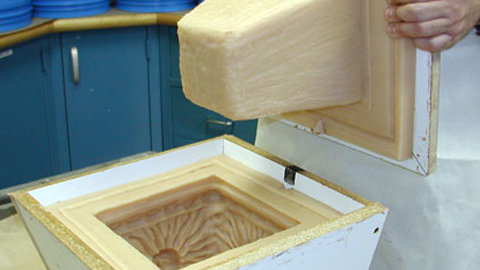
Mold Preparation - If casting or laying up into a urethane rubber mold, first apply a release agent such as Universal® Mold Release or Ease Release® 200. NEO can be released from wood or from another Matrix surface using Sonite® Wax or Vaseline. If you want to paint your finished casting, we suggest using a silicone rubber mold (Mold Max® Silicone), as no release agent is required to facilitate demold.
Because no two applications are quite the same, a small test application to determine suitability for your project is recommended if performance of this material is in question.
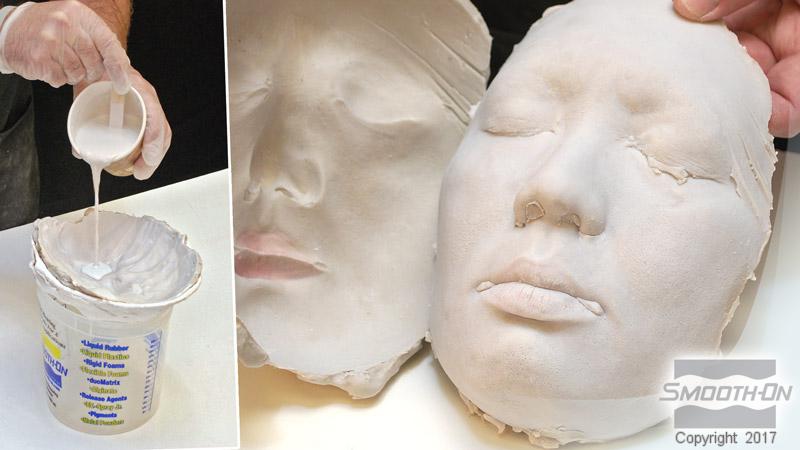
MEASURING & MIXING - To minimize dust inhalation, we recommend that you wear a NIOSH approved dust mask while weighing and mixing components. Use only clean, dry measuring and mixing vessels and stirring utensils.
Step 1: Shake or Stir Part B – liquid latex well. Dispense required amount into mixing container.
Step 2: Dispense required amount of Part A – Powder (twice the volume of Part B) into measuring container. Gradually sift powder contents into Part B – liquid latex.
Step 3: Using a power mixer (drill with a “jiffy mixer” or “squirrel cage” mixer attachment available from your local hardware store), mix until dry powder is thoroughly dispersed into latex (min. 60 seconds) and lumps disappear – mixture should have a creamy consistency. Pot life will be about 6 minutes. If hand mixing with a paddle, mix vigorously until lumps disappear and mixture takes on a creamy consistency. Pot life will be about 12 minutes.
Note: Using a power mixer is easier and gives better results than hand mixing.
UL-94V-O FLAME RATING COMPLIANCE - In order to meet UL-94V-O flame resistance requirements, NEO components should be mixed 100A:40B by weight using an accurate gram scale. Combine components as directed above.
POURING AND APPLICATION - After thoroughly mixing components, the mixture is ready to be poured into a mold.
For Open Faced Molds That Are Highly Detailed:
1. Brush a face coat of Matrix® onto the surface of the mold. This helps to break surface tension and ultimately reduce air bubbles.
2. After a face coat is applied, the remaining mixture is slowly poured into the mold. Be aware of your working time—allow for enough time to apply surface coat and pour remaining material.
Further Reducing Entrapped Air - Air bubbles are sometimes a concern with polymer modified gypsums and will vary depending on conditions. There are additional steps you can take to help reduce entrapped air:
1. Vacuuming Material – Required: Vacuum Chamber and Vacuum Pump - Prior to pouring material into mold, place mixing vessel in vacuum chamber and subject mixture to 29 hg vacuum for 1 minute. Mixture will bubble, rise, break and fall. After mixture falls, remove from chamber and pour into mold.
2. Pressure – Required: Pressure Vessel and Compressor. After mixture is poured into mold, place mold in a pressure vessel and subject mixture to 60 PSI (4.2 kg/cm2) air pressure for one hour.
Making Architectural Elements – Hand Lay-Up Technique - This product can be used to make architectural elements - both interior and exterior. With the addition of glass fibers in the form of fiberglass matting or chopped fibers, can be “layed up” to make elements that are thin, lightweight and exceptionally strong. For exterior use, applying a sealer or painting the element is recommended. Chopped fiberglass (such as Matrix® Chopped Glass available from Smooth-On or your Smooth-on distributor) is most commonly used for laying good for this application. Chop Strand Mat (3/4 ounce or 22 gram available at a fiberglass supply house) is most commonly used for making large architectural panels.
Hand Lay Up Using Fiberglass Matting - Mix duoMatrix® NEO and brush a surface or “gel” coat into a mold. Let cure 15–20 minutes or until duoMatrix® NEO gels. Mix another batch and dip fiberglass matting into liquid. Squeeze out excess and lay over previous layer. After a uniform coating is attained, apply another layer of matting and brush again. Apply a minimal amount of duoMatrix® NEO—just enough to wet out the surface. Repeat as necessary until 3/8” (1 cm.) thickness is attained. The composite mixture over the face mix should have a minimum thickness of 3/8” (1 cm) and contain 5%–10% glass fiber reinforcement.
Hand Lay Up Technique Using Chopped Glass - Another technique for making strong, lightweight elements is to mix chopped fiber directly into the duoMatrix® NEO standard mix. Generally, ¾” “AR” grade chopped fiber works best. “E” grade can also be used. Adding chopped fiber takes much less time than layering chopped matte.
How To Proceed - An accurate gram scale to weigh components is necessary. The chopped fiber is added as a percentage of the total weight. Fiber can be added in concentrations of 3% to 12%. For best results, 6% chopped fiber should be added. Mix duoMatrix® NEO and brush a surface or “gel” coat into mold. Let cure 15–20 minutes or until material gels. Next, weigh out 100 Parts of Part A powder, 50 Parts of Part B – latex liquid and 9 parts of chopped fiber. Mix all parts thoroughly and apply mixture with gloved hand or spatula over gel coat. Another application may be required to attain 3/8” (1 cm) thickness.
Slowing NEO With Matrix Retarder - You can extend the working time of NEO by adding a very small amount of “Matrix® Retarder” to the mix. For best results, the retarder must be added to water, mixed well and then pre-mixed with NEO – Part B (liquid) before mixing with Part A (powder).
Step 1: Make A Liquid Concentrate: Add 1 teaspoon of Matrix® Retarder to 1-cup water and mix well.
Step 2: Add 1 teaspoon of Concentrate to Part B - liquid and mix well.
Step 3: Add Part A – powder as directed above
Guide: Add 1 teaspoon of concentrate for every pound (0.45 kg.) of total NEO mix – A+B.
If “drill” mixing—this method will extend the working time from about 6 minutes to 45 minutes. Demold time will slowed from 1 hour to 4 hours.
For Exterior Use, Apply A Sealer - Because duoMatrix® NEO system substantially reduces the water absorption rate (0.25%) of alpha gypsums, elements made with duoMatrix® NEO are suitable for exterior use. Elements must, however, be sealed with a suitable siloxane sealer such as Prosoco brand (prosoco.com) or Thoroseal brand (thoroproducts.com) concrete and masonry sealer. Elements can also be painted with an outdoor acrylic brand sealer paint.
MAKING “COLD CAST BRONZE” ELEMENTS - Reproducing the look of metal (bronze, brass, copper, etc.) is a common application for duoMatrix® NEO because you can achieve the look of real bronze at a fraction of the cost. For making solid castings, the following proportions will work well. –325 mesh bronze powder is recommended and should be pre-mixed with duoMatrix® NEO Part A – Powder prior to adding Part B – Latex. An accurate gram scale is necessary. SOStrong® Tints– Adding a dark pigment (black or dark brown) to the dry mix will give the final casting added definition and dimension.
Post Finishing Cold Cast Bronze Elements - To bring forth the metallic finish, buff with steel wool or sand paper (400 grit). Patina coloring can then be done using cupric nitrate (green) or ferric nitrate (yellow) Casting should then be sealed with wax or clear acrylic spray to prevent oxidation.
MAKING STONE-LIKE ELEMENTS - Reproducing the look of real stone is also a common application. Mixing in play sand (sand sold for children’s playgrounds), powdered granite or other aggregate will yield realistic stone effects (with appropriate postfinishing technique). As an example, the following is offered using common play sand. Again, an accurate gram scale is necessary.
Post Finishing Stone-Like Elements - To bring forth the stone finish, buff with wet Scotchbrite™ abrasive pad. Sandblasting will also work well.

相关产品
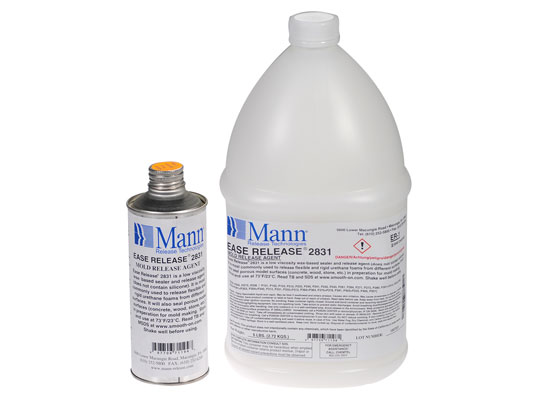
Ease Release® 2831
Ease Release 2831为蜡基非有机硅脱模剂。已被证明有效用于聚氨酯发泡弹性体脱模。Ease Release 2831适用于铝、钢和弹性体模具结构。
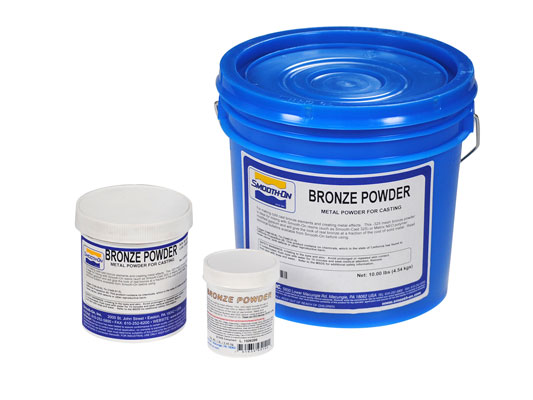
Bronze Metal Powder
低温浇注是用于描述将金属粉末与树脂混合并将混合物浇注到模具中过程的术语。成品浇注件具有固体金属的外观和重量。与铸造熔铸金属相比,金