如何使用Rebound 25 制作美国队长角色扮演头盔模具
概述
Overview
Justin Jotso of Jester Productions and FX (Alachua, FL) needed materials to make a replica Captain America helmet from the recent film for a customer. He shared his mold making and casting process with us using Rebound™ 40 silicone rubber to make his mold and Free Form® Air Epoxy Putty to make the rigid support shell.
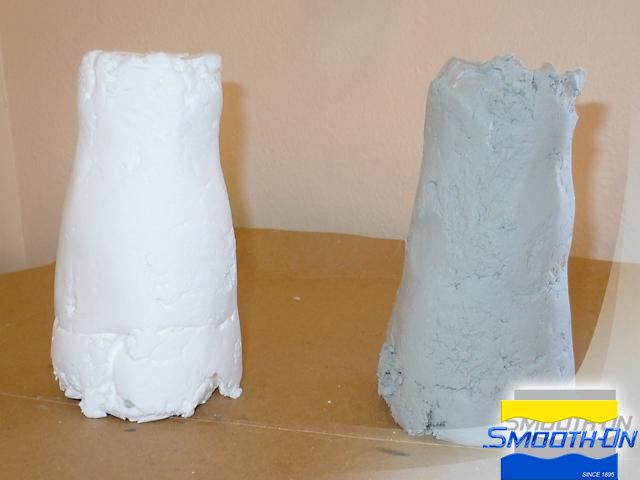
The Rebound™ 40 mold was used to make 2 different versions of the helmet - rigid and flexible. The first helmet needed to be rigid and have a paintable surface for display purposes. Justin utilized EpoxAcoat® RED Surface Coat Epoxy that was then laminated using layers of EpoxAmite® 101 FAST Laminating Epoxy and fiberglass. The fully cured helmet was primed and painted. The second helmet needed to be worn as part of a costume and needed to be flexible, durable, and paintable. A surface coat of Smooth-Cast® 65D semi-rigid urethane resin was backed up with VytaFlex® 40urethane rubber to achieve these characteristics.
When asked about his experience with the materials used Justin said, "I'm switching all my molds over to Rebound 40. It works great and the library life is amazing!" For more information, please contact Justin here: http://jesterfx.com/
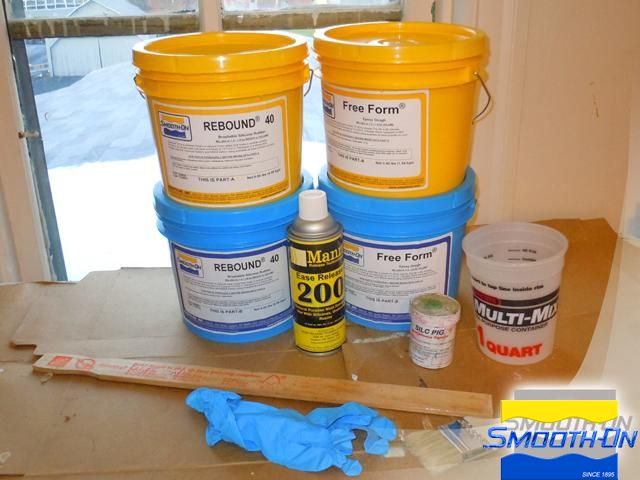
Materials Used in this Tutorial
- EpoxAmite 100
- EpoxAcoat
- So-Strong Colorants
- Rebound 40
- Ease Release 200
- VytaFlex 40
- Free Form Air
- Mixing Containers
- Mixing Sticks
- Gloves
- Smooth-Cast 65D
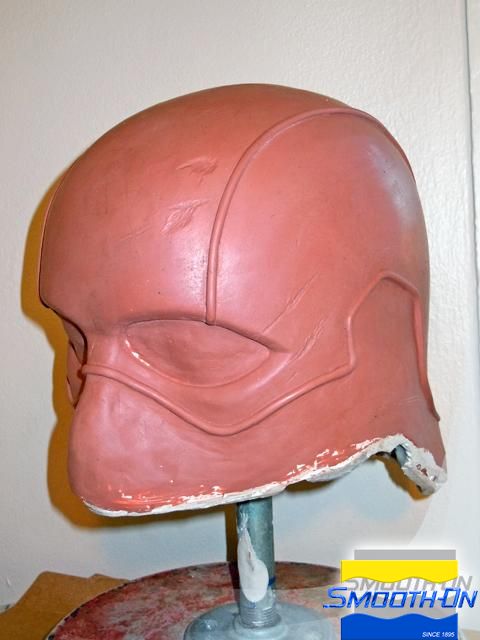
This finished Captain America replica helmet sculpt was made using non-sulfur clay and is ready to be molded.
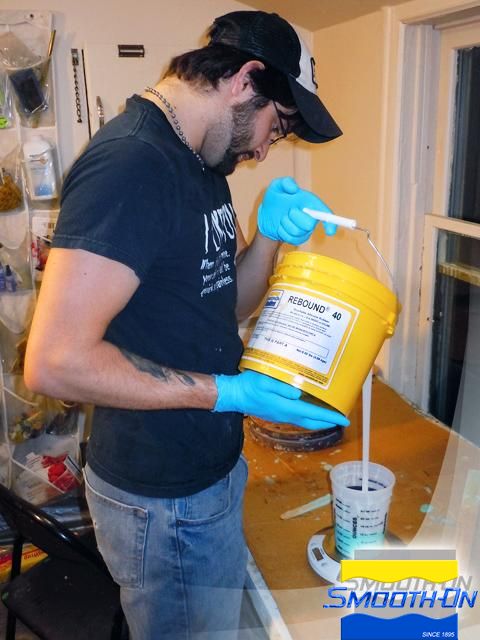
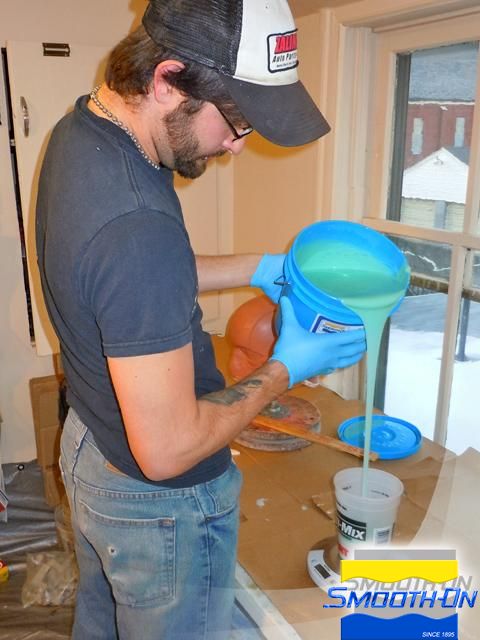
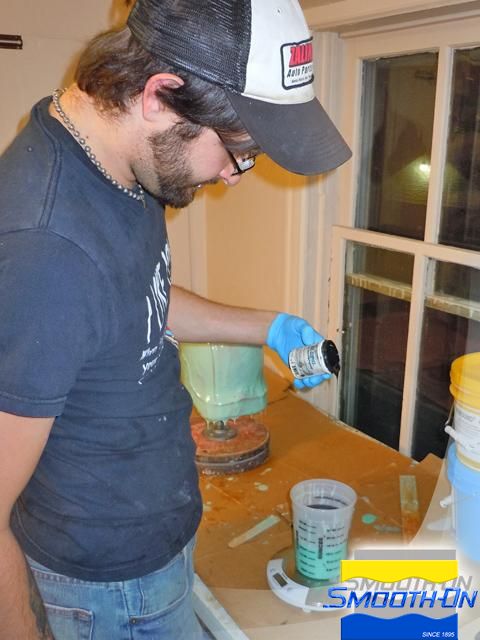
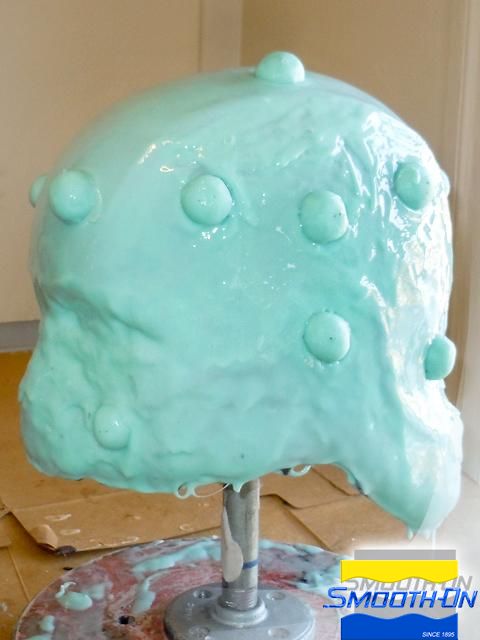
A brush-on mold will be made using Rebound™ 40 platinum-cure silicone rubber. The rigid support shell will be made from Free Form Air epoxy putty. Rebound™ 40 has a mix ratio of 1A:1B by volume or weight. Dispense Parts A and B and mix thoroughly until there are no color streaks. Apply a thin coat of rubber to the original model. Use a stippling motion to force liquid rubber into the areas of detail. Allow the first layer of mold rubber to partially cure. In order for subsequent layers to bond to the previous layers, they must be added while the previous layer is partially cured, not fully cured (tacky but not in a liquid state).
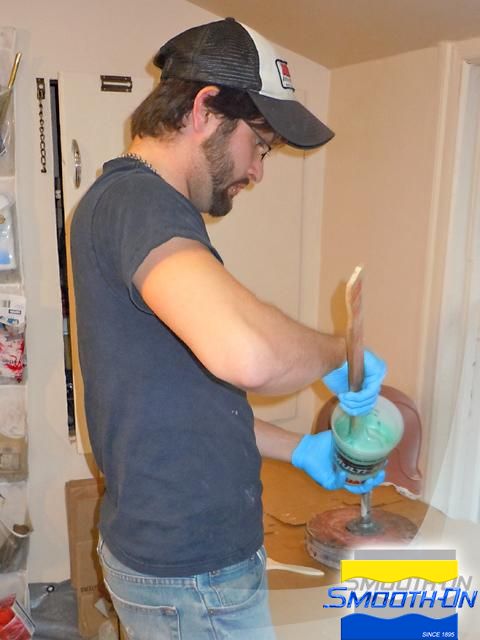
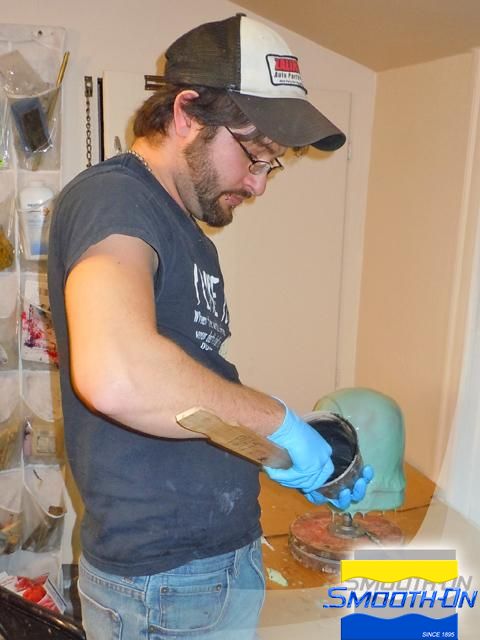
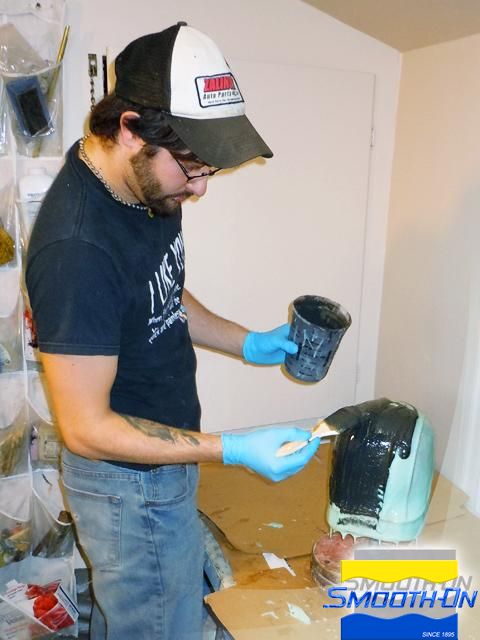
Step 2: Dispensing and Applying Rebound 40 (Second Layer)
For the second layer, measure equal Parts A and B and add SO-Strong Black to color it. Mix thoroughly until there are no color streaks. Adding a color to every other layer will help distinguish between layers and ensure thorough coverage. Apply a thin layer over the partially cured layer. Apply at least 3 - 4 total layers of rubber until the mold walls are at least 3/8 inch in thickness.
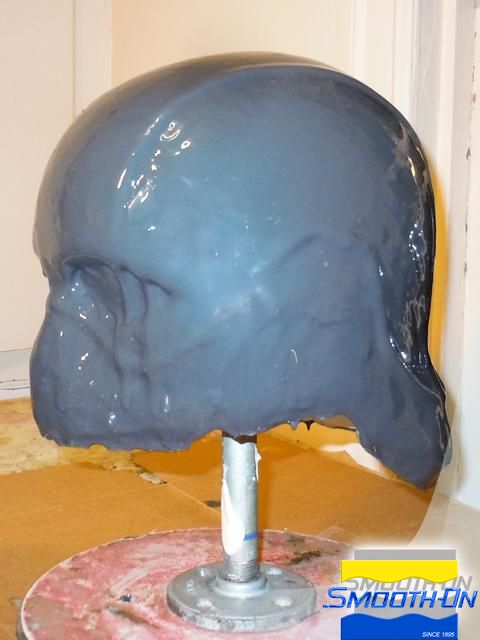
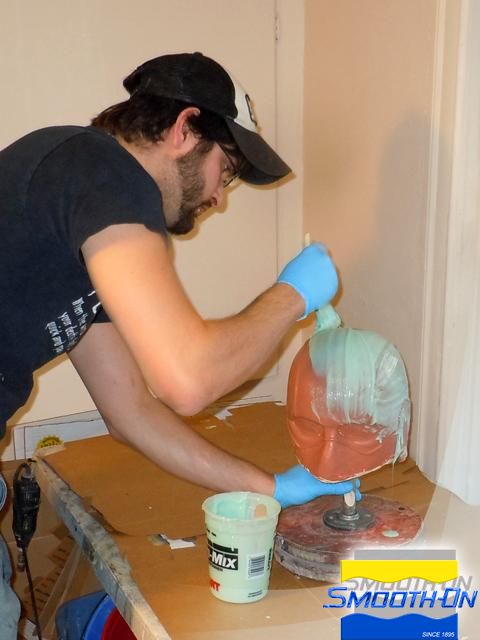
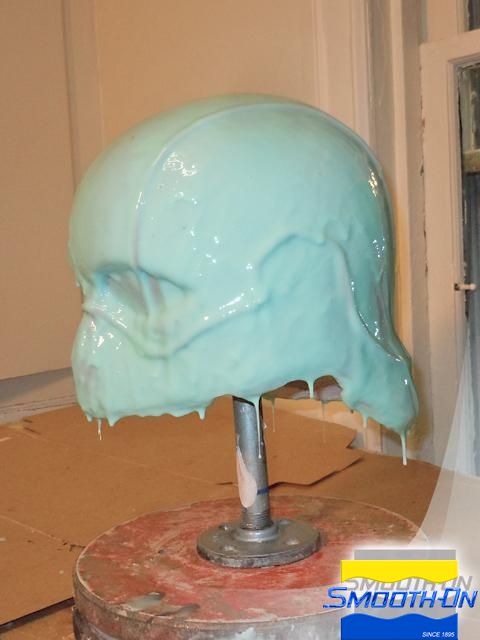
Step 3: Making Registration Keys
Apply pre-made registration keys to the final layer of rubber and allow the mold to cure for at least 6 hours.
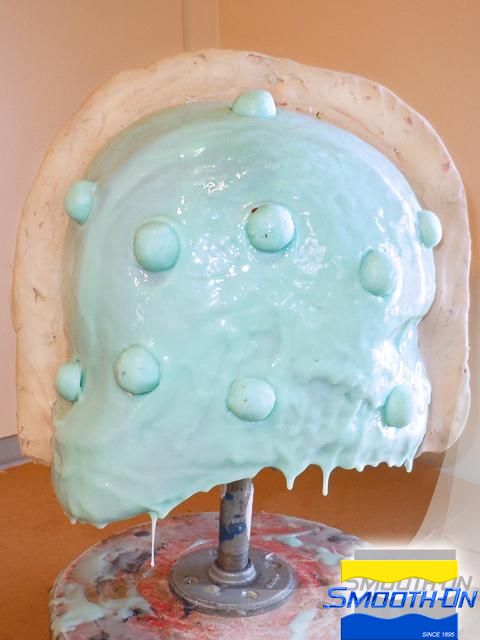
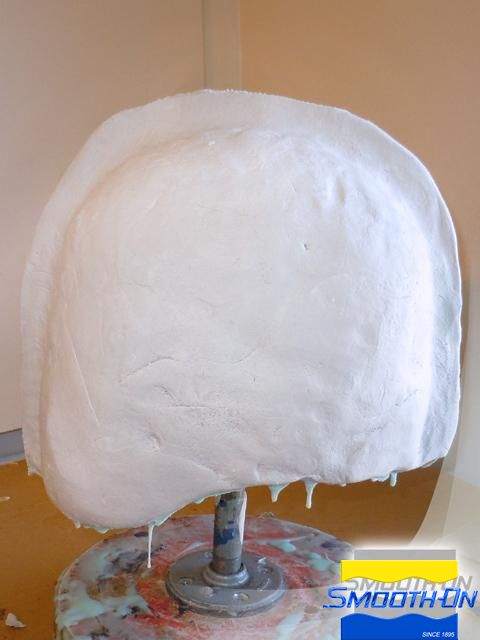
Step 4: Preparing Model and Applying Free Form Air.
Before the rigid support shell is created, Ease Release 200 release agent, must be applied to the cured rubber or anywhere the shell will come into contact with it in order to prevent bonding. Use Free Form Air epoxy putty to create the 2-part rigid support shell. It has a mix ratio of 1A: 1B by volume. Dispense equal Parts of A and B and then mix and apply them to form the first half of the support shell. Make sure that the support walls are at least 3/8 inch in thickness. Allow to cure for 24 hours. Thoroughly apply Ease Release 200 on the cured Free Form Air support shell prior to applying the second half of the shell in order to prevent bonding. Allow to cure for 24 hours.
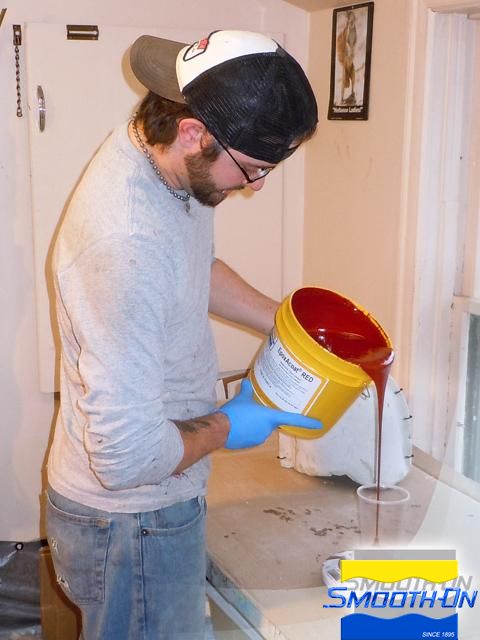
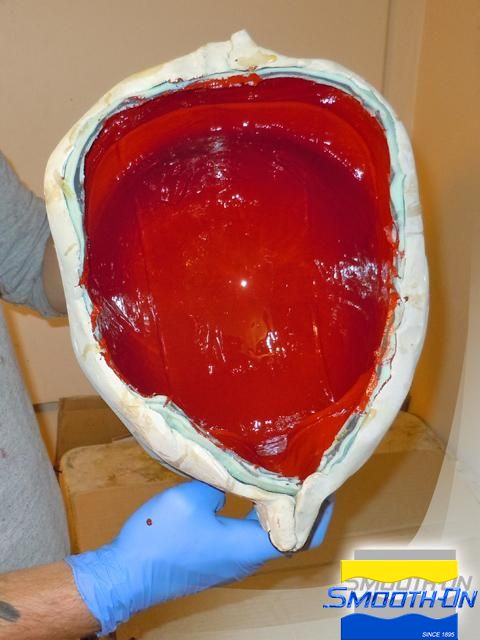
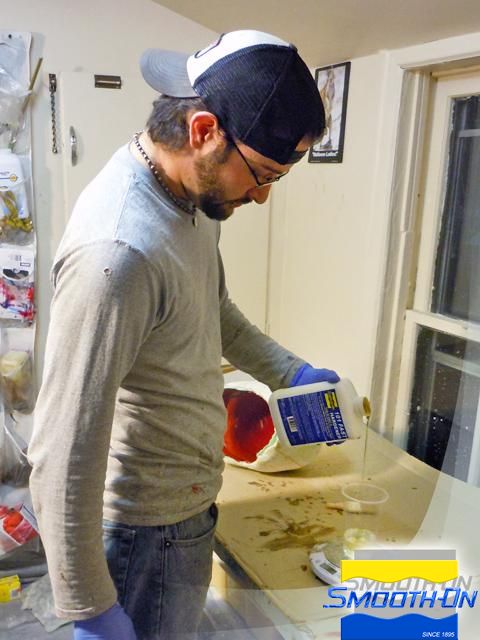
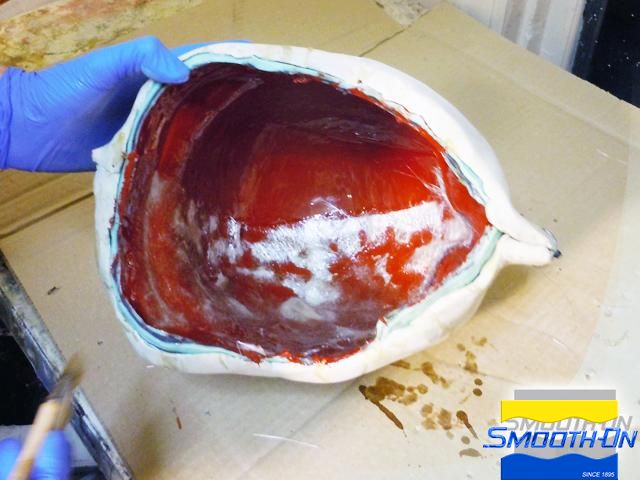
Step 5: Dispensing and Applying EpoxAcoat Red
EpoxAcoat RED Surface Coat Epoxy is used to make the surface finish for the rigid helmet casting. EpoxAcoat RED is mixed by weight 100A : 15B (can also be mixed by volume). Dispense Part A and B and then mix both parts together thoroughly. Apply a first thin layer of epoxy into the mold and allow it to partially cure for 1 hour until tacky hard. Then, apply a second thin layer and again allow it to partially cure for 1 hour until tacky hard. Allow the EpoxAcoat RED to cure before EpoxAmite 100 Laminating Resin and reinforcement cloth are laminated over the surface coat.
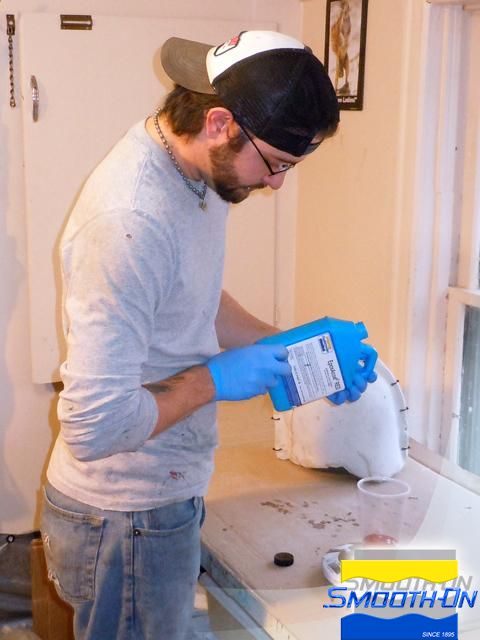
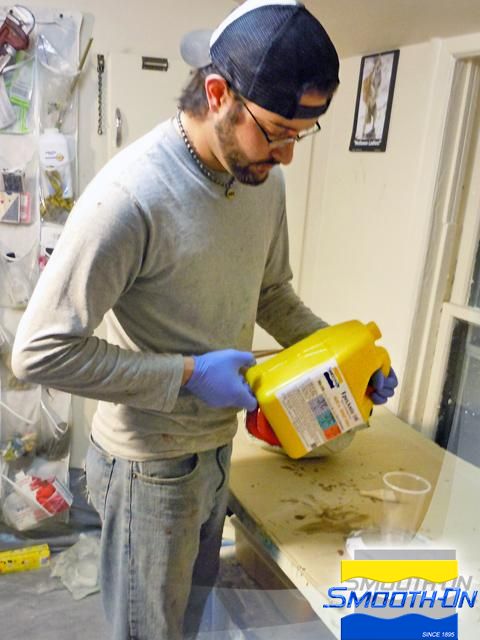
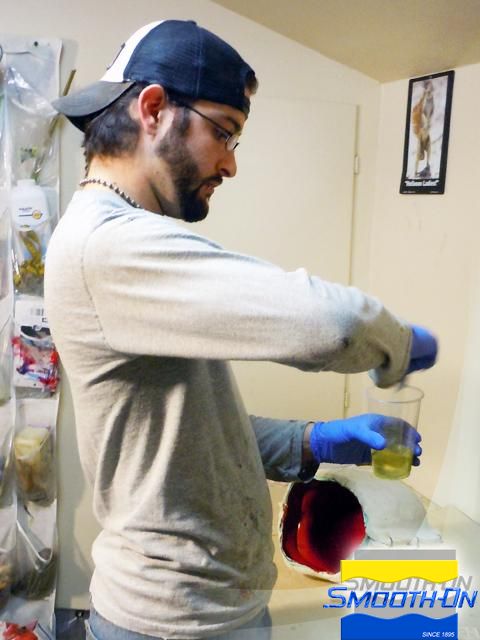
Step 6: Dispensing and Applying EpoxAmite 100 Fast
EpoxAmite 100 is mixed by weight 100A : 24B (can also be mixed by volume). Dispense Parts A and B and mix both together thoroughly. Apply the detail of the inside of the mold with fiberglass mat and EpoxAmite laminating epoxy. Build up layers until a final casting thickness of 1/8 inch is achieved.
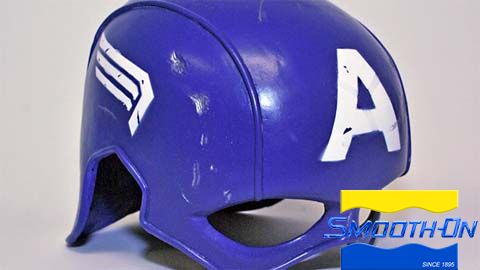
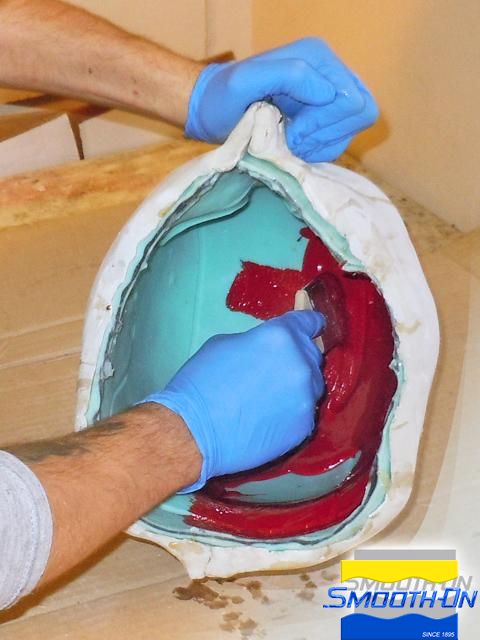
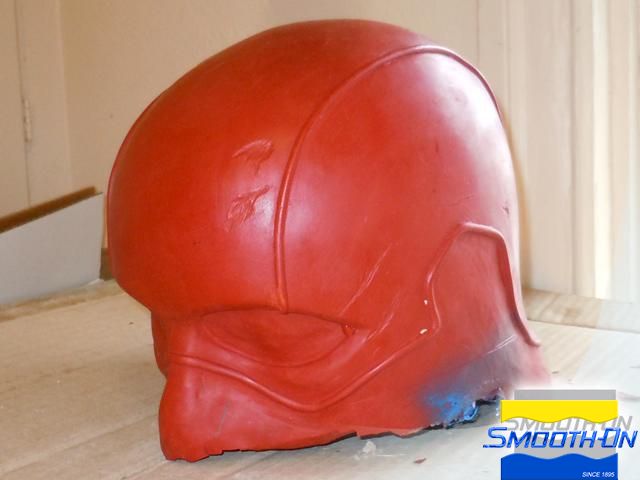
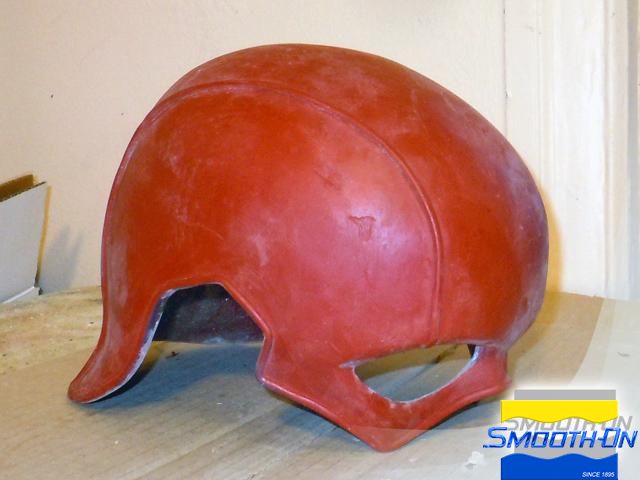
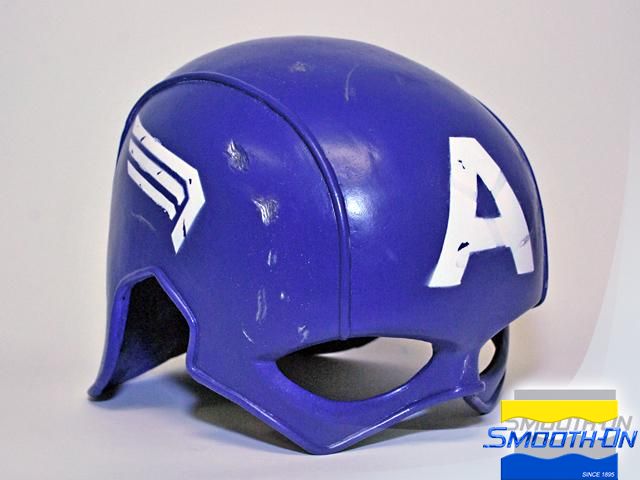
Step 7: Demold and Finishing
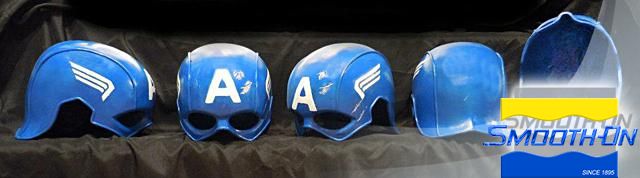
Demold the helmet and trim the flashing. At this point, the helmet is ready to be primed and painted. 'The 'battle-worn' Captain America helmet reflects perfect detail from the Rebound 25 mold. Below you can see several completed helmets in various positions on display. Both rigid fiberglass/epoxy and flexible versions were made. The flexible version used a surface coat of Smooth-Cast 65D backed with VytaFlex 40.
文件下载 ›