制作2片建筑支架模具
概述
Overview
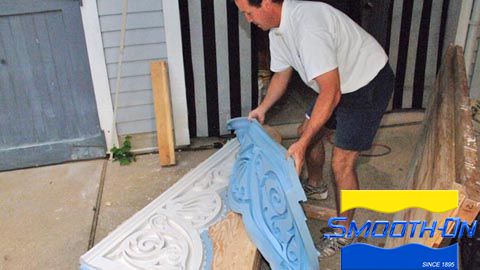
After Hurricane Katrina hit New Orleans, city native Chep Morrison used Mold Max® XLS II LOW SHRINKAGE silicone rubber to replicate an ornate bracket for an architectural restoration project near the Garden District.
After the unique, two-part block-mold was made using a custom-shaped mold box, the ornate brackets were cast in a two-step process that involved coating the surface of the mold first using duoMatrix® NEO Polymer Modified Gypsum. This was done to create a hollow piece and reduce the overall weight of the casting.
Once the duoMatrix® NEO was applied and allowed to cure, the second step involved backfilling the hollow castings to add dimensional strength and stability to the bracket structure. Foam-iT!® 10 SLOW is a 10 lb. / cubic foot expanding urethane foam that was used to backfill the hollow castings. Foam-iT!® 10 SLOW expands approximately 6 times it's original volume and cures to a rigid finish. After measuring and mixing the foam, it began to expand and fill in all the nooks of the interior aspect of the hollow casting and was allowed to cure at room temperature (73°F / 23°C).
By using Mold Max® XLS II, Mr. Morrison could create many exact replicas of the original bracket, not only for this project but for future projects as well. In using duoMatrix® NEO and Foam-iT! 10 SLOW, the brackets display remarkable dimensional strength and stability, while maintaining an overall lightweight finish. Maintaining a lightweight finish enabled Mr. Morrison to easily install the ornate brackets, helping to reduce labor costs.
Materials Used in this Tutorial
- Plywood
- Kraft Paper
- Electric Saw
- Screw Gun and Screws
- Oil Based Clay
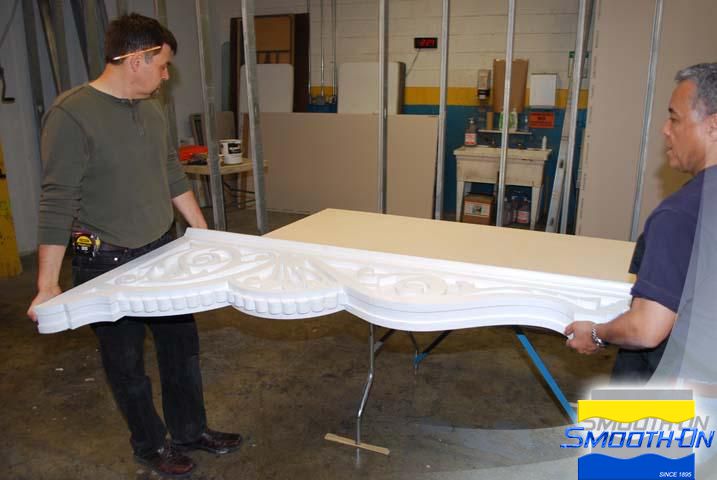
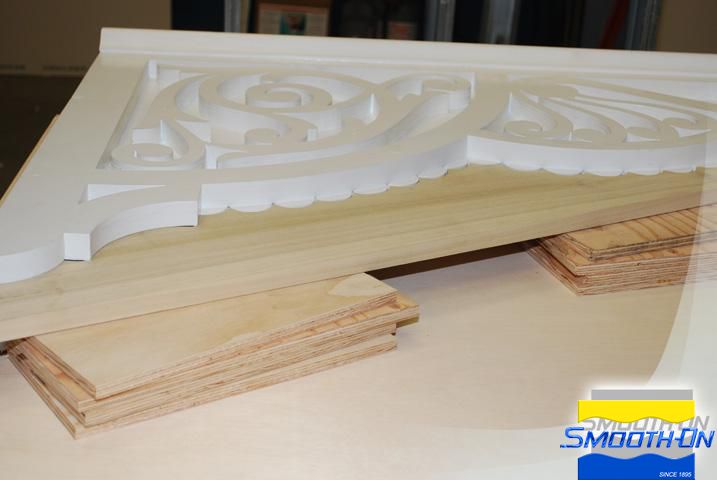
Step 1: Preparing the Model
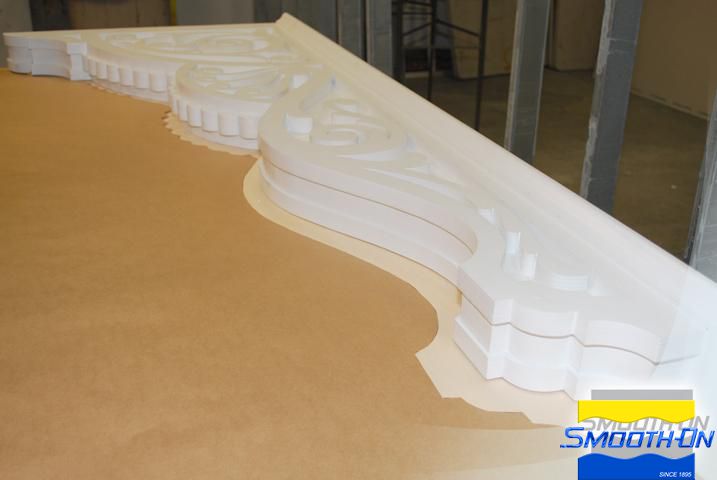
The painted wooden bracket (model) is placed on a flat level surface. The model is measured; dimensions are approximately 72'' x 30'' x 4'' (182cm x 76cm x 10cm). To make the 2-part mold, the model will be divided into two halves horizontally and a parting line will then be constructed.

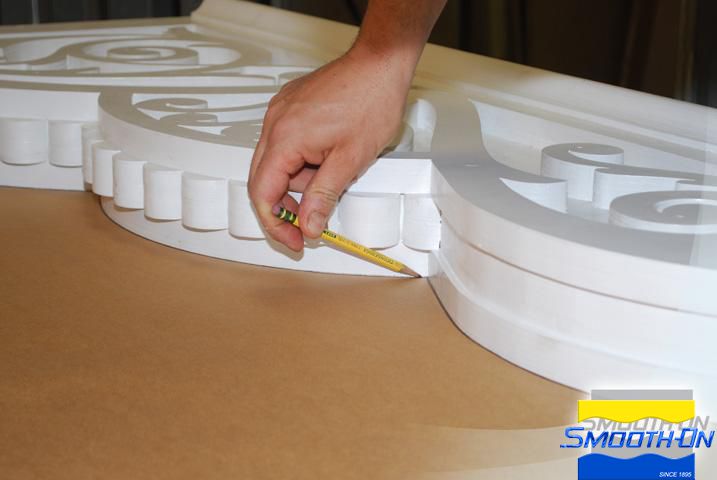
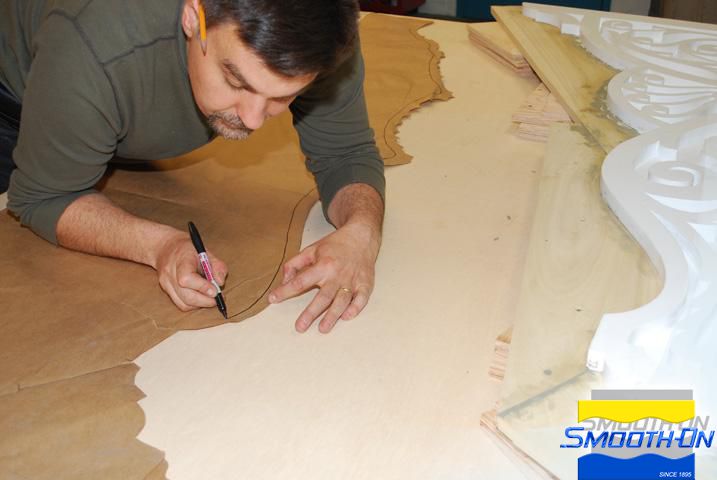
Step 2: Creating a Pattern for the Mold Box
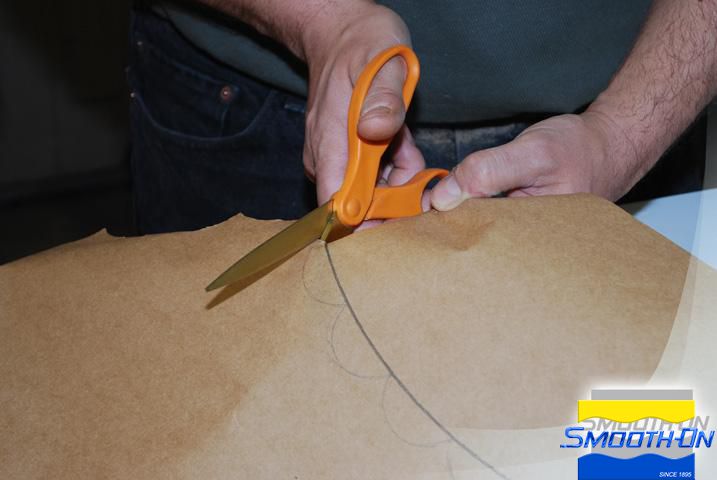
Craft paper is placed under the model and will be used to create a template for the parting line. The pattern is transferred onto the craft paper (template) with a pencil and scissors are used to cut out the template.

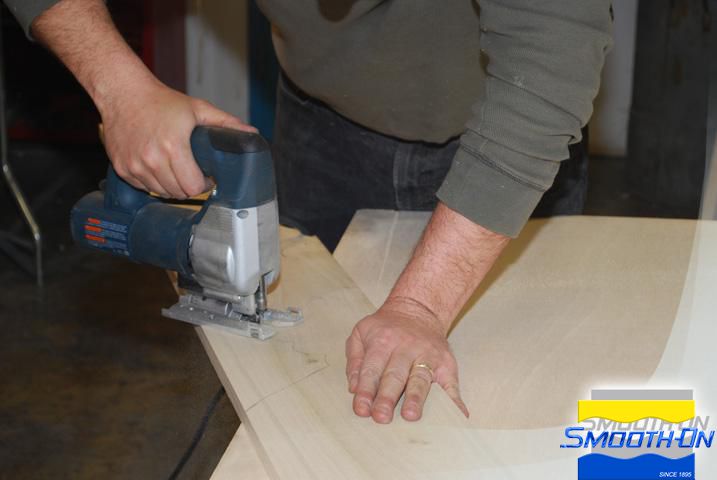
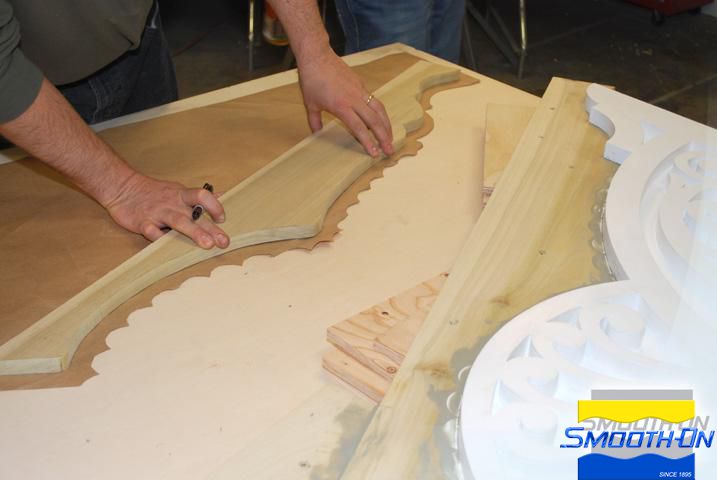
Step 3: Creating a Parting Line Wall
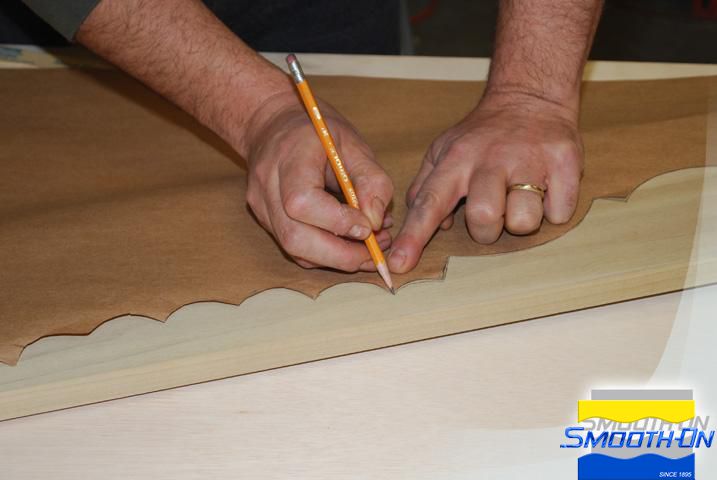
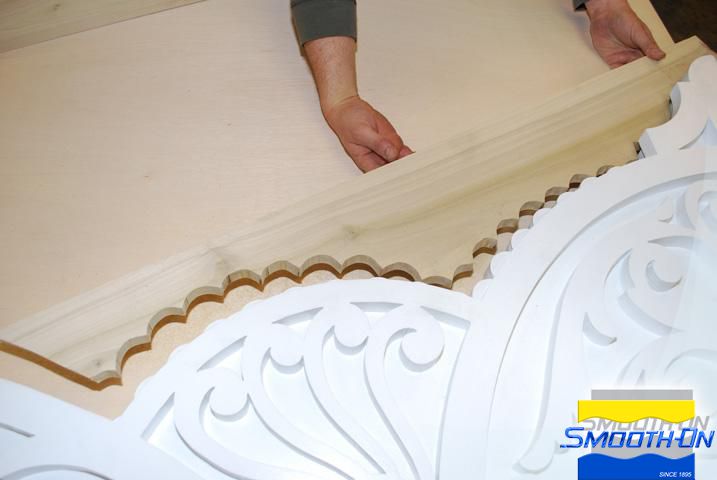
The pattern is then transferred onto a piece of wood with a pencil. A jigsaw is used to cut the wood, which will be used to establish the parting line. The wood parting line is elevated and secured in the correct position.
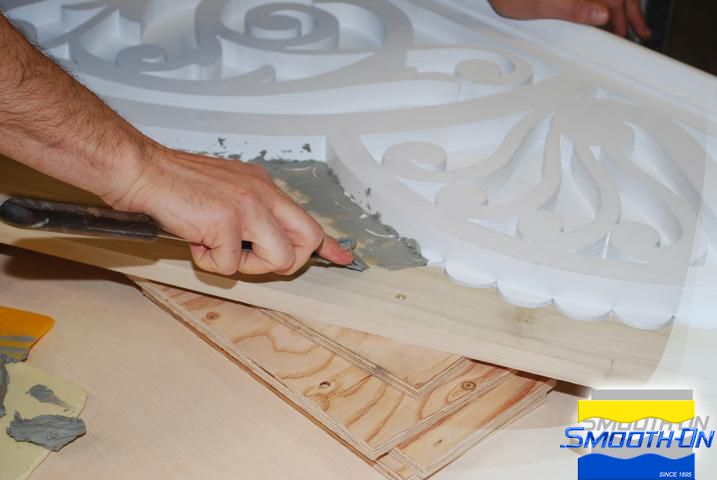
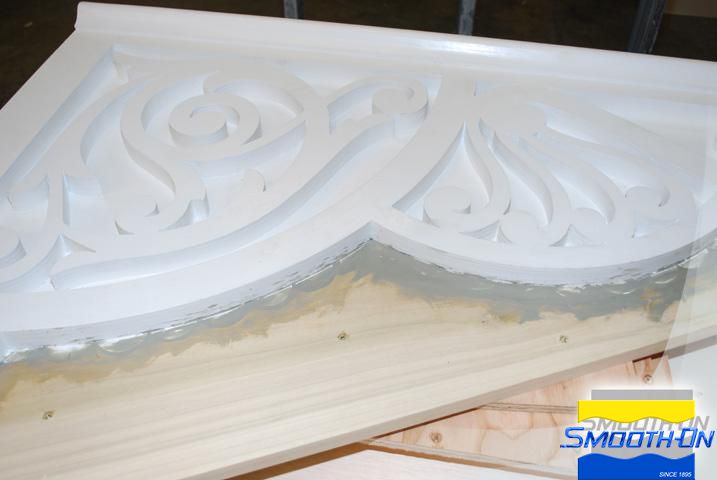
Step 4: Sealing the Parting Line Wall
Non-sulfur based clay is used to fill any voids between the parting line and the model, and the clay is smoothed out.
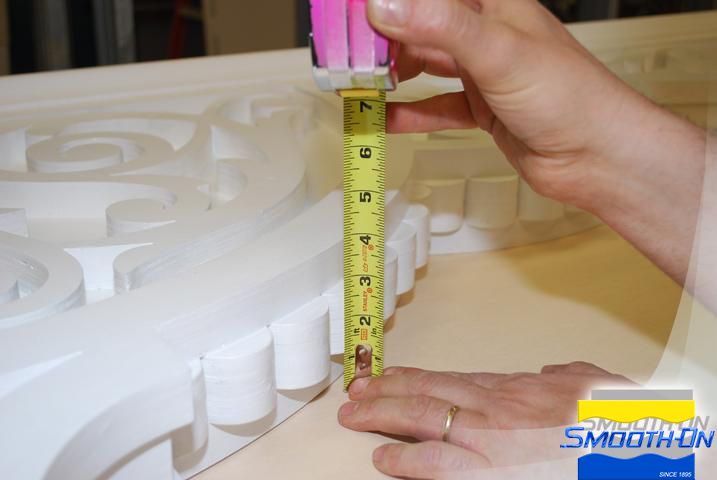
Step 5: Creating Mold Box Side Wall Template
The original template is used to create a new template for the mold box side walls. The line is offset 2'' (5 cm) to provide enough space around the model to allow for suitable rubber mold wall thickness. Scissors are used to cut out the template.

文件下载 ›